Changing transitions – Grass Valley Aurora Edit v.7.0 User Manual
Page 139

•
End at Cut--Ends the transition at the cut point between clips
•
Start at Cut--Starts the transition at the cut point between clips
•
Custom--Sets the position by typing it in the Cut Point field. If you don't have
enough handle material to complete the custom position you set, Aurora Edit
completes as much of the positioning as it can.
4. Enter the
Duration
of the transition.
The default duration is 15 frames.
5. Move the mouse over the cut point between the two clips.
The cursor turns into a red X.
6. Click the mouse once to place the effect.
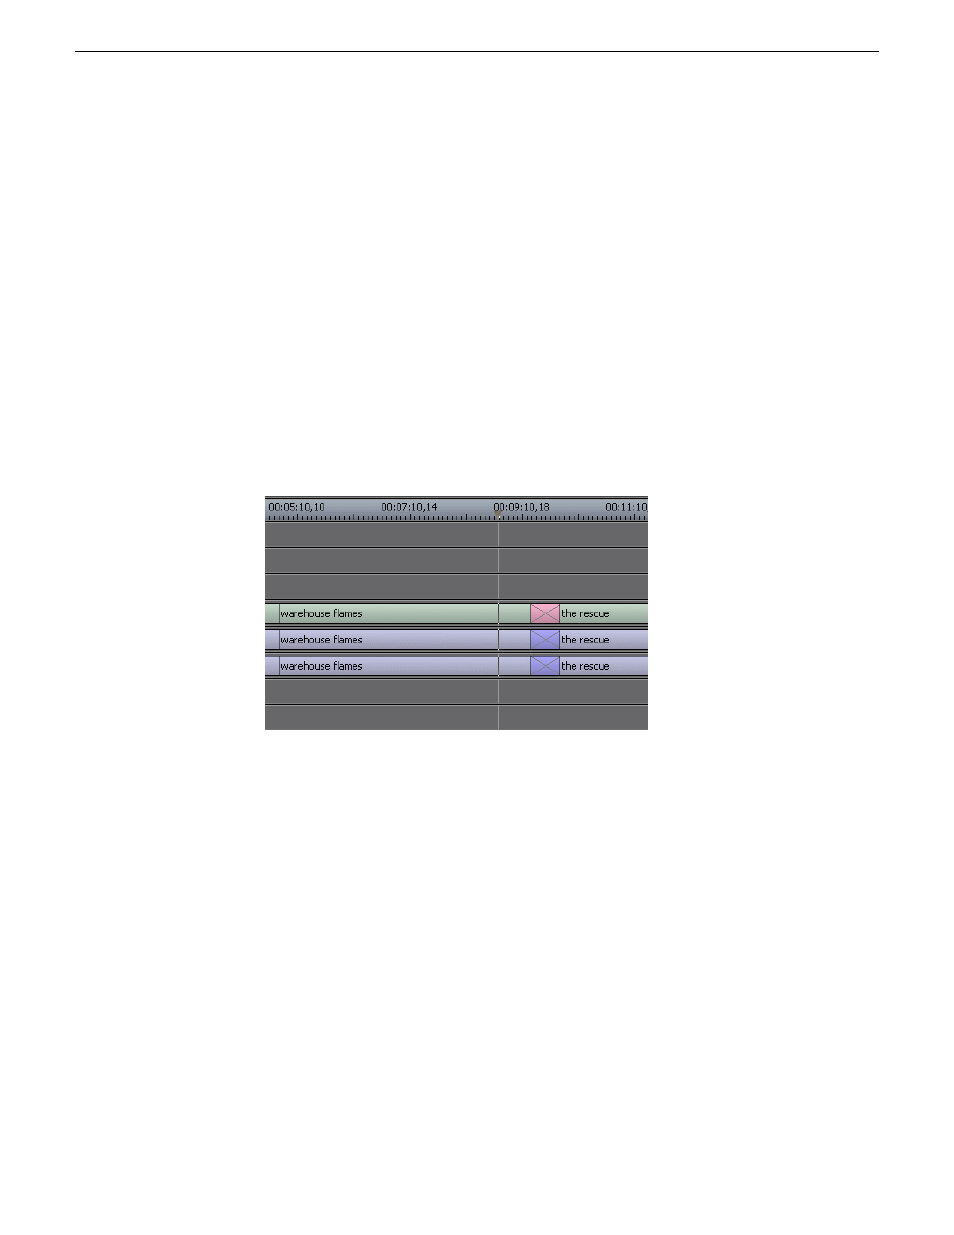
The transitions appears on the Timeline as a pink box with diagonal lines in it,
indicating the transitions is unrendered.
When you play the sequence in the Timeline, you see the transitions in the Video
window.
Related Links
on page 141
Changing transitions
You can change a transition from one type to another or change the properties of the
transition.
1. Click once to select the transition on the Timeline.
You can select multiple transitions (by pressing
Ctrl +
clicking on each transition)
and apply changes to all of the transitions at once.
08 April 2010
Aurora Edit User Guide
139
Transitions
