Creating wipes, Adding a border to a wipe, Wipe border parameters – Grass Valley Aurora Edit v.7.0 User Manual
Page 140
A red and green dotted border appears around the transition indicating its
properties are displayed in the Transition Tool. If you have more than one
transition selected, the red and green dotted border appears only around the
transition for which the properties are displayed.
2. Make any changes—type of transition, type of effect, transition position, duration,
or border—using the Transition Tool.
3. Click
Apply
.
The new transition replaces the old one on the Timeline.
NOTE: Double-clicking on a transition in the Timeline from any tool selects the Transition
Tool and shows the transition’s properties.
Creating wipes
Adding a border to a wipe
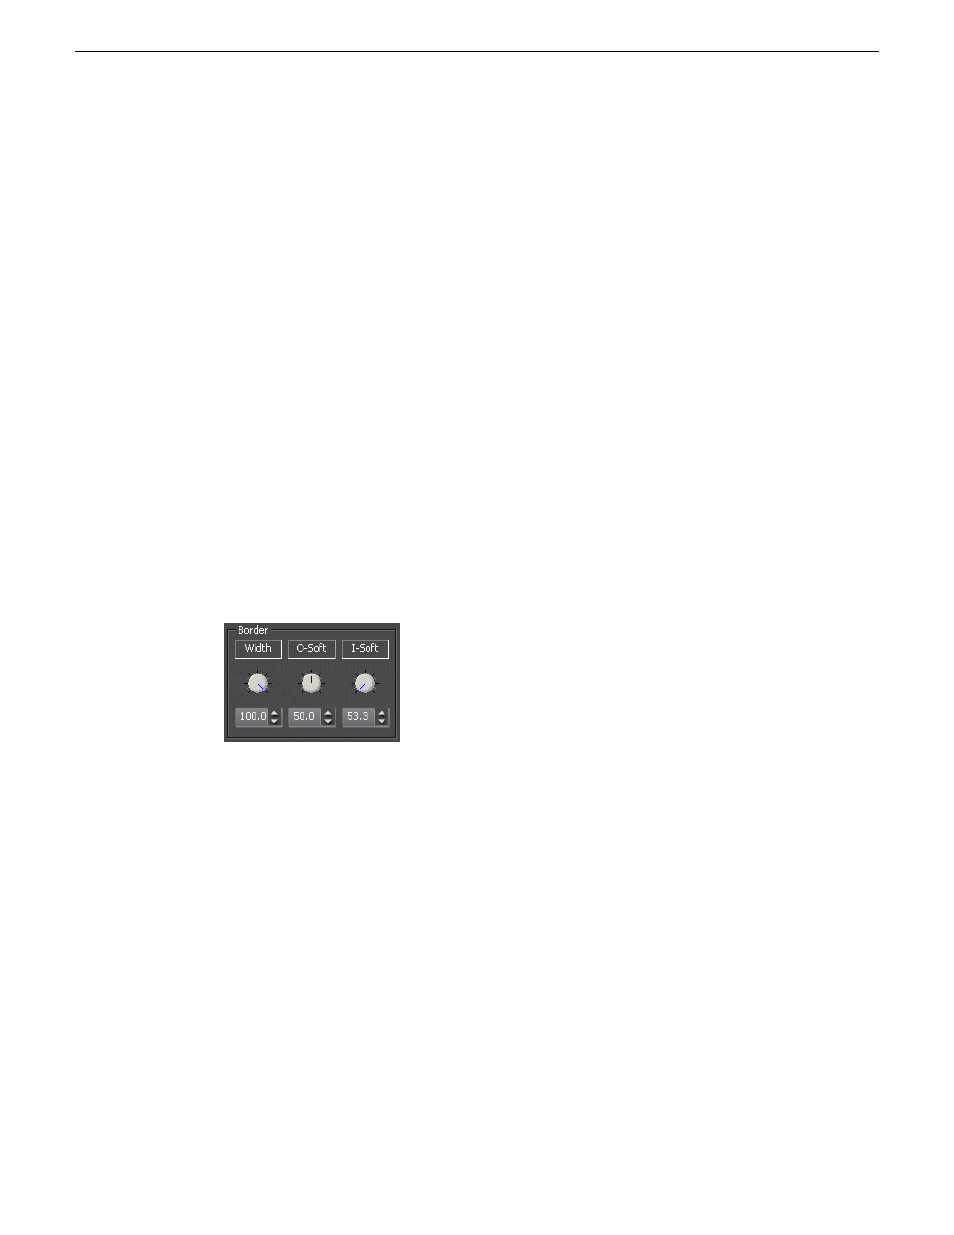
With Aurora Edit, you can add a border to any wipe or SMPTE wipe.
To add a border, you adjust the border width and softness using the dials in the
Transition Tool.
1. Use one of the following methods to adjust the wipe border:
•
Click on the dial you want to adjust and move it to the right to increase the value
or to the left to decrease the value.
•
Type a value in the box below the dial.
•
Click the up and down spinners beside the value box.
•
To reset a dial to 0, double-click the dial.
2. Click
Apply.
Related Links
on page 140
Wipe border parameters
You can adjust these border parameters:
140
Aurora Edit User Guide
08 April 2010
Transitions