Navigating to cut points – Grass Valley Aurora Edit v.7.0 User Manual
Page 130
The Cut Point window appears showing the two clips you want to trim.
4. Choose one of the following ways to trim:
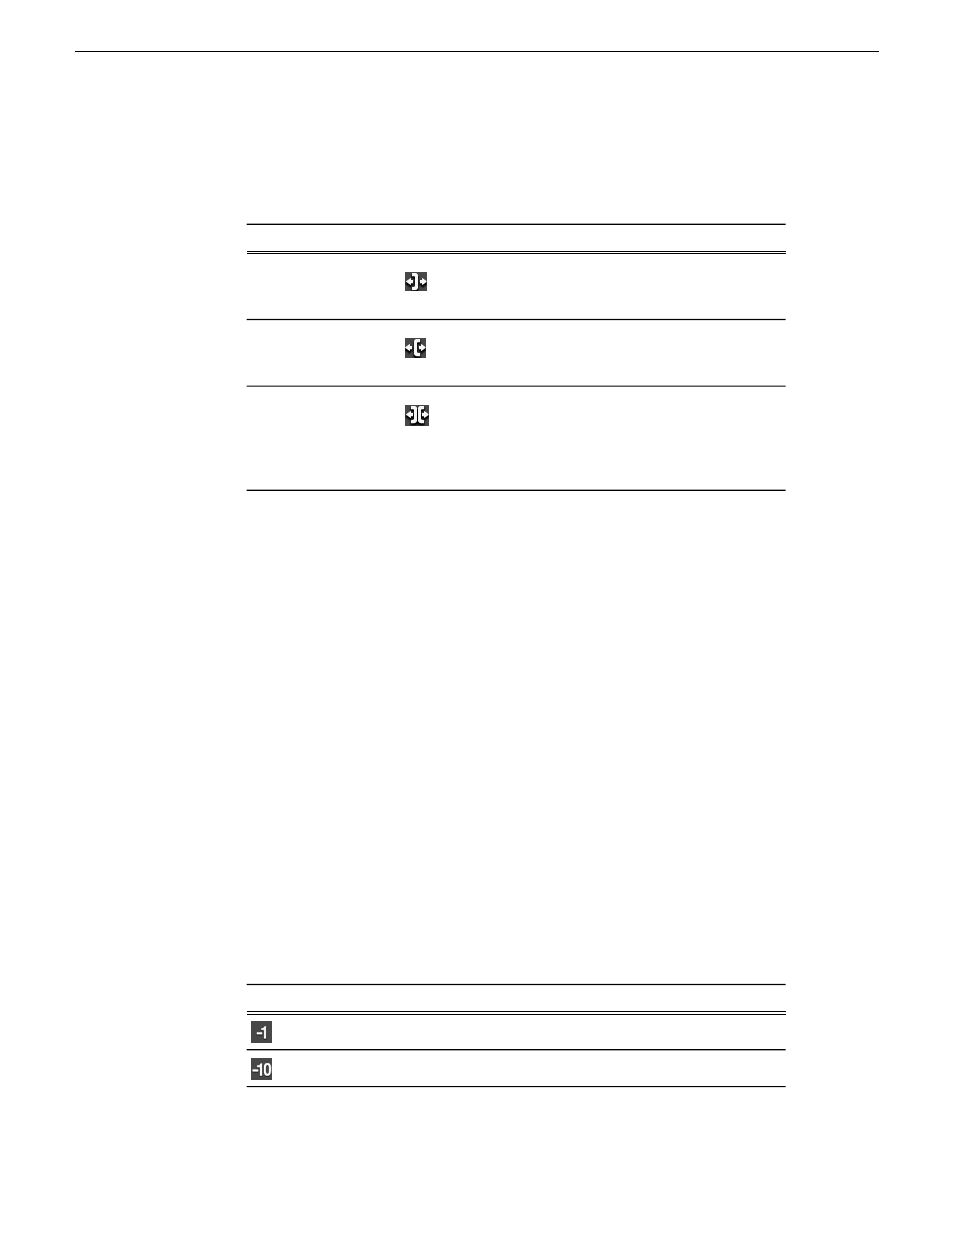
Description
Icon
Option
Extends or retracts the Out point
of the first clip; changes the
duration of a sequence.
Trim Mark Out
Extends or retracts the In point
of the second clip; changes the
duration of a sequence.
Trim Mark In
Simultaneously manipulates the
Out point of the first clip and the
Trim Both
In point of the second clip. This
method extends L-cuts without
changing the sequence duration.
5. Choose how much you want to trim the cut point(s) by:
•
Dragging the cut point in the Timeline to the new position.
•
Using the cut point navigation tools to select the new frame position.
6. Click
Apply
or press
Enter
on the keyboard.
The Timeline updates with the new cut point.
Related Links
on page 113
on page 131
on page 171
Navigating to cut points
Aurora Edit provides some quick ways to navigate through your clips to find the frames
you need for trimming.
You can either click the buttons in the Cut Point Edit Tool or press the corresponding
keys on the keyboard.
Use these tools to navigate through your sequence:
Description
Keyboard Key
Icon
Moves back 1 frame.
A
Moves back 10 frames.
D
130
Aurora Edit User Guide
08 April 2010
Trimming clips