Understanding video effects – Grass Valley Aurora Edit v.7.0 User Manual
Page 189

Related Links
Adding a video effect to the Timeline
on page 191
on page 194
on page 194
on page 200
Understanding video effects
With Aurora Edit you can create a variety of video effects with the clips in your
sequence, including blurs, mosaics, color inverting, and mirroring. You can also resize
video images and use key shapes to create Picture-in-Picture (PIP) effects.
A video effect overlays the video tracks, allowing you to slide the video underneath
it on tracks V1 and V2. The effect characteristics are applied to the clips that reside
on the video tracks below it, which lets you swap one video effect for another or one
video clip for another.
When you create a Resize or Key Shape effect, one of the video tracks becomes the
foreground and the other becomes the background. With a Resize Effect, the foreground
image defaults to 50% the size of the background image and is visible. When you
apply a Key Shape effect to a single video track, you cannot see the initial key shape
until you apply an effect to it. When you add another effect to the Key Shape effect,
you can then see the shape and position it.
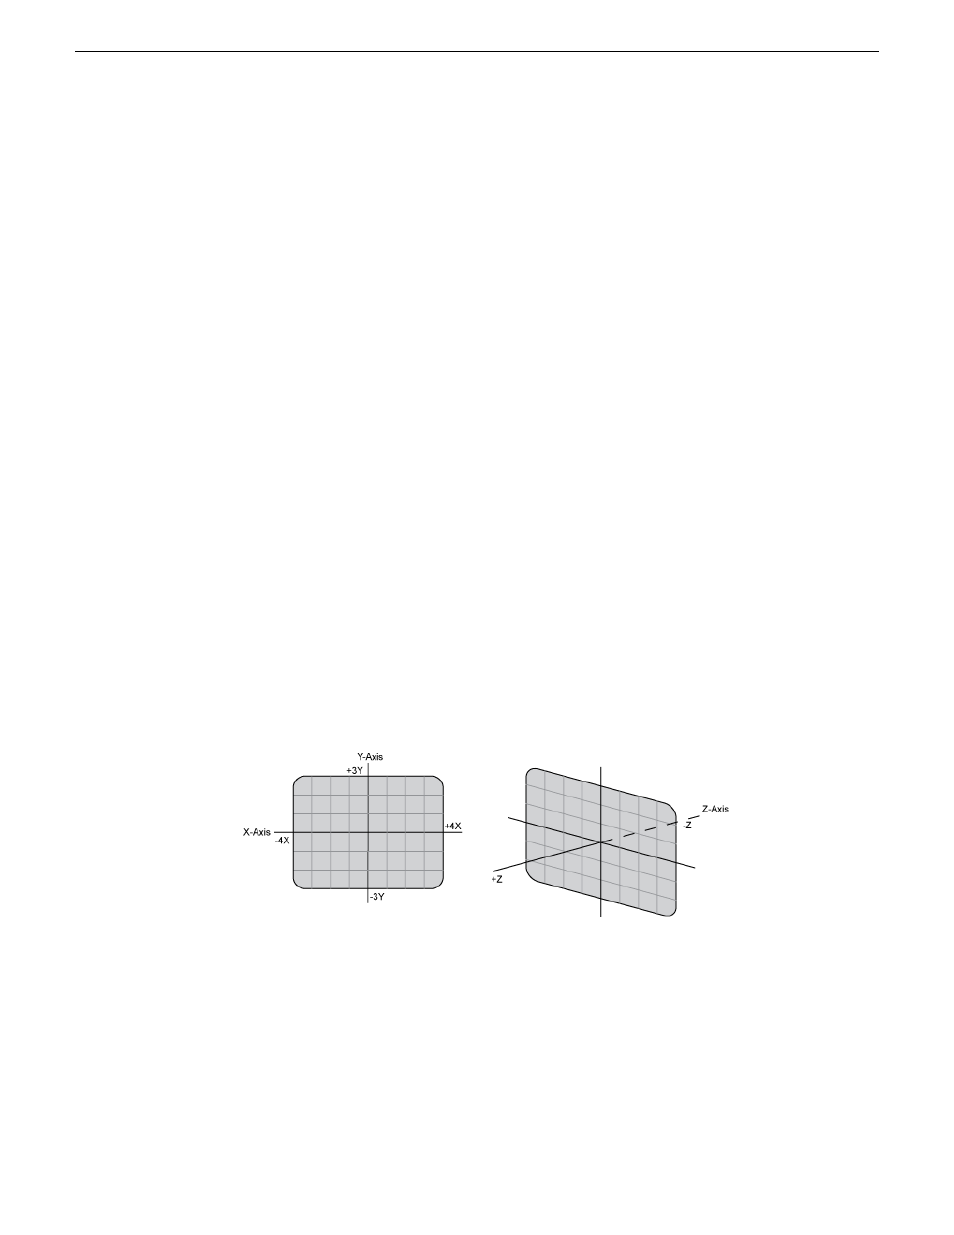
You can manipulate the foreground image in five different ways:
•
X-Axis — The image moves left or right.
•
Y-Axis — The image moves up or down.
•
Z-Axis — The image moves either closer or farther away, giving the impression
that the foreground is getting either larger or smaller, respectively.
•
X-Aspect — The image stretches or shrinks along the X-Axis.
•
Y-Aspect — The image stretches or shrinks along the Y-Axis.
08 April 2010
Aurora Edit User Guide
189
Video effects
