Working with keyframes, Understanding keyframes – Grass Valley Aurora Edit v.7.0 User Manual
Page 196
1. On the FX track, click the effect for which you want to add properties.
2. Click the
Properties
tab in the Video Effects Tool.
3. Enter the effect name and a description.
Related Links
Creating video effects - overview
Adding a video effect to the Timeline
on page 191
on page 197
on page 200
on page 200
Working with keyframes
Understanding keyframes
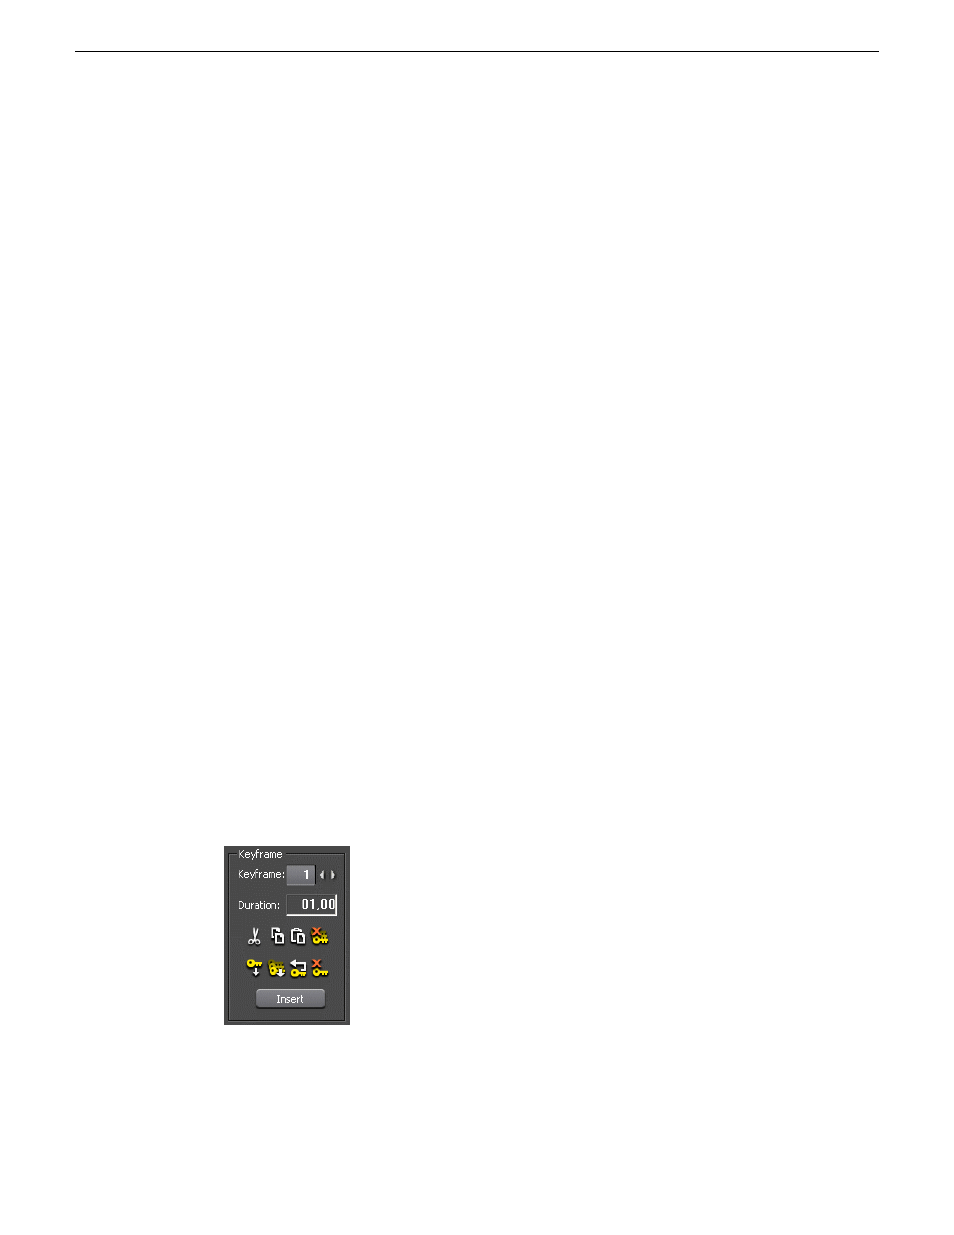
Aurora Edit uses keyframes to synchronize a clip’s video effects with the video and
audio. A keyframe is a set of characteristics defining the image at a specific instant
in time.
Keyframe characteristics include size, location, borders, drop shadow, and cropping
but do not include the video image, which resides on the video track.
After creating a video effect, you insert a keyframe to mark the effect’s location and
characteristics on the Timeline. All effects need at least one keyframe.
If you want the effect to play consistently through the clip, you only need one keyframe.
If you want the effect to change throughout the clip, continue to adjust characteristics
and insert keyframes throughout the clip as necessary.
Within the Video Effects Tool, some parameters are keyframeable and some are not.
That is, if a parameter is keyframeable, the parameter can change from one keyframe
196
Aurora Edit User Guide
08 April 2010
Video effects