NewTek TriCaster 855 User Manual
Page 83

Page | 67
2. Click the Add button in the DDR 1 pane (Figure 62) to open a Media Browser.
3. Click the name for your current TriCaster session (Practice Session, if you’ve been
following along) beneath the Clips header in the left-hand column of the Media Browser.
4. The file pane at right displays icons for recordings made in the session. It should list the
file you recorded earlier (in Section 4.7.1) under a group header labeled Capture – click
the icon to select it, and then click OK.
5. You may wish to add several more files to experiment with (DDR 1 and 2 also support
most popular audio file formats).
Hint: See also the sub-heading entitled Section 10.2.1 regarding per clip audio levels.
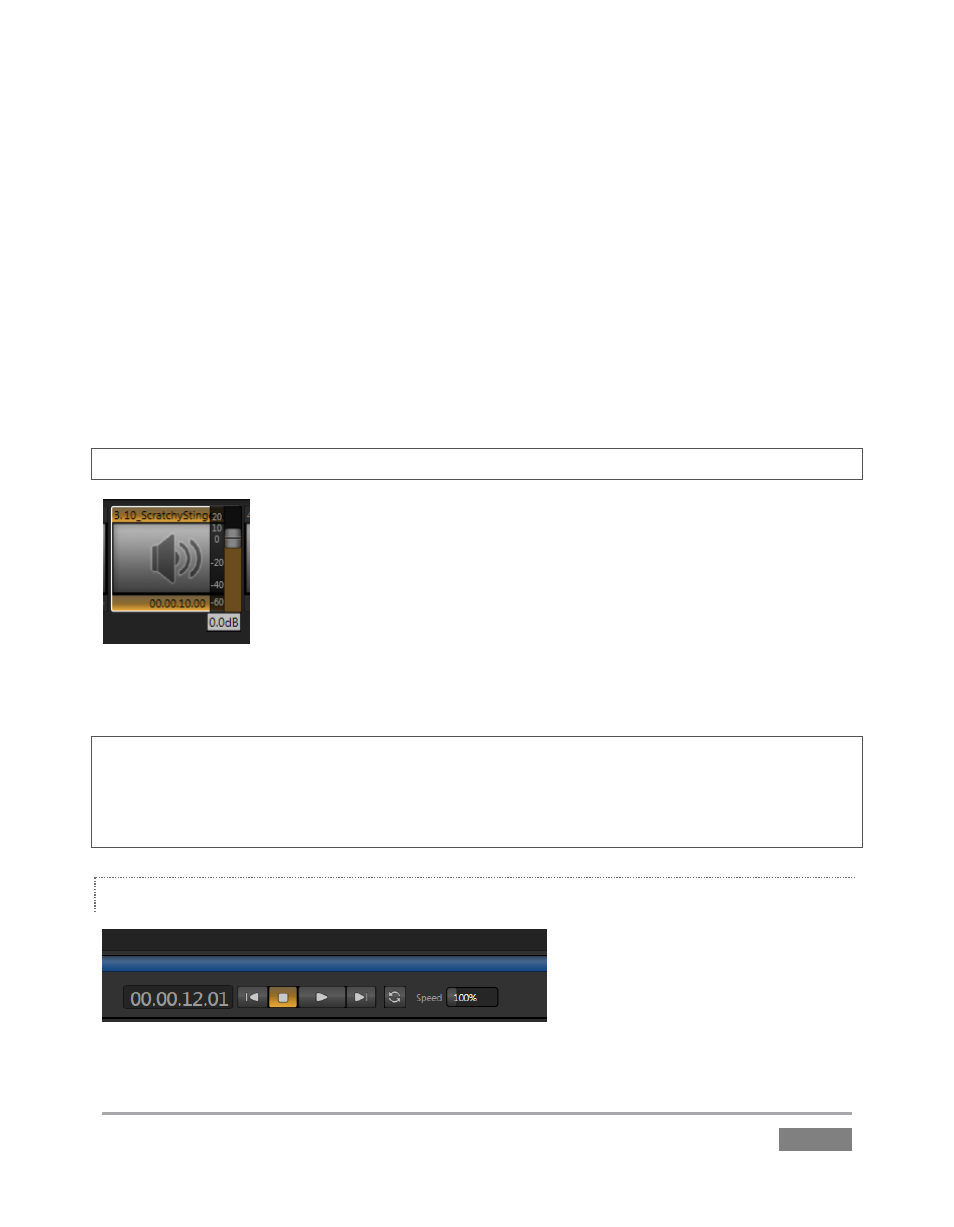
The playlist of the two DDRs as well as Sounds has an additional audio
feature. The icons of files with audio will display a small configure (gear)
icon at lower right. Click this icon to pop up a small level slider.
Note: When playing files located in TriCaster's 'capture folders', DDRs automatically adjust the
audio level according to the current Audio Headroom setting in the Record Configuration panel.
This results in an improved match between the default playback level for captured audio and
imported sounds or music (for which nominal levels are unknown).
TRANSPORT CONTROLS
Figure 64
Figure 63
