NewTek TriCaster 855 User Manual
Page 76
Page | 60
5. Now click the local Auto button for the BKGD layer. The Program and Preview row
selections swap again, but this time, rather than a simple (and instant) Cut, the change
employs the currently selected transition – by default, a Fade.
6. The icon for the current Transition for the BKGD layer has a gold border in the Transition
Bin at right. Click a different icon to select a different transition, and click Auto again.
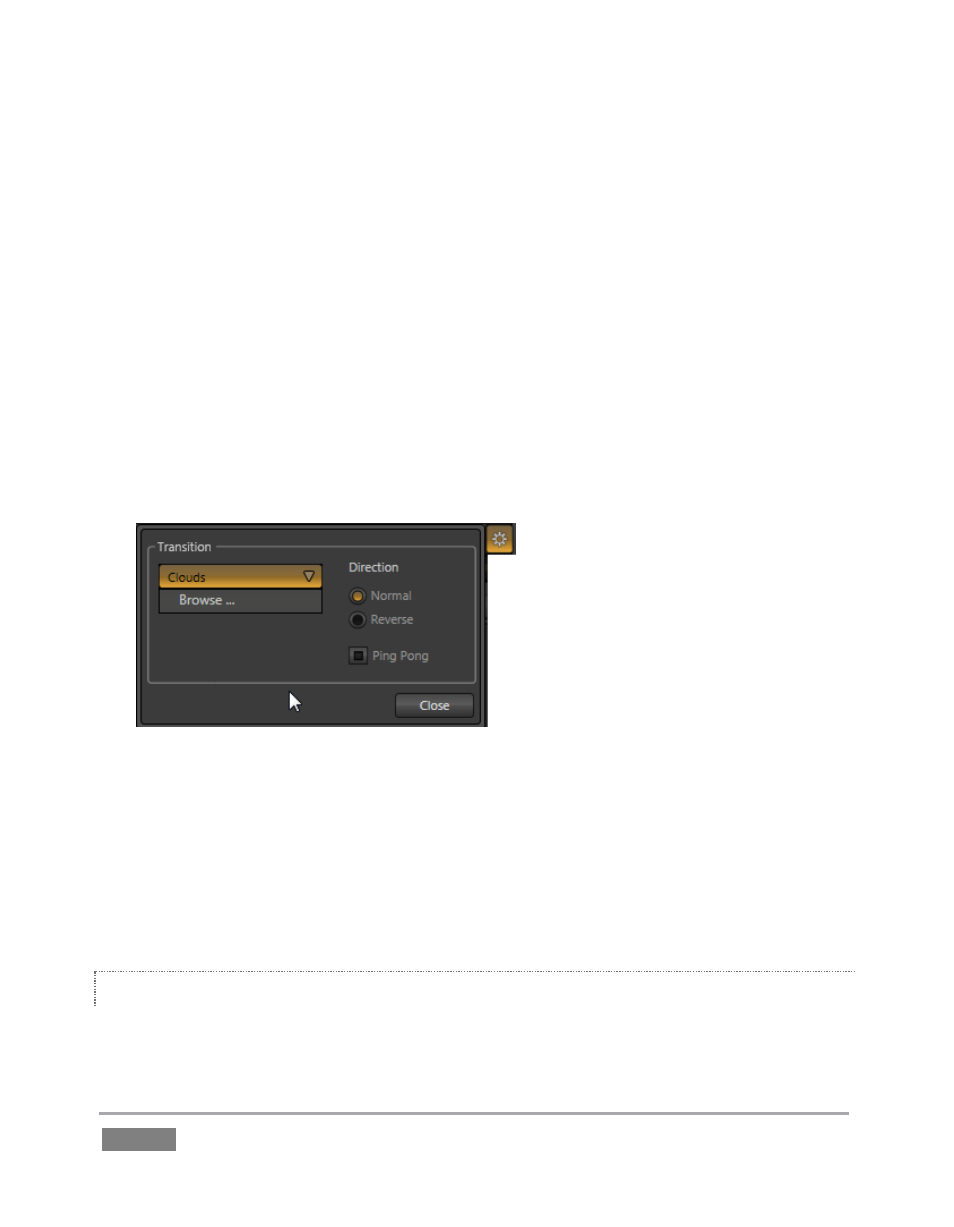
7. To replace the current transition in the Transition Bin with a different one, follow these
steps:
a. Click a transition ‘slot’ other than Fade (the left-mot icon), and then click the
configuration (gear) button at extreme right.
b. Click the drop-down menu in the configuration panel, select Browse, and
choose a new transition from the many supplied with TriCaster (Figure 52).
Figure 52
8. To change the duration of the transition, click the drop-down menu next to the local
Auto button. (The time for the transition is shown as seconds and frames.)
9. Now click the local Auto button for the DSK 1 layer. Since Graphics is assigned to DSK 1,
the currently selected item in that Media Player transitions in to appear above the BKGD
layer.
MAIN CONTROLS
Having seen how local Transition controls work, let’s move on to their main counterparts.