Creating a picture-in-picture overlay – Adobe Premiere Elements 8 User Manual
Page 93
88
USING ADOBE PREMIERE ELEMENTS 8 EDITOR
Arranging clips in a movie
Last updated 8/12/2010
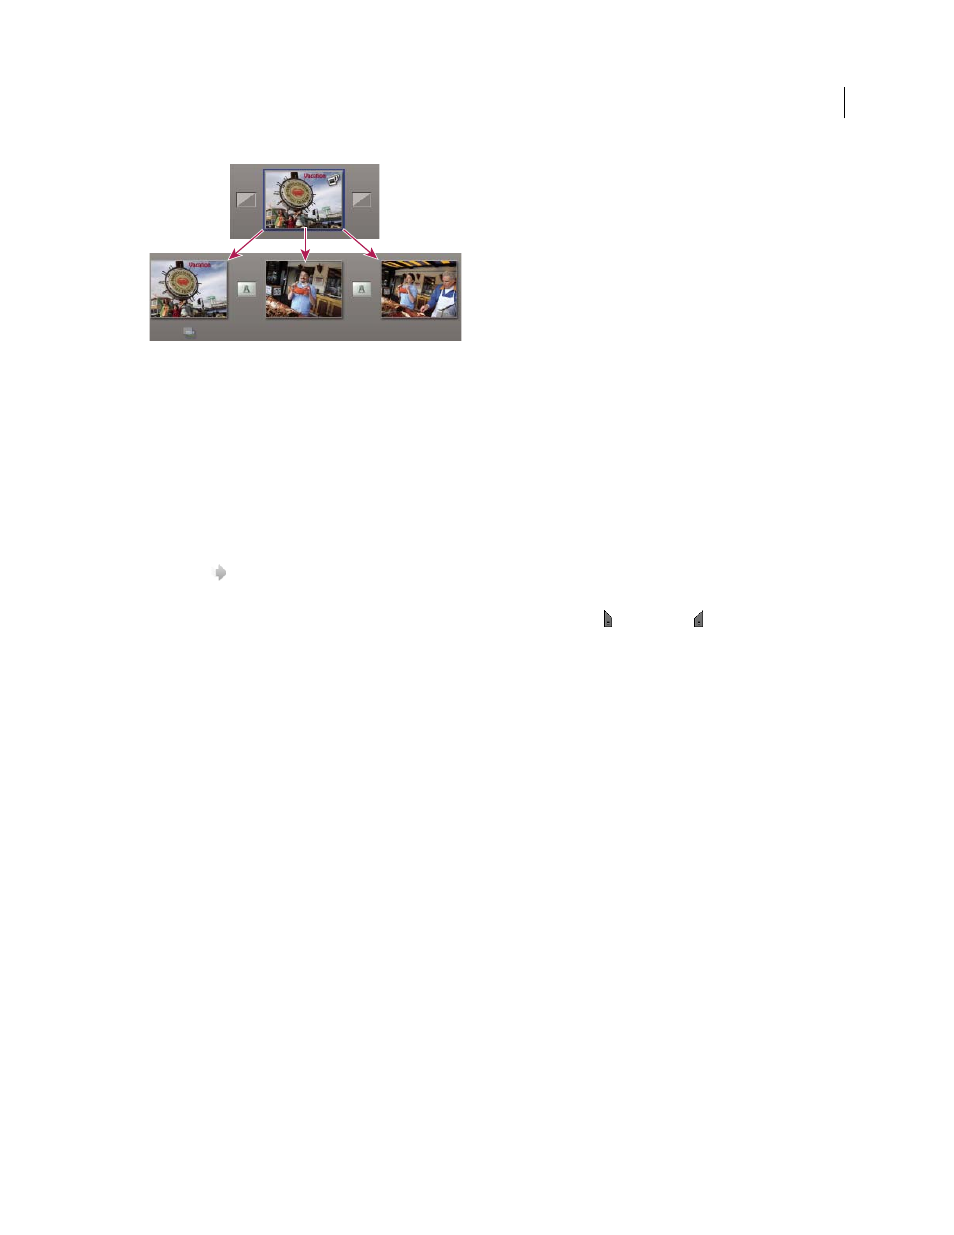
Breaking apart a slide show
1 Make sure that the Sceneline is active.
2 In the Elements Organizer, right-click the slide show and choose Edit With Premiere Elements.
The slide show appears in the Sceneline.
3 In the Sceneline, right-click the slide show, and choose Break Apart Elements Organizer Slideshow.
4 Edit the slide show in any of the following ways:
•
To edit a transition, select it in the Sceneline, and adjust settings in the Properties view.
•
To replace a transition, select it in the Sceneline, click Edit in the Tasks panel and then click the Transitions
button
. Open the Video Transitions folder, and drag a new transition to the Sceneline. Or, right-click the
transition in the Sceneline and choose a new transition from the menu that appears.
•
To extend or shorten a clip, select it in the Sceneline, and drag the In point or Out point in the Monitor panel’s
mini timeline.
•
To change the size or position of text and graphics, select the containing clip in the Sceneline, and adjust text and
graphics in the Monitor panel.
•
To adjust the volume of narration or a soundtrack, select it in the Sceneline, and change settings in the Properties view.
5 Save and share the slide show movie as desired.
More Help topics
Using files from Photoshop Elements
Saving and sharing your movies
Creating a picture-in-picture overlay
You can place one video clip in a small frame over a background video clip that covers the entire screen. This effect is
called a picture-in-picture overlay.