Grouping, linking, and disabling clips, Group and ungroup clips, Link video and audio clips – Adobe Premiere Elements 8 User Manual
Page 107
102
USING ADOBE PREMIERE ELEMENTS 8 EDITOR
Arranging clips in a movie
Last updated 8/12/2010
To see more volume detail when viewing an audio waveform in the Timeline, increase the track height.
Grouping, linking, and disabling clips
Group and ungroup clips
In the Timeline or Sceneline, you can group clips so that you can move, disable, copy, or delete them together. When
you group a linked clip with other clips, both the audio and video portions of the linked clip are included in the group.
•
To group clips, select multiple clips, and choose Clip
> Group.
•
To ungroup clips, click any clip in the group to select the group, and choose Clip
> Ungroup.
•
To select one or more clips in a group of clips, Alt-click a single clip in a group. Shift+Alt-click to select additional
clips in a group.
Link video and audio clips
Most video includes a soundtrack. In the Project view, clips that contain both video and audio appear as a single item.
When you add the clip to a movie in the Timeline, the video and audio appear on separate tracks with the video directly
above the audio. The video and audio remain linked, so when you drag the video portion in the Timeline, the linked
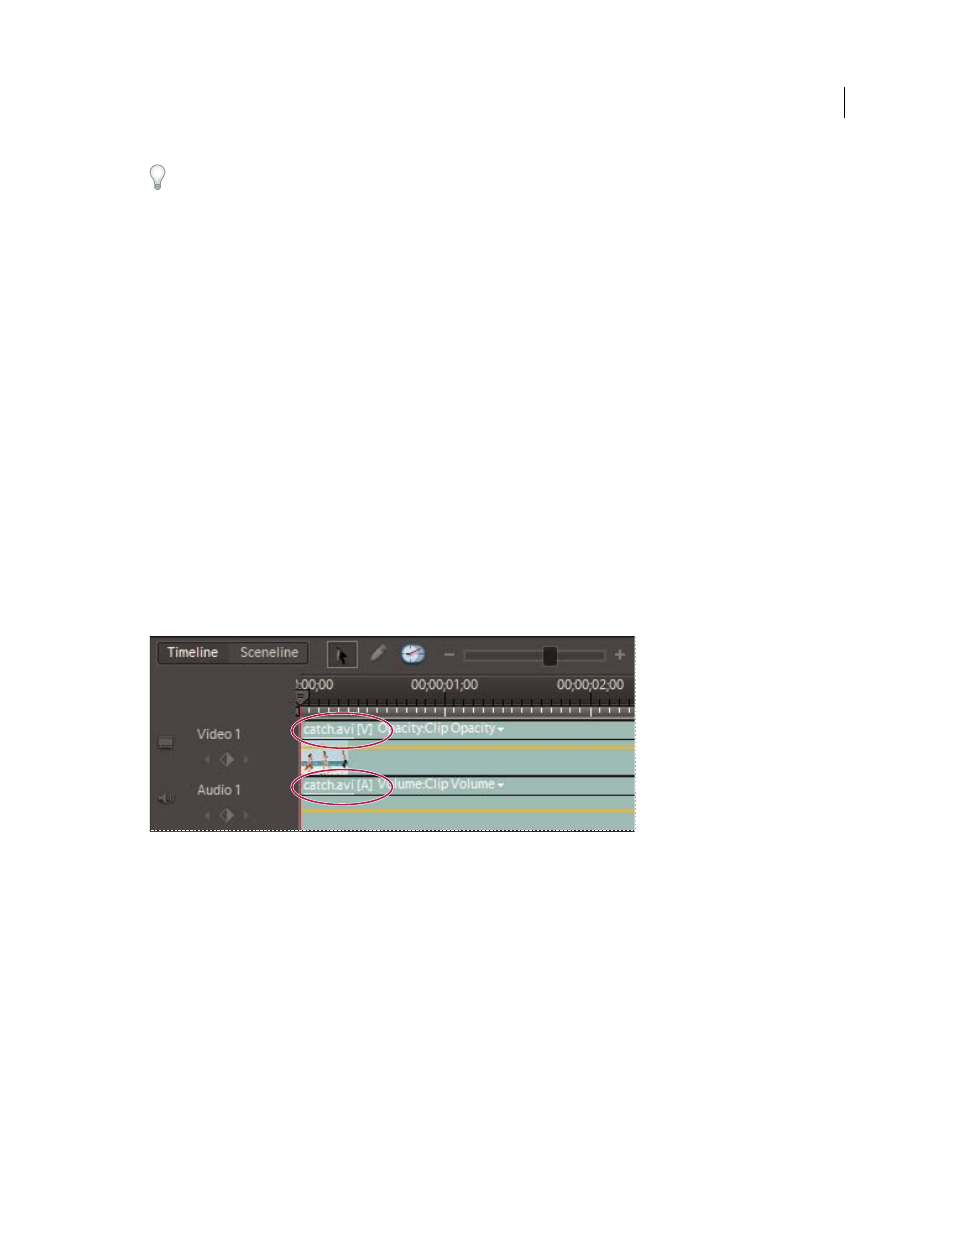
audio moves with it, and vice versa. For this reason, audio/video pairs are called linked clips. In the Timeline, the names
of linked clips are underlined and identified with a [V] for video or [A] for audio.
Linked clips share same name with either [V] or [A] appended and are underlined.
All editing tasks (such as moving, trimming, or changing the clip speed) act on both parts of a linked clip. You can
temporarily override the link by pressing the Alt key when you initiate editing tasks. You can also place the video or
audio portion separately.
More Help topics
Delete a clip in the Timeline or Sceneline