Reorder effects – Adobe Premiere Elements 8 User Manual
Page 161
156
USING ADOBE PREMIERE ELEMENTS 8 EDITOR
Applying effects
Last updated 8/12/2010
Properties view
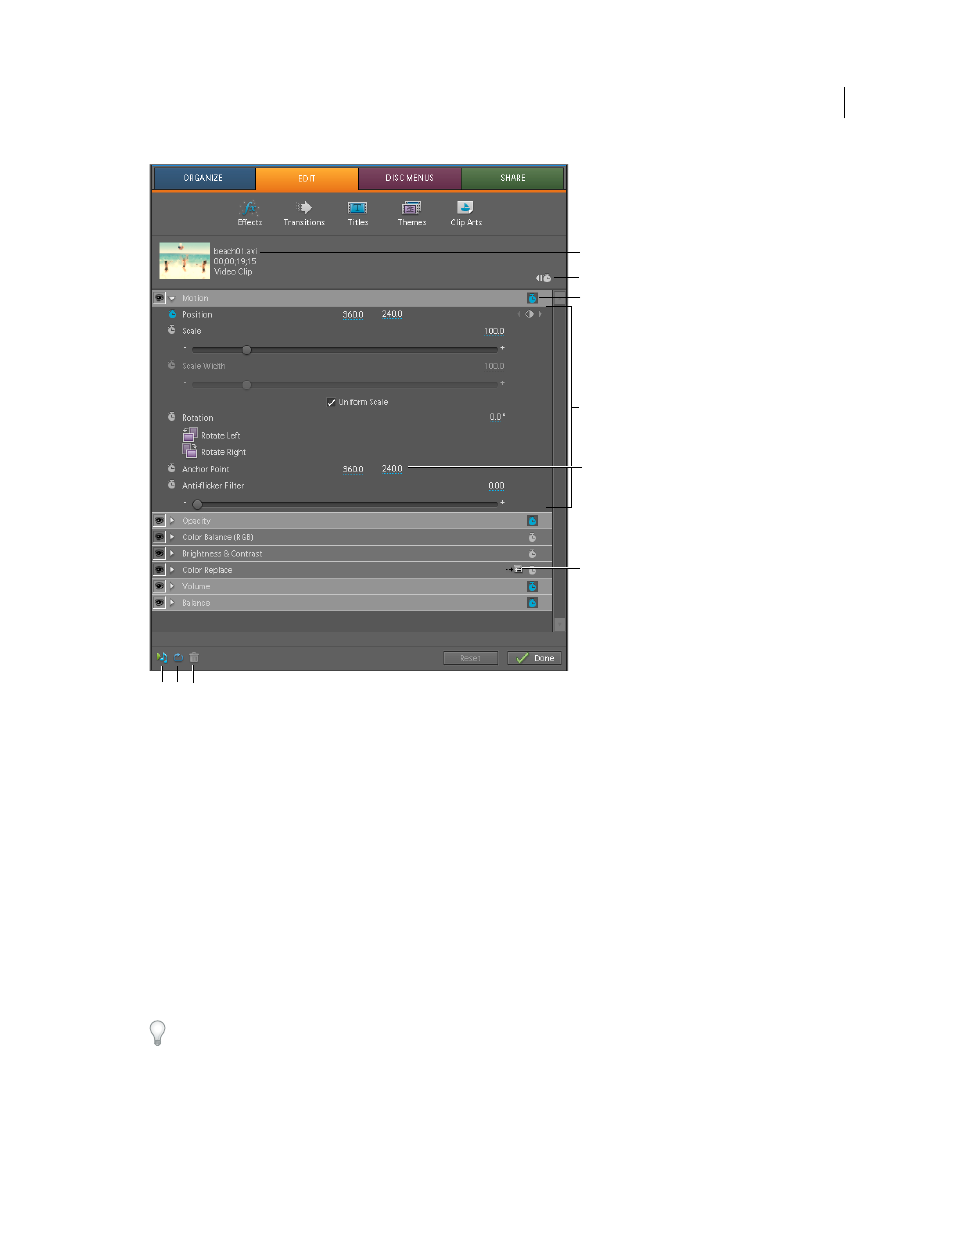
A. Clip name B. Show/Hide Keyframes button C. Toggle Animation button (also Keyframe summary icon) D. Effect properties E. Property
values
F. Setup button G. Play Audio button H. Loop Audio button I. Delete button
More Help topics
Reset an effect to its default properties
Reorder effects
When creating a final movie, Adobe Premiere Elements first applies standard effects followed by fixed effects in the
order they appear in the Properties view. Sometimes, reordering the effects can lead to an interesting effect in itself.
1 In the Effects view, click the Edit Effects button.
2 In the Properties view, click an effect name, and drag it to a new location in the list. A black line appears when the
effect is above or below another effect. When you release the mouse button, the effect appears in the new position.
Although you can’t change the order of fixed effects (Image Control, Motion, Opacity, and Volume), you can apply
similar standard effects from the Effects view and change their order. For example, use the Transform effect to
simulate the Motion effect, the Alpha Adjust effect to simulate the Opacity effect, and the standard Volume effect to
simulate the fixed Volume effect. You can then adjust the standard effects and rearrange them in the Properties view until
you achieve the desired result.
A
B
C
D
E
F
G H I