Zoom blur, Perspective, Basic 3d – Adobe Premiere Elements 8 User Manual
Page 193
188
USING ADOBE PREMIERE ELEMENTS 8 EDITOR
Applying effects
Last updated 8/12/2010
Center
Specifies the center point of the shear blur.
Blend
Sets the amount of blur to mix in with the picture. Drag all the way to the left to make the blur disappear. Drag
to the right to increase the percentage of blur until the original picture is completely replaced by the blurred image.
Zoom Blur
The Zoom Blur effect simulates a camera zoom within a shot, adding motion blur that you can adjust up or down for
dramatic effect.
Zoom
Sets the strength of the zoom. Drag to the right to increase image magnification. As you increase, you create a
blur that starts with the original image and expands it to the magnified version of the image.
Blend
Sets the amount of blur to mix with the nonblurred image. With Blend set all the way to the left, the blur
disappears. Drag to the right to increase the percentage of blur until the original picture is completely replaced by the
blurred image.
Center
Sets the origin of the zoom.
Perspective
Basic 3D
The Basic 3D effect manipulates a clip in an imaginary three-dimensional space. You can rotate your clip around
horizontal and vertical axes and move it toward or away from you. You can also create a specular highlight to give the
appearance of light reflecting off a rotated surface. The light source for the specular highlight is always above, behind,
and to the left of the viewer. Because the light comes from above, the clip must be tilted backward to see this reflection.
Specular highlights enhance the realism of the three-dimensional appearance.
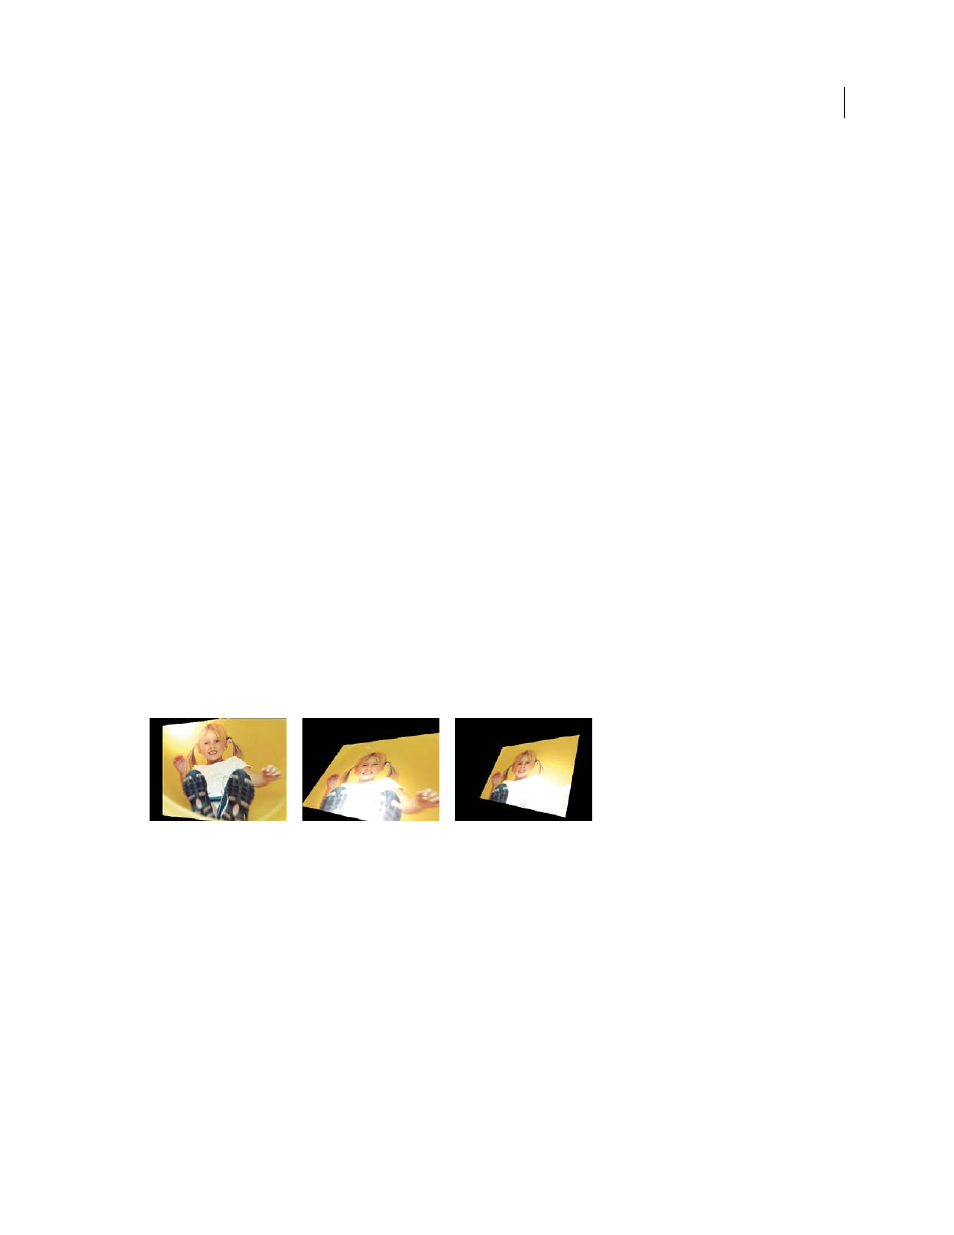
Basic 3D controls
A. Swivel B. Swivel and Tilt C. Swivel, Tilt, and Distance
Swivel
Controls horizontal rotation (rotation around a vertical axis). You can rotate past 90° to see the back side of
the clip, which is the mirror clip of the front.
Tilt
Controls vertical rotation (rotation around a horizontal axis).
Distance To Image
Specifies the clip’s distance from the viewer. As the distance gets larger, the clip recedes.
Specular Highlight
Adds a glint of light that reflects off the surface of the rotated layer, as though an overhead light
were shining on the surface. When Draw Preview Wireframe is enabled, the specular highlight is indicated by a red
plus sign (+) if it is not visible on the layer (the center of the highlight does not intersect the clip) and a green plus sign
(+) if the highlight is visible. You must render a preview before the Specular Highlight effect becomes visible in the
Monitor panel.
A B C