Retrieve frames in the timeline, Extend audio before or after linked video – Adobe Premiere Elements 8 User Manual
Page 127
122
USING ADOBE PREMIERE ELEMENTS 8 EDITOR
Editing clips
Last updated 8/12/2010
7 Right-click in the gap in the Timeline, and then click Delete And Close Gap.
Retrieve frames in the Timeline
1 In the Timeline, click the Selection tool
.
2 Position the pointer over the edge of the clip you want to trim until the correct icon appears:
•
Trim-In icon
to retrieve frames from the beginning of a clip.
•
Trim-Out icon
to retrieve frames from the end of a clip.
3 Drag the edge to the desired frame.
Note: To change the In or Out point of only the video or only the audio of a linked clip, press Alt as you drag. You do not
need to hold down the Alt key once you start to drag.
Extend audio before or after linked video
The audio can begin before the video or extend it after the video into the next clip (or vice versa). Trimming linked
audio and video separately is called a split edit. Usually, when you create a split edit in one clip, you must create one in
the adjacent clip so they don’t overlap each other.
You can create two kinds of split edits:
•
A J-cut, or audio lead, in which audio starts before linked video, or video continues after the audio.
•
An L-cut, or video lead, in which video starts before linked audio, or audio continues after the video.
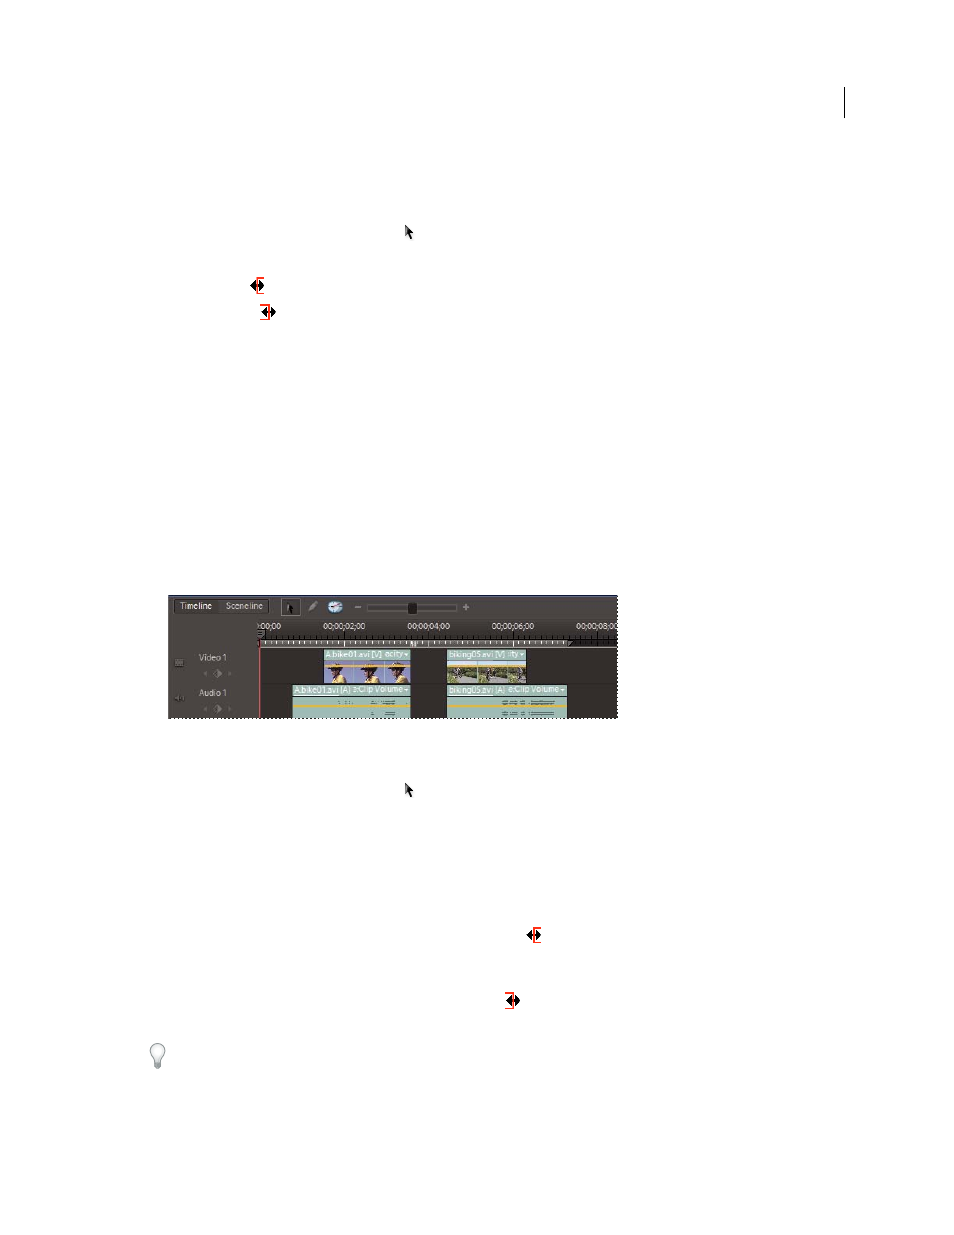
A Clip trimmed for J-cut B Clip trimmed for L-cut
1 In the Timeline, click the Selection tool
.
2 If the clip is adjacent to another, Alt-drag the audio portion down to a separate track so there is empty space next
to it.
3 (Optional) Move the current-time indicator to the video frame you want to trim, and make sure Snap is enabled
with a check mark. (If it isn’t, choose Timeline > Snap.)
4 Position the pointer over the edge of the video clip you want to trim, and do one of the following:
•
If trimming the beginning of the clip, when the Trim-In icon
appears, press Alt and drag the edge to the desired
frame. (You can release the Alt key after you begin dragging.) Notice that the video stays aligned with the previous
clip.
•
If trimming the end of the clip, when the Trim-Out icon
appears, press Alt and drag the edge to the desired
frame. (You can release the Alt key after you begin dragging.) Notice that subsequent clips in the track shift left.
Alt-dragging a clip temporarily unlinks the clips. When you want to move or edit them together, select them again.
5 If you need to trim an adjacent clip so its audio doesn’t overlap with the linked clips you’ve just trimmed, repeat
step 3 on the adjacent audio clip.
A
B