Edit workspace – Adobe Premiere Elements 8 User Manual
Page 23
18
USING ADOBE PREMIERE ELEMENTS 8 EDITOR
Adobe Premiere Elements workspace
Last updated 8/12/2010
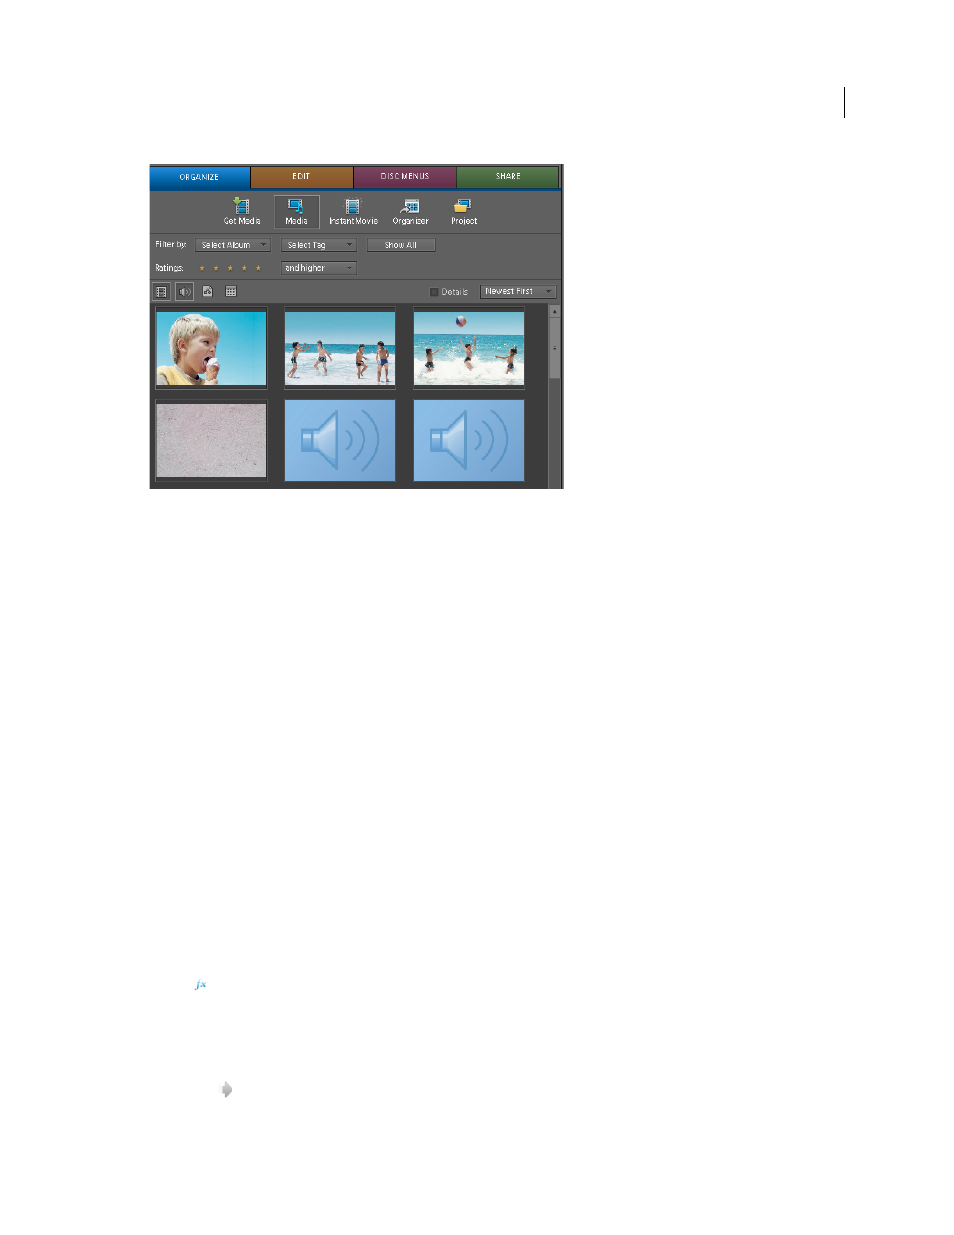
Organize workspace
From the Organize workspace in the Tasks panel, you can access the following:
Get Media
Lets you add files from various sources including video cameras, webcams, digital still cameras, WDM
devices, mobile phones, and folders on your hard disk.
Media
Displays the thumbnails of all media files.
Instant Movie
Automatically and quickly steps you through the selection and editing portion of movie creation,
adding theme-based effects, titles, transitions, and audio. You can change settings as desired.
Organizer
Launches the Elements Organizer window where you can import, view, find, organize, and manage media
files.
Project
Displays the details of all media files.
More Help topics
Edit workspace
When you’re ready to arrange or edit your media, click Edit in the Tasks panel. The Edit workspace lets you add movie
themes and templates to your movies, apply effects and transitions, and create and add titles. In addition, the
Properties view appears within the Tasks panel when you choose Window > Properties, or when you edit effects or
transitions.
From the Edit workspace, you can access the following:
Effects
Shows effects and presets you can use in your movie. You can search for an effect by typing its name into
the Search field. To see only specific types of effects, choose an option from the first menu: Video Effects, Audio Effects,
Presets, My Presets, or Favorites. You can also view specific categories by choosing a category, such as Adjust or
Channel, from the second menu (Show All is the default). To edit an effect before applying it, select it, and click Edit
Effects to open Properties view.
Transitions
Shows transitions you can use in your movie. You can search for a transition by typing its name into
the Search field. To see only specific types of transitions, choose an option from the first menu: Video Transitions,