Split layered clips, Replace footage – Adobe Premiere Elements 8 User Manual
Page 131

126
USING ADOBE PREMIERE ELEMENTS 8 EDITOR
Editing clips
Last updated 8/12/2010
3 In the Monitor panel, click the Split Clip button
.
Two new clips take the place of the original clip: one ending and one beginning at the location of the current-time
indicator.
Split layered clips
You can simultaneously split two or more layered clips (that is, clips that overlap in the Timeline).
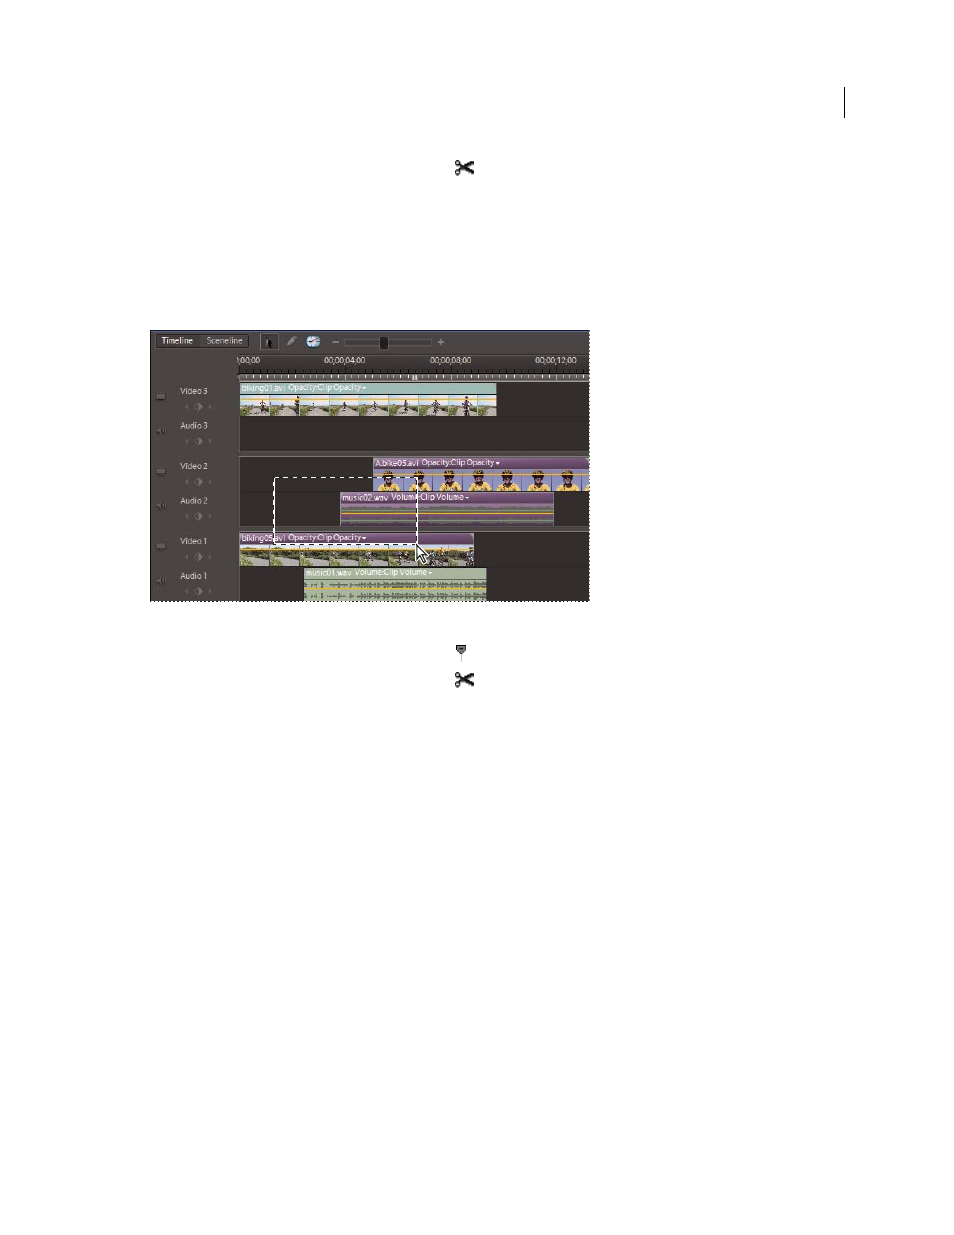
1 In the Timeline, drag a marquee to select any number of clips, on different tracks, that overlap at a point in time.
Dragging a marquee to select overlapping clips in the Timeline
2 In the Timeline, drag the current-time indicator
to the place where you want to make the split.
3 In the Monitor panel, click the Split Clip button
.
Replace footage
You can replace the source footage for clips in the Available Media. Replacing the source footage for a clip links it to a
new source file. When you replace footage:
•
Instances of the clip are retained in the Project panel and Timeline, with the corresponding In and Out points.
•
All the applied effects are intact.
However, the clip is linked to the replacement footage instead of its original footage. For example, you can replace
footage with a soundtrack in one language with identical footage with a different-language soundtrack. All the edits
that were made to the original footage are retained, although the source footage is replaced.
1 Select Organize > Projects. In the Project panel, select the clip for which you want new source footage.
2 Select Clip > Replace Footage, or right-click the clip and select Replace Footage.
3 In the Replace Footage dialog box, select the new file and click Open.
The new footage replaces the old footage. All instances of the old footage are linked to the new footage.
