Rename a track, Delete empty tracks from the timeline, Customize how clips display in the timeline – Adobe Premiere Elements 8 User Manual
Page 106

101
USING ADOBE PREMIERE ELEMENTS 8 EDITOR
Arranging clips in a movie
Last updated 8/12/2010
Changing track height in the Timeline
Resize the track header section of the Timeline
❖
In the Timeline, position the pointer over the right edge of the track header (where track icons are listed) so that
the Resize icon
appears, and then drag the right edge. (The icons at the top of the track header limit its minimum
width. The maximum width is about double the minimum width.)
Rename a track
1 In the Timeline, right-click the track’s name (for example, Video 1) in the Timeline and choose Rename.
2 Type a new name for the track and press Enter, or click outside the box.
Delete empty tracks from the Timeline
❖
Do one of the following:
•
Choose Timeline > Delete Empty Tracks.
•
Right-click in an empty track in the Timeline and choose Delete Empty Tracks.
Customize how clips display in the Timeline
You can display clips in the Timeline in different ways, depending on your preference or the task at hand. You can
choose to display a thumbnail image at just the beginning of the clip, at the head and tail of the clip, or along the entire
duration of the clip (the default view). For an audio track, you can choose to display or hide the audio waveform of the
audio contents.
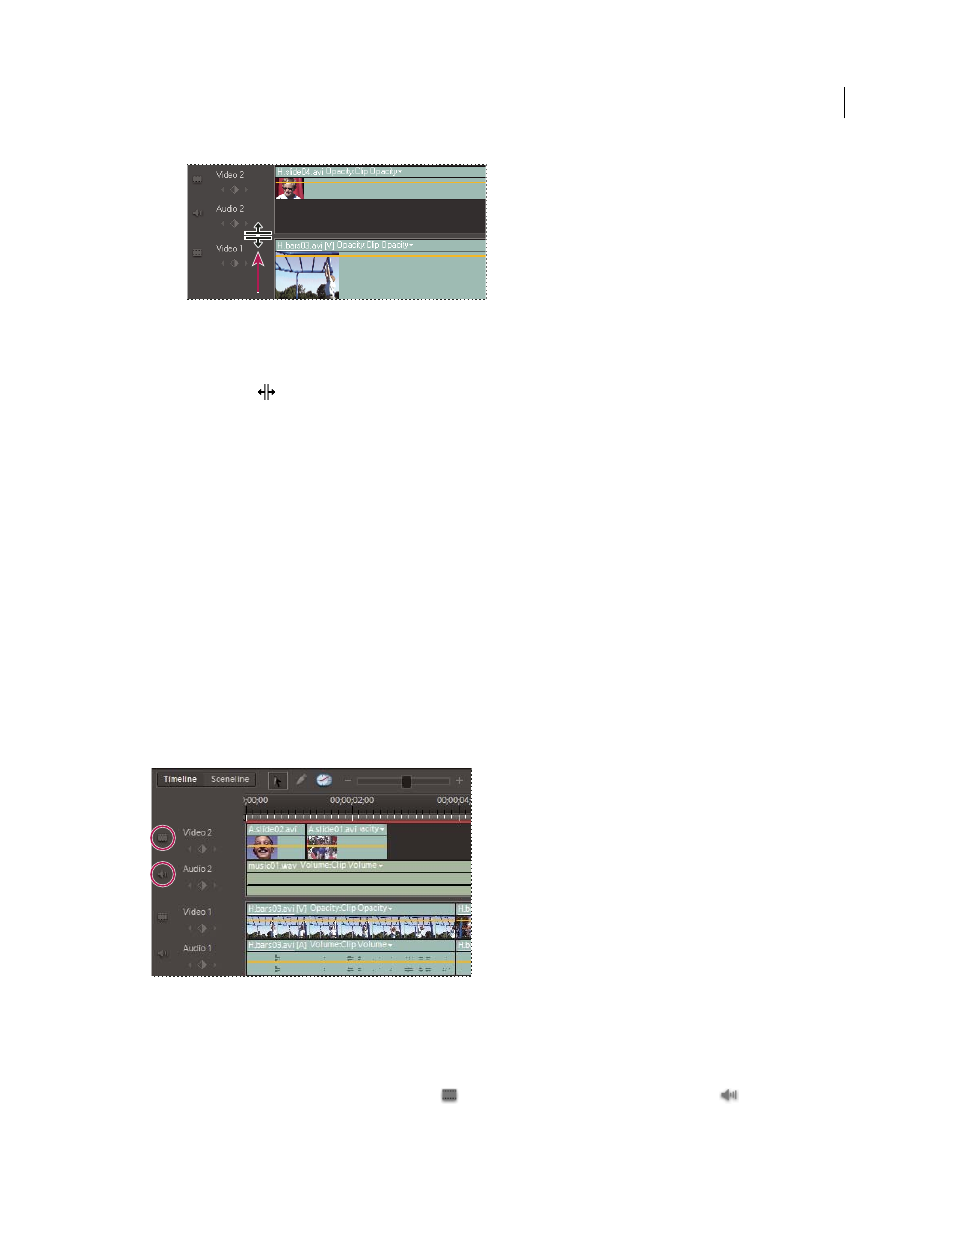
Set Display Style buttons let you set how tracks are displayed in the Timeline.
Displaying thumbnail images across the duration of the clip gives you a sense of the progression of the clip. However,
do not confuse the boundary between thumbnails as the actual boundary between frames. Think of the thumbnails as
a storyboard or sketch of the clip’s content.
❖
Click the Set Video Track Display Style button
or the Set Audio Track Display Style button
at the left corner
of the track. Each time you click, the track’s display style toggles to a different view.
