Zilog EZ80F916 User Manual
Page 75
UM014423-0607
Using the Integrated Development Environment
ZiLOG Developer Studio II
eZ80Acclaim!
®
User Manual
55
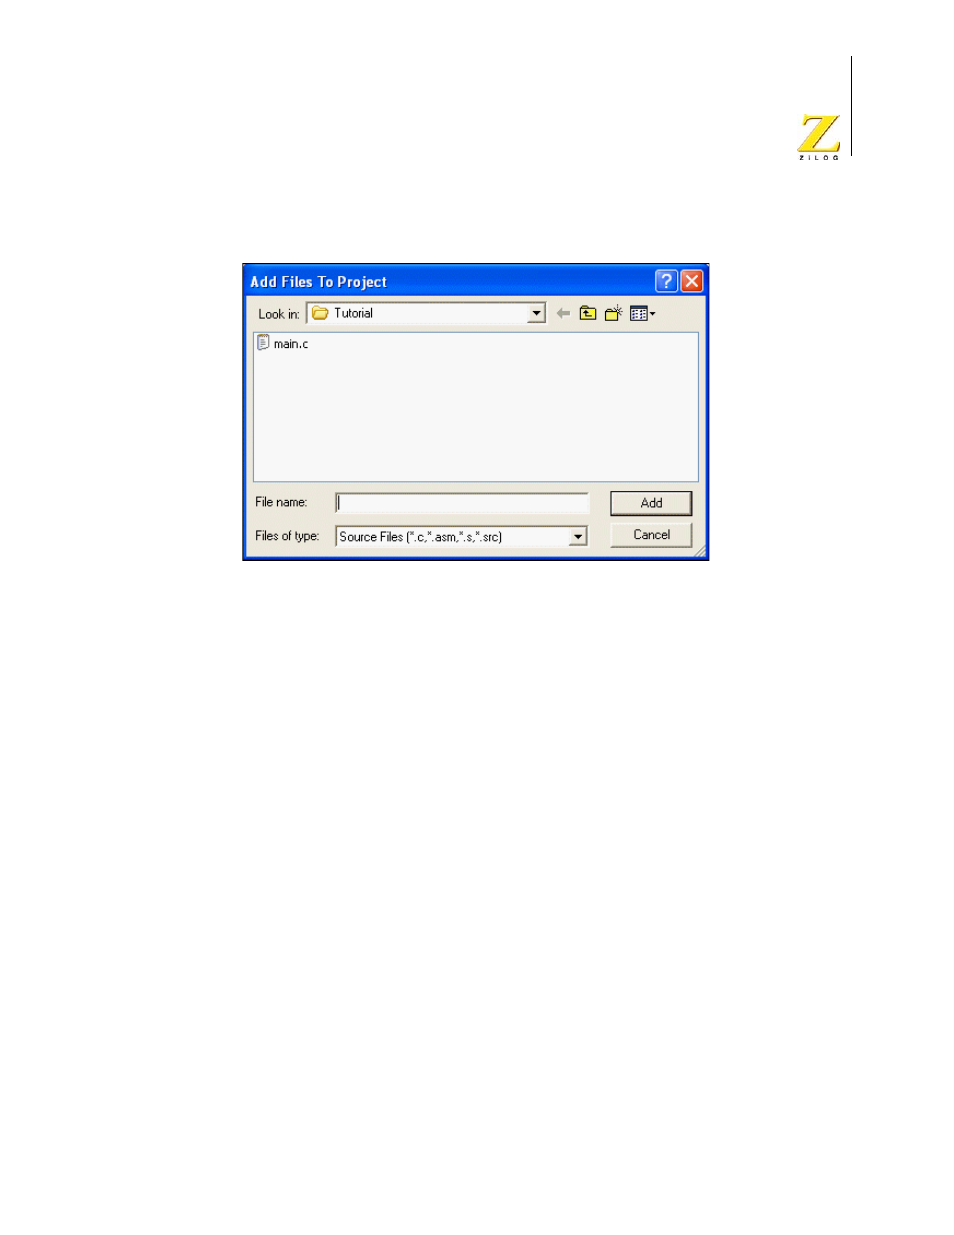
The Add Files to Project dialog box is displayed.
Figure 46. Add Files to Project Dialog Box
2. Use the Look In drop-down list box to navigate to the appropriate directory where the
files you want to add are saved.
3. Click on the file you want to add or highlight multiple files by clicking on each file
while holding down the Shift key.
If you select files with .htm, .html, .class, .jar, .jpg, .jpeg, .wav, or .gif extensions, the
files are converted to C files and saved in the Web Files folder in the Project
Workspace window. These files are automatically converted to C source files during
the build process.
4. Click Add to add these files to your project.
Remove Selected File(s)
Select Remove Selected File(s) from the Project menu to delete highlighted files in the
Project Workspace window.
Settings
Select Settings from the Project menu to display the Project Settings dialog box, which
allows you to change your active configuration as well as set up your project.
Select the active configuration for the project in the Configuration drop-down list box in
the upper left corner of the Project Settings dialog box. For your convenience, the Debug
and Release configurations are predefined. For more information on project configura-
tions such as adding your own configuration, see “Set Active Configuration” on page 108.