Figure c-3 – Digilent 6003-410-000P-KIT User Manual
Page 90
90
Xilinx University Program Virtex-II Pro Development
System
1-800-255-7778
UG069 (v1.0) March 8, 2005
Appendix C: Restoring the Golden FPGA Configuration
R
5.
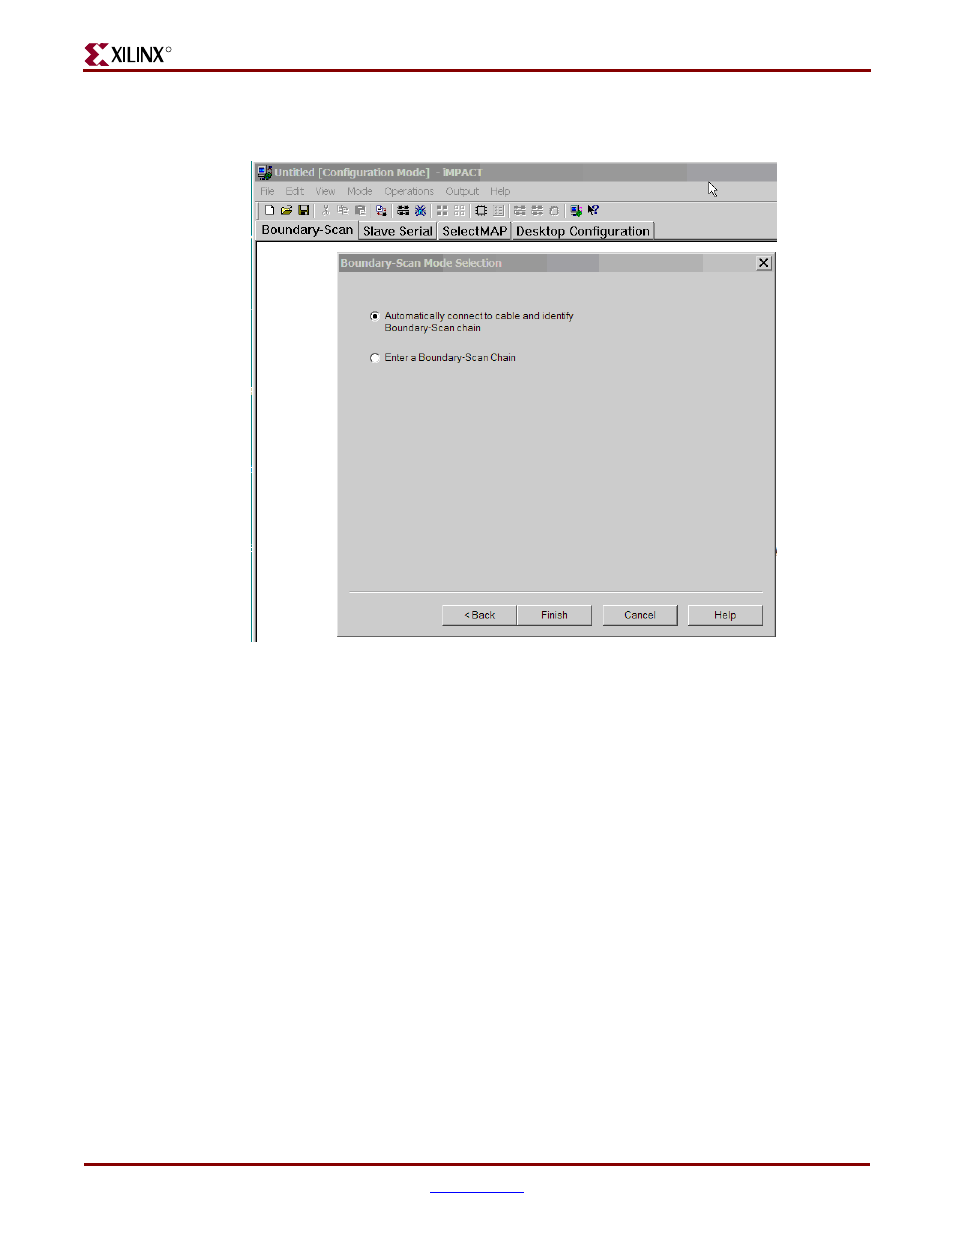
Click on Next and then select Automatically connect to the cable and identify the
Boundary Scan as shown in
.
6.
Click on Finish and the iMPACT software then interrogates the system and reports that
there are at least three devices in the JTAG chain. The first device is the XCF32P PROM,
the second device is the System ACE controller, and the third device is the Virtex-II Pro
FPGA. Any additional devices shown in the JTAG chain reside on optional expansion
boards.
7.
Navigate to the directory where you saved the XUP_V2Pro_BIST.mcs file. Select this
file as the Configuration file for the XCF32P PROM, the first device in the JTAG chain
identified by iMPACT as shown in
. Click on the Open button.
Figure C-3:
Boundary Scan Mode Selection: Automatically Connect to the Cable
and Identify the JTAG Chain