Library startup, Library shutdown – Dell PowerVault 136T LTO/SDLT (Tape Library) User Manual
Page 95
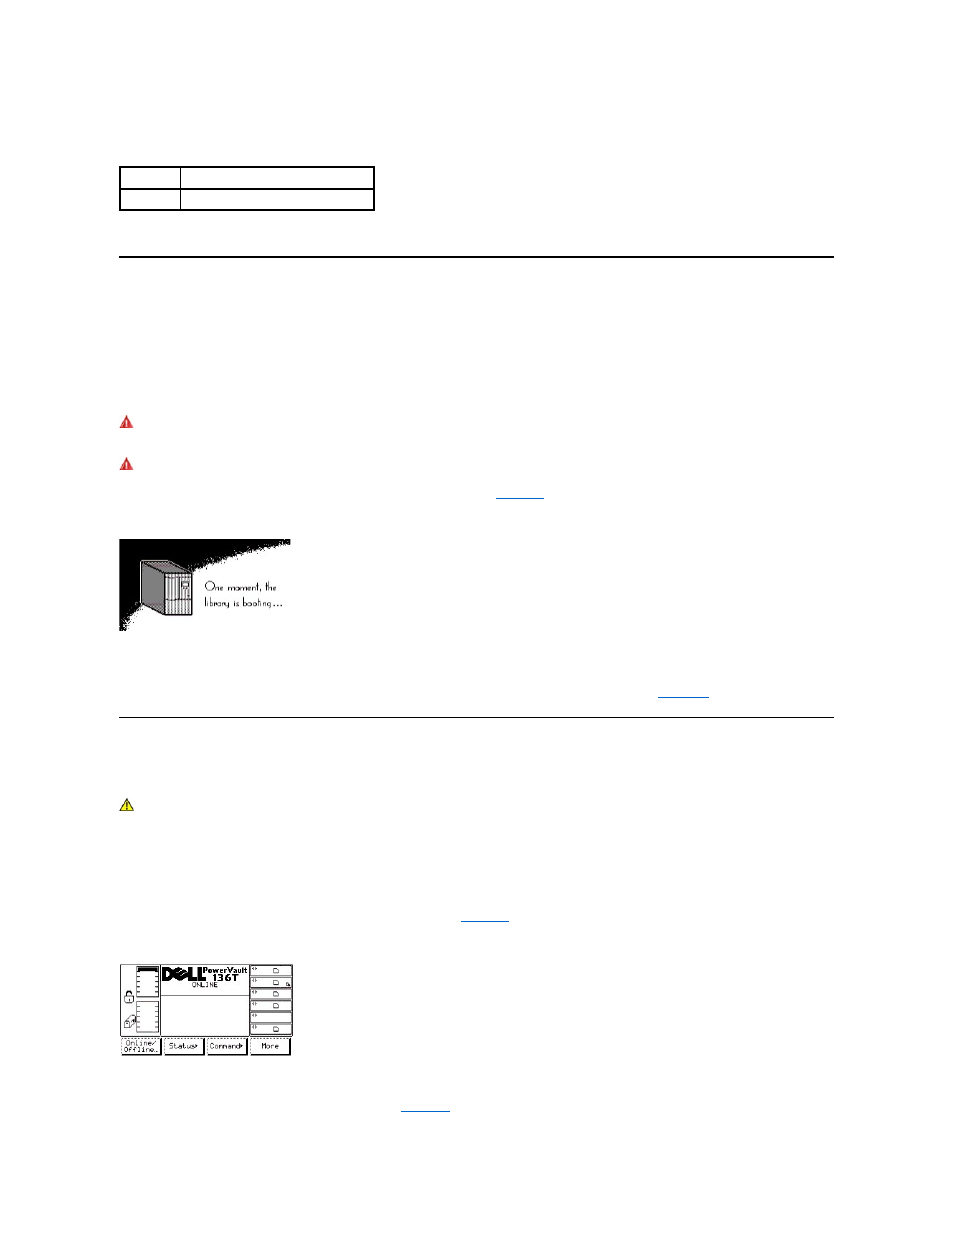
Figure 13. Logs Dialog
Library Startup
Use the following procedure to start the Dell PowerVault 136T LTO Library.
Step 1 Ensure that the front door is closed and mechanically locked.
Step 2 Locate the Rear Power Switch on the lower right rear panel.
Step 3 Push the rocker Rear Power Switch towards the top to apply power.
Step 4 Locate the Front Power Switch on the upper right front panel.
Step 5 Push the Front Power Switch inward to apply power to the electronics.
WARNING: Movements of mechanical components in the Dell PowerVault 136T LTO Library can cause injury. Before turning the
Rear Power Switch ON, confirm that no danger exists to personnel or property.
WARNING: Power is applied to the Dell PowerVault 136T LTO Library.
The firmware starts the boot process with an introductory splash screen. See
Figure 14. Splash Screen
The firmware initiates a SELF-TEST, TEACH (auto-configuration), and INVENTORY operation. After all of the firmware procedures are completed,
the LCD screen on the Operator Panel displays the Main Menu (initial screen). The Main Menu is illustrated by
Library Shutdown
The Dell PowerVault 136T LTO Library may be shut down normally or by the Emergency Shutdown method.
CAUTION: Except in emergencies, stop the Dell PowerVault 136T LTO Library with the normal shutdown procedure before
switching off the Rear Power Switch. Dell is not responsible for damage caused by improper use of the Rear Power Switch. All risk
lies entirely with the user.
Normal Shutdown
To gracefully shut down the Dell PowerVault 136T LTO Library, follow the procedure.
Step 1 If the Dell PowerVault 136T LTO Library is Online, as shown in
, press the button beneath the Online/Offline softkey.
Figure 15. Main Menu (Initial Screen)
l
The Offline Confirmation screen is displayed. See
Hyperlink
Description
Logs
The Logs tab displays the library logs.