Naming a stack – Allied Telesis AT-S25 User Manual
Page 50
50
Naming a Stack
This procedure assigns a name to a stack. The name is displayed in all the
Omega windows when you manage the stack.
To assign a name to a stack, perform the following procedure:
1. From the Main Menu, select any switch in the stack.
Note
You do not need to select the master switch to assign a name to a
stack. Once assigned, a name will apply to all switches in the stack.
2. From the Main Menu, select System Configuration.
The System Configuration menu in Figure 7 on page 39 is
displayed.
3. Select System Name.
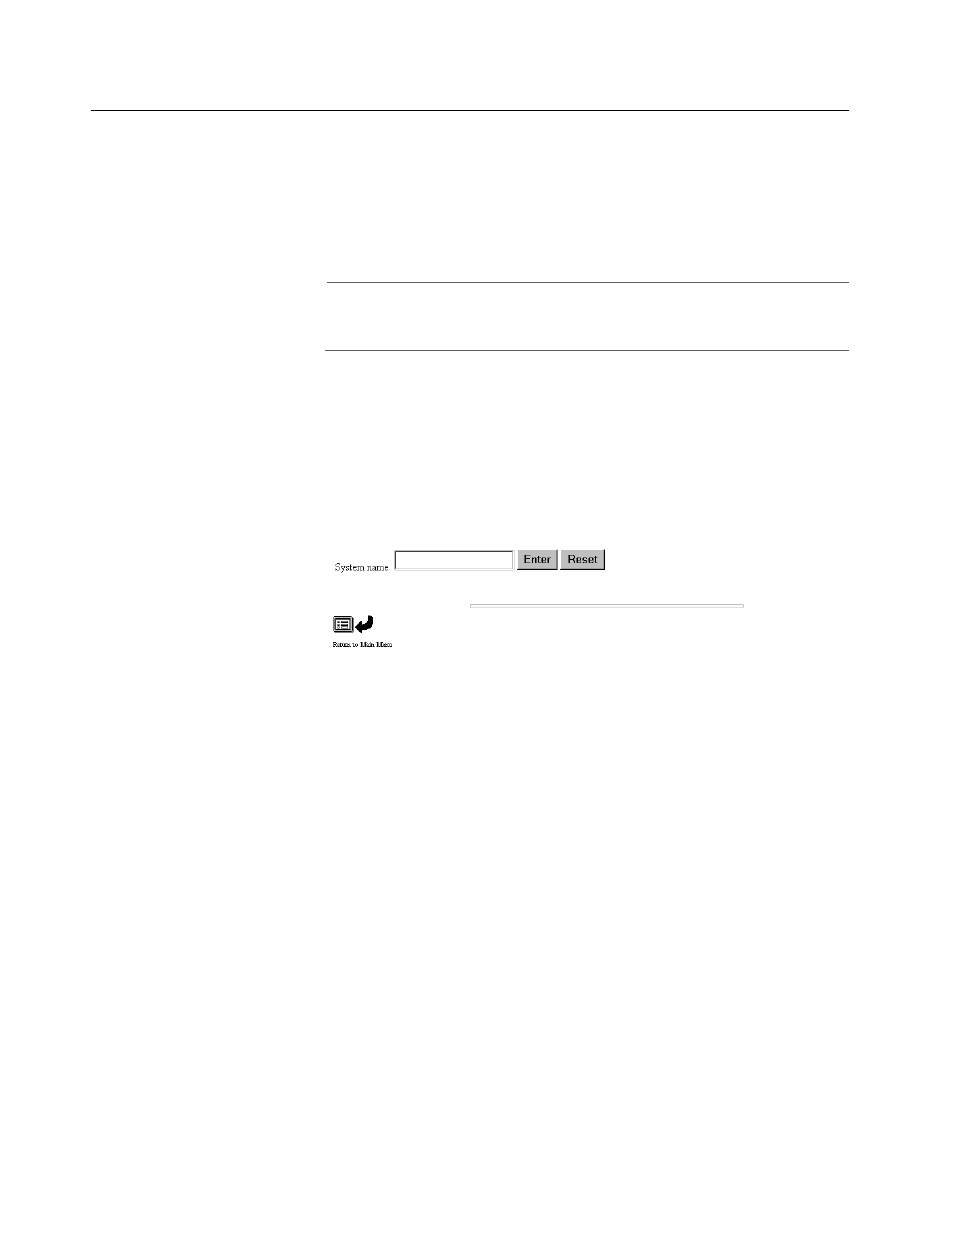
The prompt in Figure 15 is displayed.
Figure 15 System Name Prompt
4. Enter a unique name of up to 20 characters in the type-in field. Select
Enter. The stack’s name must be unique within the subnet.
The new name will appear at the top of the screen and will be
displayed in every Omega screen from now on.
5. If the stack already has a name that you want to delete without
entering a new name, do one of the following:
From a web-based Omega session, delete the existing name and
press
From a local or Telnet Omega session, enter a space in the System
name field and press
6. Return to the Main Menu.