Wifi, Configuring pc settings for wifi connection – Ag Leader ParaDyme Operation Guide User Manual
Page 61
59
W
I
F
I
The WiFi screen enables you to establish a wireless connection between the ParaDyme system and a
laptop PC. Firmware upgrades can be accomplished over the WiFi connection. See the
for the upgrade procedure. You can enable/disable the WiFi connection, view the
encryption method and assigned ESSID in the WiFi screen.
Note:
The WiFi connection is normally disabled. You must go to the WiFi screen and enable it. WiFi
stays enabled until you either power down the ParaDyme Roof Module, or press the Disable button.
Note: The encryption method is automatically implemented. The ESSID is assigned with the 4 last digits of the
ParaDyme serial number (ESSID) as shown in the WiFi status screen in Step 3.
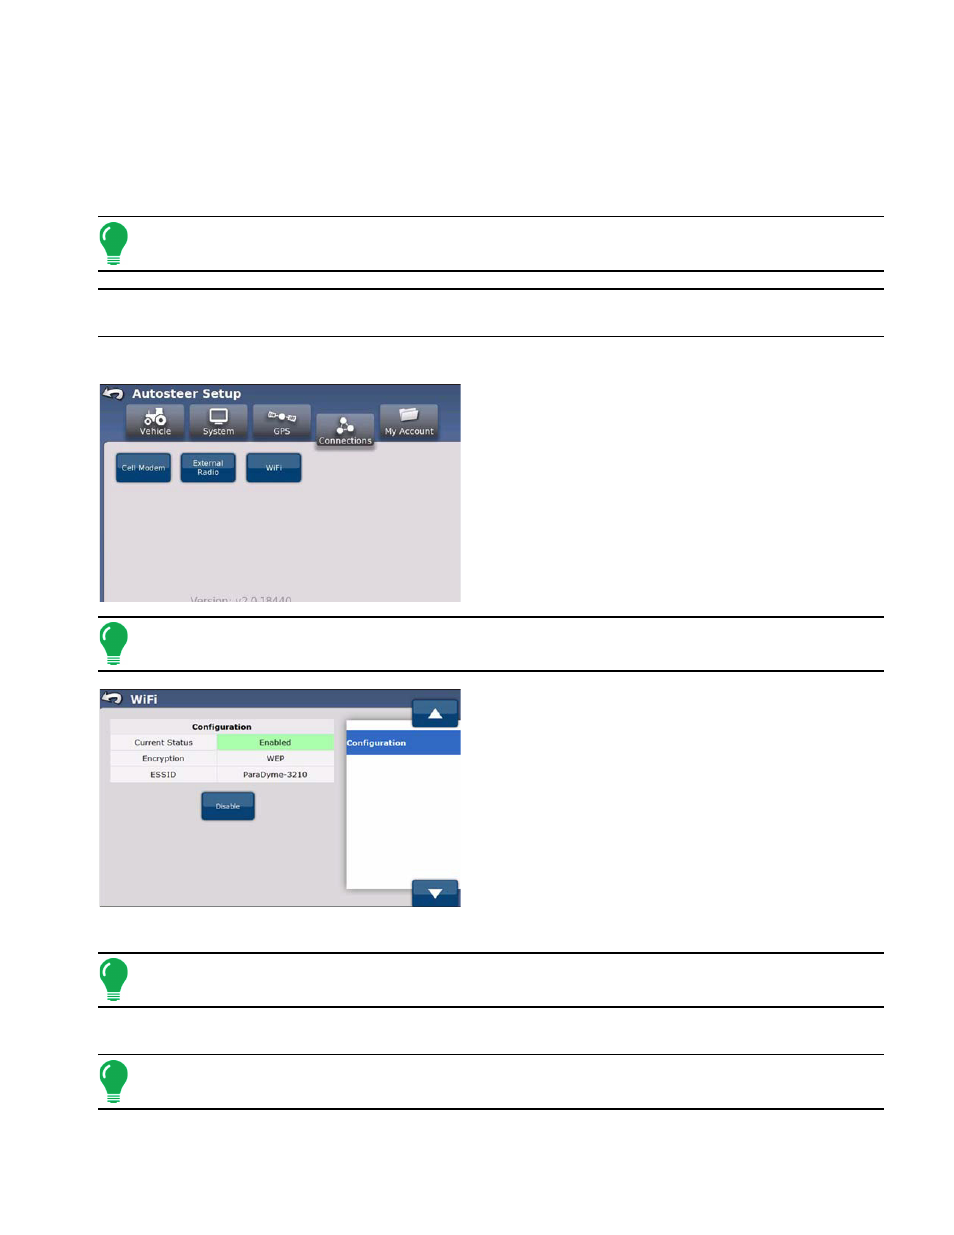
To enable/disable the WiFi connection:
1. From the AutoSteer Setup screen, press the
Connections button. The Connections menu appears.
2. From the Connections menu, press the WiFi button.
The WiFi screen appears.
3. Press the Enable button to activate the WiFi
connection. The Available WiFi Configuration scroll list
appears.
Note:
The WiFi connection is now enabled, showing the Encryption method and the ESSID.
4. Proceed to the Configuring PC Settings for WiFi
Connection section to complete the WiFi connection
with the Paradyme system.
Configuring PC Settings for WiFi Connection
Note:
The WiFi connection is used exclusively for performing software upgrades.
for software upgrade information.
1. Access the Add a Wireless Connection screen on your PC.
Note:
The wireless network name, or ESSID is PDYMENET-nnnn where nnnn are the last 4 digits
of the ParaDyme Roof module serial number.