10 adding, editing, and deleting marks, 10 adding, editing, and deleting marks -19 – Yokogawa Touch Screen GP20 User Manual
Page 49
3-19
IM 04L61B01-01EN
Displaying and Converting Data
1
2
3
4
5
6
7
8
9
10
11
12
App
Index
3.1.10 Adding, Editing, and Deleting Marks
Adding a Mark
You can add a mark when cursors A and B are at the same position.
Procedure
1
Click the position where you want to add a mark.
Cursor A appears.
2
On the
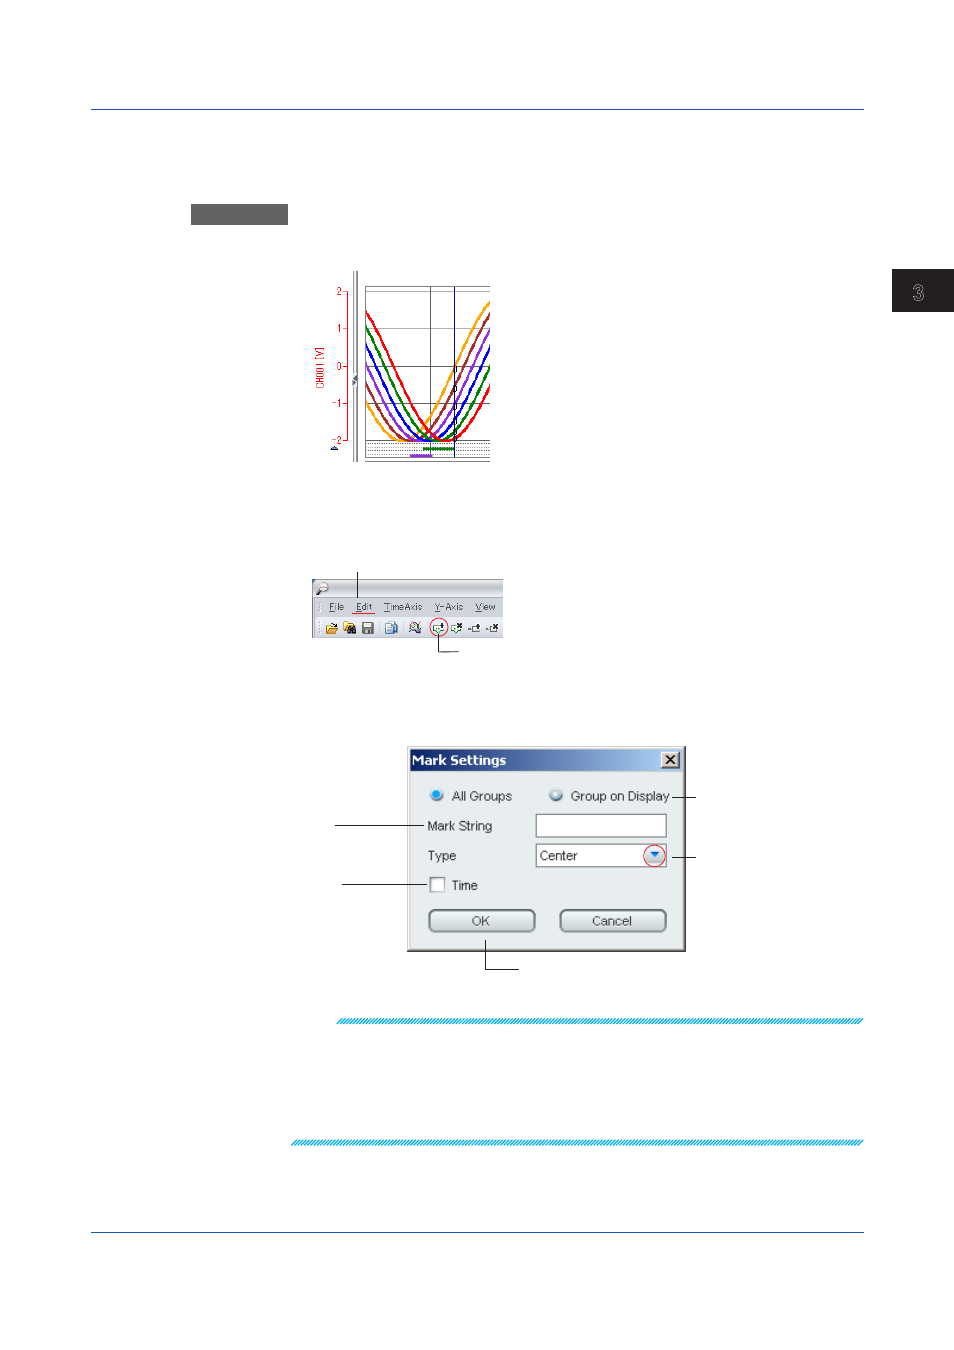
Edit menu, click Append Mark. Or, click the corresponding button on the
toolbar.
Click here to select.
Add a mark.
The Mark Settings box appears.
3
Edit the mark information.
Mark title
(up to 32 characters)
When you are finished selecting, click OK.
Click to select
the display position.
Select whether to
add the mark to all groups
or only to the groups
that are displayed.
Select to
show timestamps
with marks.
Click
OK to add a position mark at cursor A.
Note
• The time display shows absolute times or relative times from the first data point, depending on
the time axis setting. If you set Type to flag, no time information is displayed.
• To change an existing mark, double-click the mark to open the Mark Settings dialog box. Then,
follow the steps from step 3 to edit it.
• You can only change the display position and time display for marks that were added during
recording.
• Marks and mark lines that you add with Universal Viewer are displayed in green.
3.1 Displaying Waveforms