Teledyne LeCroy PeRT3 Phoenix System User Manual
Page 56
54
Teledyne LeCroy
System Control Ribbon ‐‐ Channel Tabs
control has a range of allowed values, and if the value typed in is not supported, the
closest available value will be substituted.
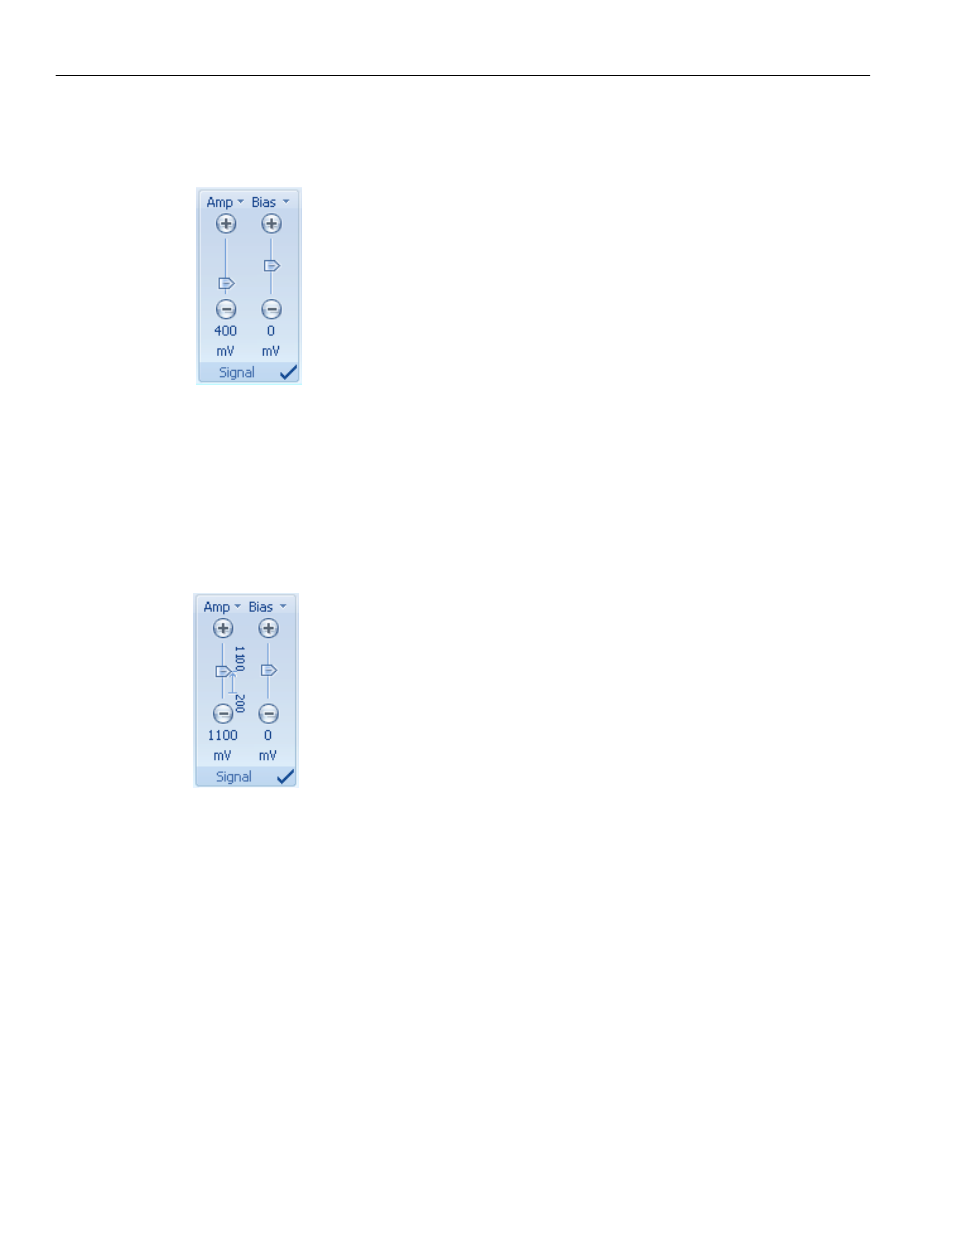
Figure 6.10: Entering Values
An automatic range of values can be very easily defined by moving the slider to the
starting value of the range, and then holding down the "Shift" key while dragging the
slider to the end value for the range (either from low to high or from high to low). This
creates a sequence of values from the starting value to the ending value, with a total of
10 (roughly) equal steps in the range. The range is displayed as shown below (in this
example, using 200 as the starting value and 1100 as the ending value).
Figure 6.11: Using the Slider
For more exact control of test ranges, to the immediate right of each control heading is a
small arrow that provides access to automatic ranges for each control. By clicking this
arrow, the screen as shown in
Figure 6.12 on page 55
displays. This screen allows the user
to enable automated testing of a well‐defined range of values, to define the minimum
and maximum values of the range, to define whether the range is to be executed from
minimum value to maximum value or vice versa, to define the number of steps within the
range, or to define custom (unequal or non‐sequential) steps for the range. To define a
range, click the Enable Range box, set the minimum and maximum values, set the
number of steps, and click or un‐click the Low to High box (if un‐clicked, the range will
run high to low).