Red book audio cd, Part viii–data entry, system & file management – Teac SX-1 Reference Manual User Manual
Page 174
Part VIII–Data Entry, System & File Management
174
TASCAM SX-1
Reference Manual
time. As you add files, you will notice that a
Total Files
and a
Total Size
readout will update with each addition.
When you have assembled all of the desired audio
files for your ISO data CD, give the CD a name by
entering one in the
CD Name
field to the right of the
Files
register. Once you have named the CD with your
PS/2 keyboard, press the
Burn CD
button to the right of
the
CD Name
field. A progress bar will appear, letting
you know the status of the burning program. The disc
will eject when finished.
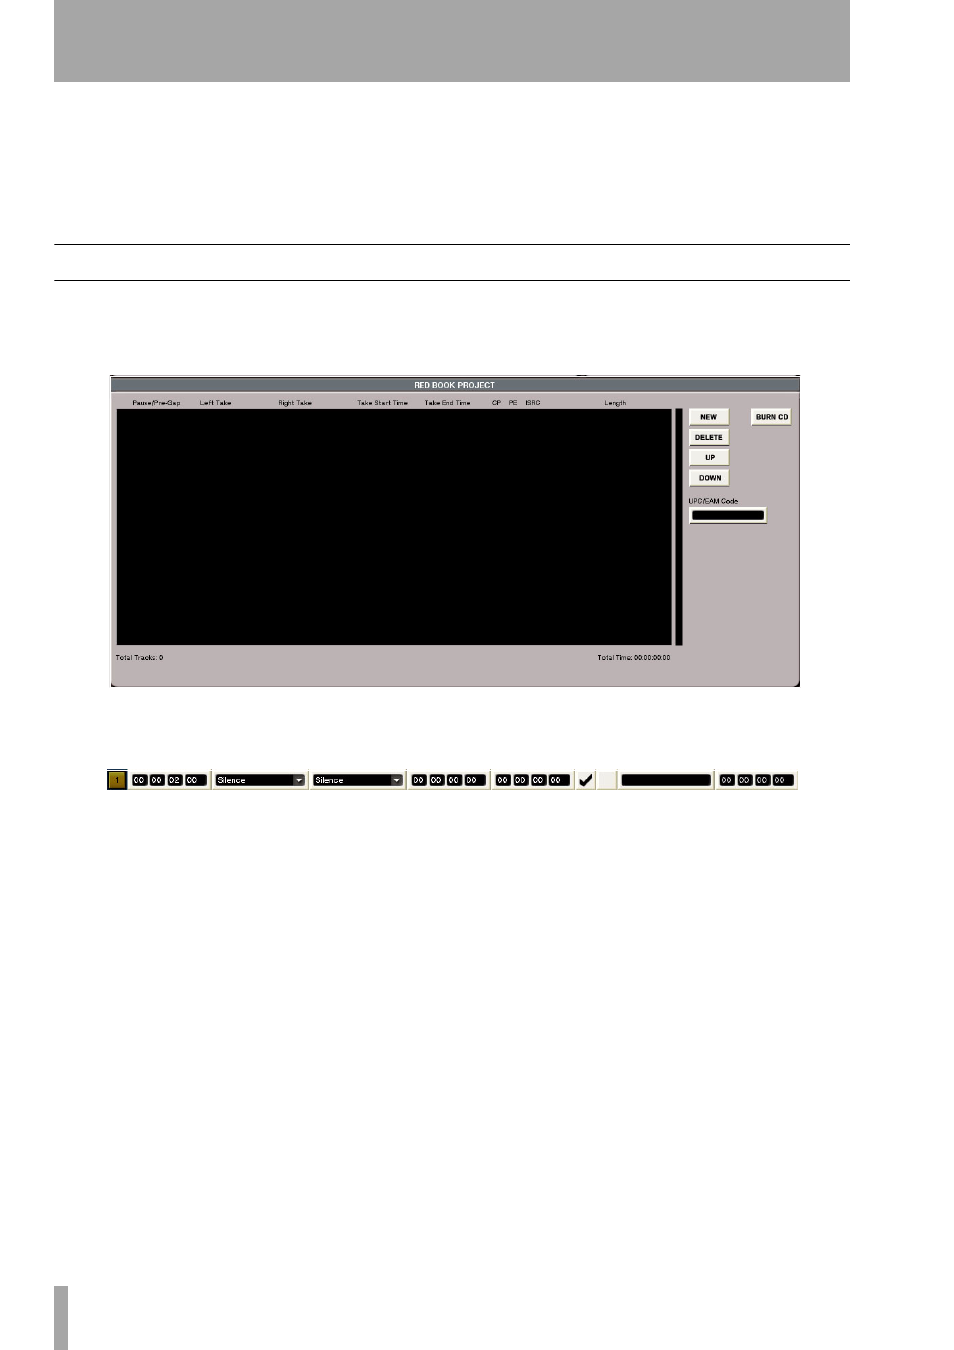
Red Book Audio CD
If you select
Red Book CD
from the
Type
tab at the top of
the VGA screen, the layout of the bottom screen will
change to this:
To add a stereo file, press the
New
button to the bot-
tom right of the screen.
One of these will appear:
The use of this bar requires some explanation:
The SX-1 uses Takes to load the stereo files for burn-
ing. This means that audio Clips are not available for
direct import into the burning program. Any audio
file that you wish to be burned to a CD in Red Book
audio format must be loaded into a Take slot first,
before it can be loaded into the bar above. While this
might at first seem unusual, looking closer at the
functionality this provides will show its merit. As
well, consider the fact that any stereo file created in
Mixdown mode is already, by its very nature, a Take.
One advantage to using Takes is that you can pre-
configure an entire audio CD by loading the desired
mixes onto a pair of Takes and arranging from there.
Using this method, you can drag files around to get
the desired amount of space between them, as well as
crossfading one song into the next by using the same
tools you’re used to for editing audio waveforms.
Look again at the slot above that appears when you
press the New button on the bottom right of the VGA
screen.
The
Pause/Pre Gap
field is where you manually enter
the amount of space between the previous Take and
this one. If the Take in question is the first one, this
field sets the amount of time it takes to play the CD
when it is loaded and the first track is selected by the
CD player.
The
Left Take
field has an arrow, which denotes a pull-
down menu. The pulldown menu allows you to
search for the desired files by project. When you find
the desired file and select it, it will be loaded into the
Left Take
slot. As a benefit, when you load the left side
of a stereo mix labeled some name followed by either
a “L” or “R” (to denote left or right), the burning pro-
gram will automatically load the corresponding right
side of the Mix. Incidentally, this works inversely for
the
Right Take
field.