Elecraft K3 Assembly Manual User Manual
Page 22
21
If you have the KRX3 Subreceiver option kit on hand, you may wish to install the AUX RF antenna connector
at this time. The AUX RF connector is one optional way to connect an antenna to the subreceiver. Before you
decide, turn to your KRX3 Installation and Operation Manual and review the Auxiliary KRX3 Antenna Input
(Optional) section. It is not necessary to install the connector now, even if you decide to use it. Complete
instructions for installing it later are included in your KRX3 manual.
If you wish to install the AUX RF connector now, do so as follows.
Retrieve the following components from your KRX3 Subreceiver kit:
Coaxial cable with a pre-mounted BNC female panel connector on one end and a TMP connector on the
other end (TMP connectors are shown in Figure 75 on page 54).
Nut and inside tooth lock washer that fits the BNC connector. (They may be supplied threaded onto the
connector. If so, remove them.)
One 4-40 3/8” (9.5 mm) black pan head screw.
One #4 inside tooth lock washer.
One 4-40 nut.
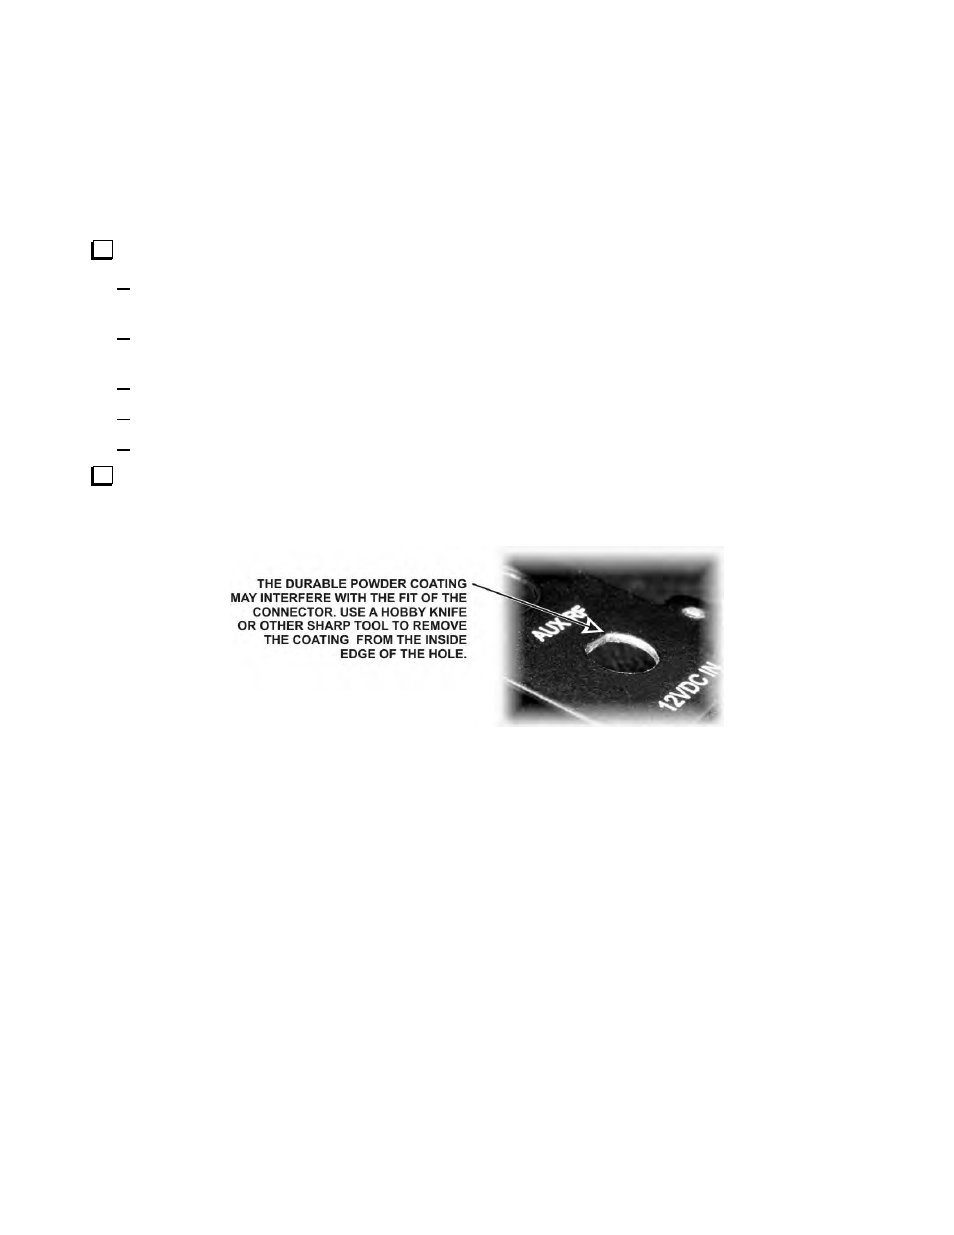
The highly scratch-resistant powder coating on the rear panel may interfere with the fit of the BNC
connector through the hole. Remove the coating around the edge of the hole using a hobby knife or other sharp
tool (see Figure 19). Note that the hole is flat at the top. That is intentional.
Figure 19. Removing the Powder Coating from the AUX RF Connector Hole.