Watlow EZ-ZONE PM User Manual
Page 89
Watlow EZ-ZONE
®
PM Limit Controller
•
86
•
Chapter 8 Features
Navigating from one menu to the next is easy and clearly visible. Simply slide the scroll bar up or down to
display the menu and parameter of choice. If there is a need to bring greater focus and clarity to the pa-
rameters of interest simply click on the negative symbol next to any of the Menu items. As an example if it
is desired to work within the Operations page click the negative sign next to Setup where the Setup Page
will then collapse. Now click the plus sign next to Operations to find the menu items of choice without view-
ing unwanted menus and parameters. Once the focus is brought to an individual parameter (single click of
mouse) as is the case for Analog Input 1 in the left column; all that can be setup related to that parameter
will appear in the center column. The grayed out fields in the center column simply mean that this does not
apply for the type of sensor selected. As an example, notice that when a thermocouple is selected, RTD Leads
does not apply and is therefore grayed out. To speed up the process of configuration notice that at the bottom
of the center column there is an option to copy settings. If Analog Input 1 and 2 are the same type of sensor
click on "Copy Settings" where a copy dialog box will appear allowing for quick duplication of all settings.
Notice too, that by clicking on any of those items in the center column that context sensitive help will appear
for that particular item in the right hand column.
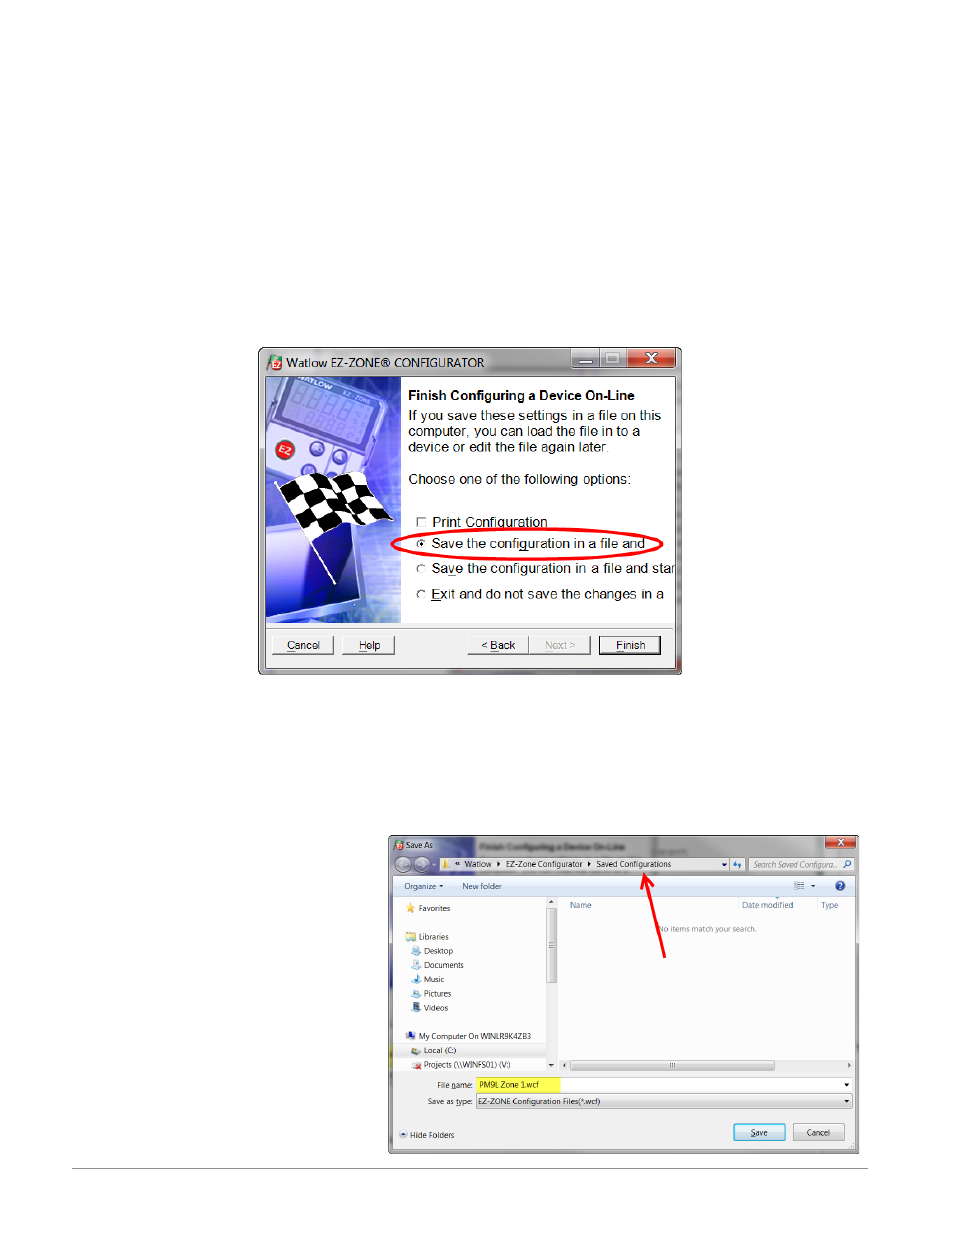
Lastly, when the configuration is complete click the "Finish" button at the bottom right of the previous
screen shot. The screen that follows this action can be seen below.
Although the PM Limit control now contains the configuration (because the previous discussion focused on
doing the configuration on-line) it is suggested that after the configuration process is completed that the user
save this file on the PC for future use. If for some reason someone inadvertently changed a setting without
understanding the impact, it would be easy and perhaps faster to download a saved configuration back to the
control versus trying to figure out what was changed. Of course, there is an option to exit without saving a
copy to the local hard drive. After selecting Save above, click the "Finish" button once again. The screen be-
low will than appear. When saving the configuration, note the location where the file will be placed (saved
in) and enter the file name (File name) as well. The default path for saved files follows: Users\"Username"\
My Documents\Watlow\EZ-Zone Configu-
rator\Saved Configurations
The user can save the file to any folder of
choice.