Software configuration – Watlow EZ-ZONE PM User Manual
Page 87
Watlow EZ-ZONE
®
PM Limit Controller
•
84
•
Chapter 8 Features
Software Configuration
Using EZ-ZONE
®
Configurator Software
To enable a user to configure the PML (Limit) control using a personal computer (PC), Watlow has provided
free software for your use. If you have not yet obtained a copy of this software insert the CD (Controller Sup-
port Tools) into your CD drive and install the software. Alternatively, if you are viewing this document elec-
tronically and have a connection to the internet simply click on the link below and download the software
from the Watlow web site free of charge.
Once the software is installed double click on the EZ-ZONE Configurator icon placed on your desktop during
the installation process. If you cannot find the icon follow the steps below to run the software:
1. Move your mouse to the "Start" button
2. Place the mouse over "All Programs"
3. Navigate to the "Watlow" folder and
then the subfolder "EZ-ZONE Configu-
rator"
4. Click on EZ-ZONE Configurator to run.
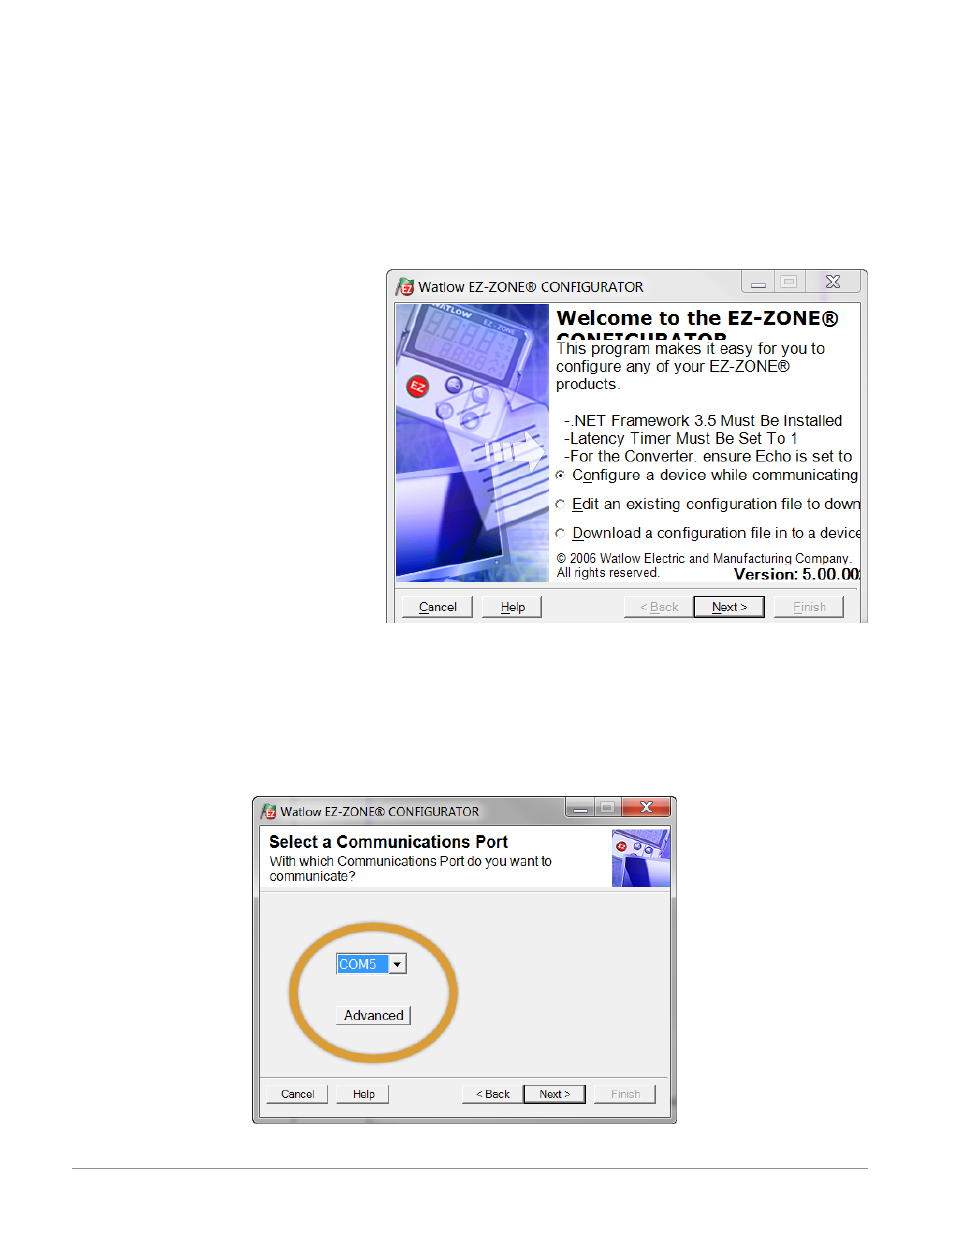
The first screen that will appear is shown
to the right. If the PC is already physical-
ly connected to the EZ-ZONE PML control
click the next button to go on-line.
Note:
When establishing communications from
PC to the EZ-ZONE PML an interface
converter will be required. The Stan-
dard Bus network uses EIA-485 as the
interface. Most PCs today would require
a USB to EIA-485 converter. However,
some PCs may still be equipped with
EIA-232 ports, therefore an EIA-232 to
EIA-485 converter would be required.
As can be seen in the above screen shot the software provides the user with the option of downloading a pre-
viously saved configuration as well as the ability to create a configuration off-line to download later. The
screen shots that follow will take the user on-line.
After clicking the next button above it is necessary to define the communications port that will be used on
the PC as shown below. Clicking on the drop down will allow the user to select the appropriate communica-
tions port. This will be the port assigned to the EIA-485 to USB converter when it was connected to the PC.
The "Advanced" button allows the user to determine how many devices to look for on the network (1 to 17).