Configuration procedure – Micromod MOD: 1800P - MOD 30ML Identity Module (Version 2) Algorithms, Tables and Sequential Logic Functions User Manual
Page 149
Logic Functions - Book 2
CONFIGURING THE SEQUENCE BLOCK
11-3
11.2.2
Configuration Procedure
Getting Started
This procedure is based on the assumption that the ViZapp software is installed. Start the
configuration of the Sequence Block using the step-by-step instructions in Table 11-1.
Table 11-1. Starting the Configuration
Step
Procedure
Comments
1
Launch ViZapp. Use the desktop icon or select
Programs from the Windows Start menu and select
ViZapp from the menu.
If you are not familiar with ViZapp, try
the tutorial and PIDLAB training.
2
Create a new Workspace and a new project. Click on
the File menu on the menu bar at the top. Select New
from the drop-down menu
If you have already created a
workspace called CLASS using the
PID lab, then Open that workspace.
3
Type the name CLASS for your project in the name
field. Notice that the folder "\Class" is created
automatically. Use the "…" button to browse to a
specific location. All project files and the instrument and
display documents will be saved in this folder. This
makes portability easier.
Skip if CLASS is open.
When you create a new project, a file
with the project name and file
extension .APRJ is created.
4
Click on the option Create a new Workspace. This will
create a new workspace for us.
Skip if CLASS is open.
The workspace is saved as a file with
extension .AWSP (Class.awsp) in the
installation directory.
5
Click on OK. The configurator will redisplay with a new
workspace and a project call CLASS/
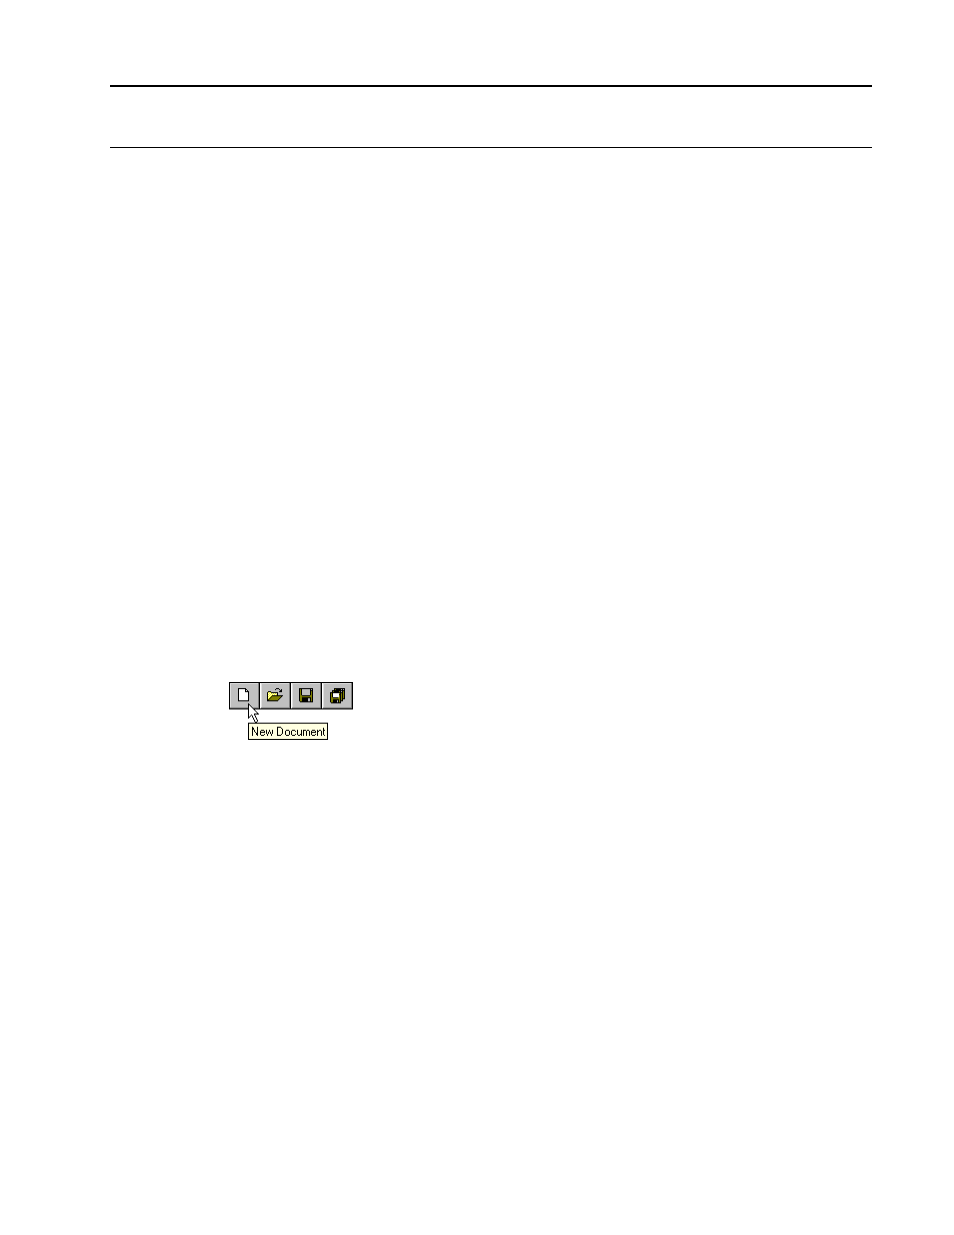
6
Click on the New Document button on the tool bar or
Select File-New from the menu bar to display the
New dialog box.
7
Select the type MOD Function Block Diagram and
then type the name SEQLAB for the document in the
Name field. This document will be created in the project
folder \class automatically and will be added to your
Class project by default.
The document files have the
extension .AFBD and are saved in
the project folder.
8
Click on OK. This will display the Choose Instrument
Version dialog box as shown. This dialog box displays
the different instrument ID module versions (MODCELL
and MOD 30ML).
9
Select MOD 30ML 2 from this list as our instrument
version by clicking on it and then click on the Close
button.
The instrument database will be
opened on the right frame and the
default blocks (IF, SE, ST and DIF)
for the MOD 30ML database will be
loaded. Notice that the newly created
document SEQLAB is shown in the
project tree attached to the Project
CLASS. The algorithm blocks
belonging to the instrument version
selected will be shown as a menu on
the left frame.