Defining the area to record the voiceover, Mark in, Mark out – EVS IPDirector IPD XEDIO PLUGIN Version 6.0 - January 2013 User Manual User Manual
Page 192: Recording the voiceover, Ge 182), Age 182)
Issue 6.0.B
IPD Xedio Plugin Version 6.0 – User Manual
EVS Broadcast Equipment – January 2013
182
Defining the Area to Record the Voiceover
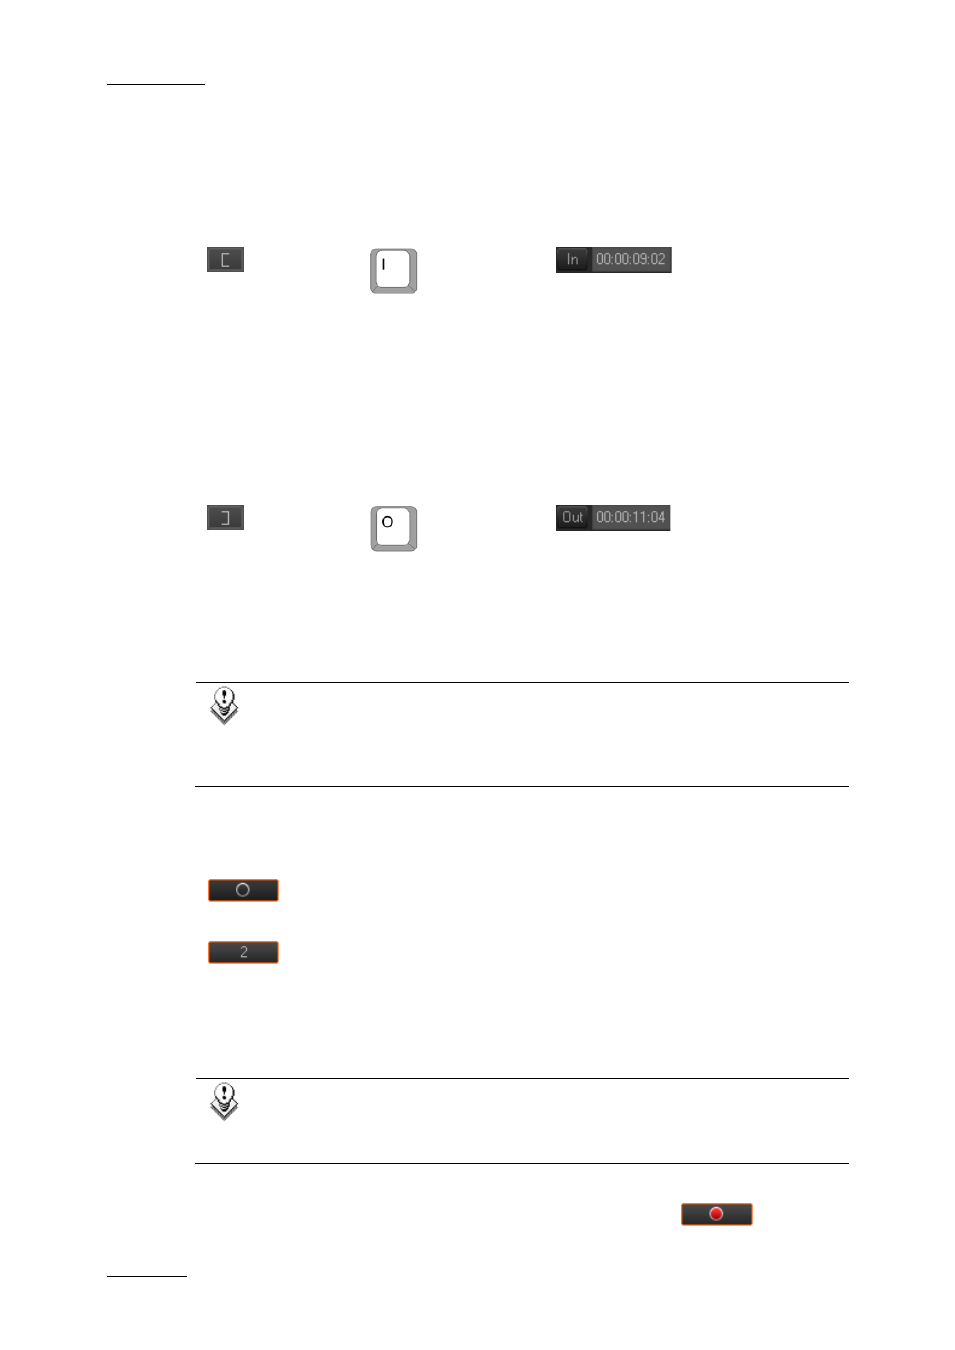
Mark In
or
or
Place the nowline in the timeline where the voiceover should start, then click the Mark IN
button in the timeline or recorder area to define the IN point of the recording area for the
voiceover.
The timecode of the mark IN point will be displayed in the recorder panel next to the IN
button.
Mark Out
or
or
Place the nowline in the timeline where the voiceover should end, then click the Mark
OUT button in the timeline or recorder area to define the OUT point of the recording area
for the voiceover.
The timecode of the mark OUT point will be displayed in the recorder panel next to the
OUT button. The duration of the voiceover will also be shown on the recorder area.
Note:
It is possible to start a voiceover recording without adding an OUT point. In
this case, the voiceover recording would continue until you stop manually the
recording clicking the Recording button.
Recording the Voiceover
Launch the recording process by clicking the Rec button.
…1 (count down)
When the user selects the Rec button when mark IN and mark OUT have been set, a
countdown starts and is shown on the button itself. It indicates the number of seconds
before the IN point of the voiceover and allows to user to get ready for the recording.
During the countdown CleanEdit will play the edit leading up to the IN point for the
voiceover.
Note:
The Preroll value for a voiceover can be set in Xedio Manager. Please refer
to the Xedio Manager user manual for further details.
When the countdown is over, the Rec button displays a red button
.