4 moving clips or elements on the timeline, 1 moving a clip or element in the timeline, Moving clips or elements on the timeline – EVS IPDirector IPD XEDIO PLUGIN Version 6.0 - January 2013 User Manual User Manual
Page 131: Moving a clip or element in the timeline
IPD Xedio Plugin Version 6.0 – User Manual
EVS Broadcast Equipment – January 2013
Issue 6.0.B
121
8.4 Moving Clips or Elements on the
Timeline
8.4.1 Moving a Clip or Element in the Timeline
To move a clip freely on the timeline, select it first (see the section 8.2), and then drag it
to its new position.
The Overwrite and Insert modes are also applicable to moving actions.
The magnetic effect, that ‘sticks’ the elements when near the nowline, mark IN, mark
OUT and the clip edges on the elements already present on the timeline can ease the
movements of the edit elements.
Note
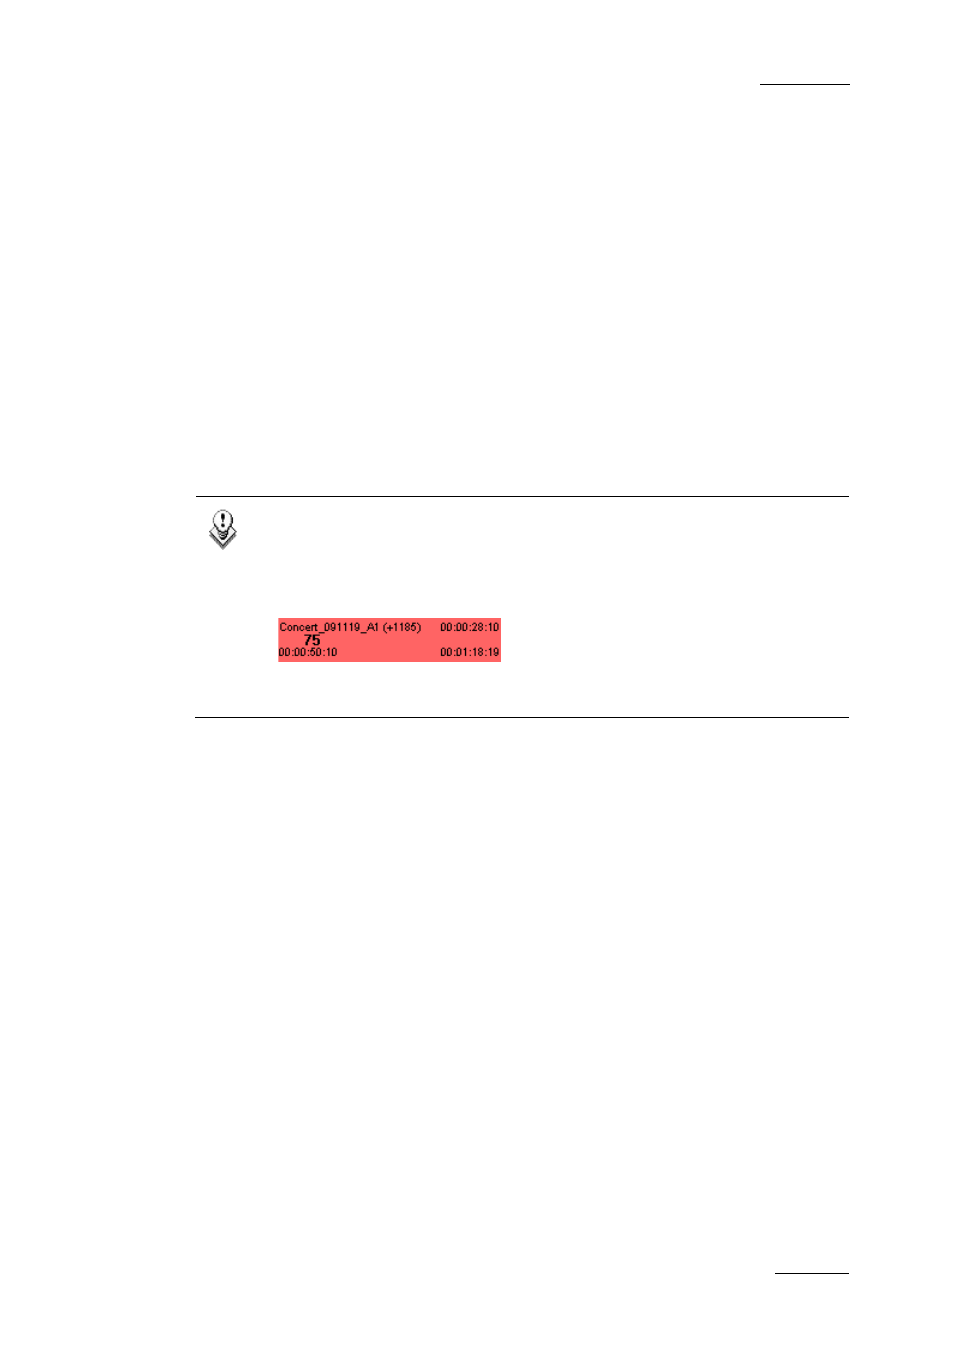
If an element selected has other elements associated with it (for example the
video element from a clip with the associated audio elements), moving only one
of the elements will desynchronize the other elements. This will show on the
timeline by the associated audio turning red:
Refer to the section 8.7.1 ‘Resynchronizing Associated Clip Elements’, on page
128 to resynchronize elements.
8.4.2 Moving an Audio Clip between Tracks
without Modifying its Horizontal Position
You can move an audio element between tracks without modifying its position compared
to the other elements of the clip. This will prevent from audio desynchronization.
To move an audio element between tracks, without modifying its horizontal position,
proceed as follows:
1. Select the clip by clicking once with the left button of the mouse.
2. Keep the SHIFT key pressed.
3. Drag the clip to the audio track desired.