D.2.2, Adjusting color – NewTek TriCaster 2 Elite (3 RU) User Manual
Page 299

P a g e | 281
Some more professional cameras offer full manual controls for white balance and/or black level. Use these
as instructed to ensure your camera is providing the correct white and black levels.
If you cannot make source adjustments, or can’t get it quite right by these means alone, you can use the
Brightness and Contrast controls in the
Proc Amp
for that input to tweak black and white levels. (Of course
it is always best to perform adjustments at the source if possible.)
D.2.2
ADJUSTING COLOR
We’re going to move into color calibration next, but first we can actually use our black and white signals for
some further tests.
V
ECTORSCOPE
While we’re still working with black and white levels, we can introduce
the
Vectorscope
, and perform an
initial test of the camera’s color balance.
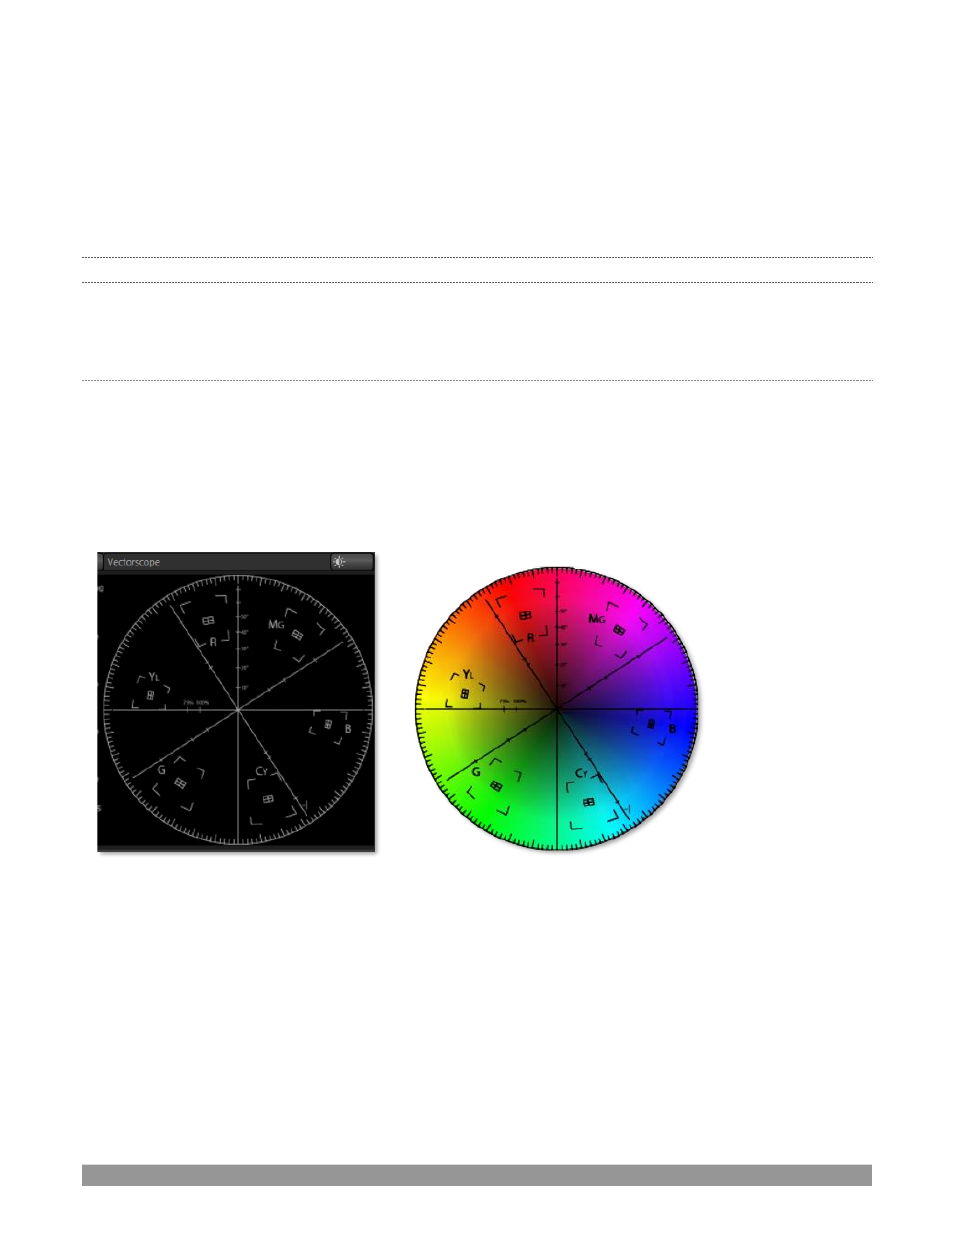
A vectorscope (Figure 335) can be likened to the famil
iar ‘color wheel’ (
Figure 336) which sweeps radially
through the colors of the spectrum
–
yellow, red, magenta, and so-on, around the arc of a circle. Colors are
more progressively intense (saturated) towards the outside of the circle, while color saturation is zero at its
center.
FIGURE 335
FIGURE 336
As it happens, from the vectorscope point of view, neither black nor white properly have any color saturation.
Thus with the lens cap on (or with a white card filling the viewfinder), the vectorscope should show only a
small fuzzy trace at its center. If the fuzzy dot is off-center horizontally or vertically, this would indicate that
the camera is incorrectly calibrated, actually tinting gray areas.
When the trace
is
off center, the direction and distance of the offset tells us what sort of tint (and how much)
is represented by the deviation. You may be able to use the color controls at your camera to correct for this
