3 bank, 4 previz – NewTek TriCaster 2 Elite (3 RU) User Manual
Page 230

P a g e | 212
22.3.3
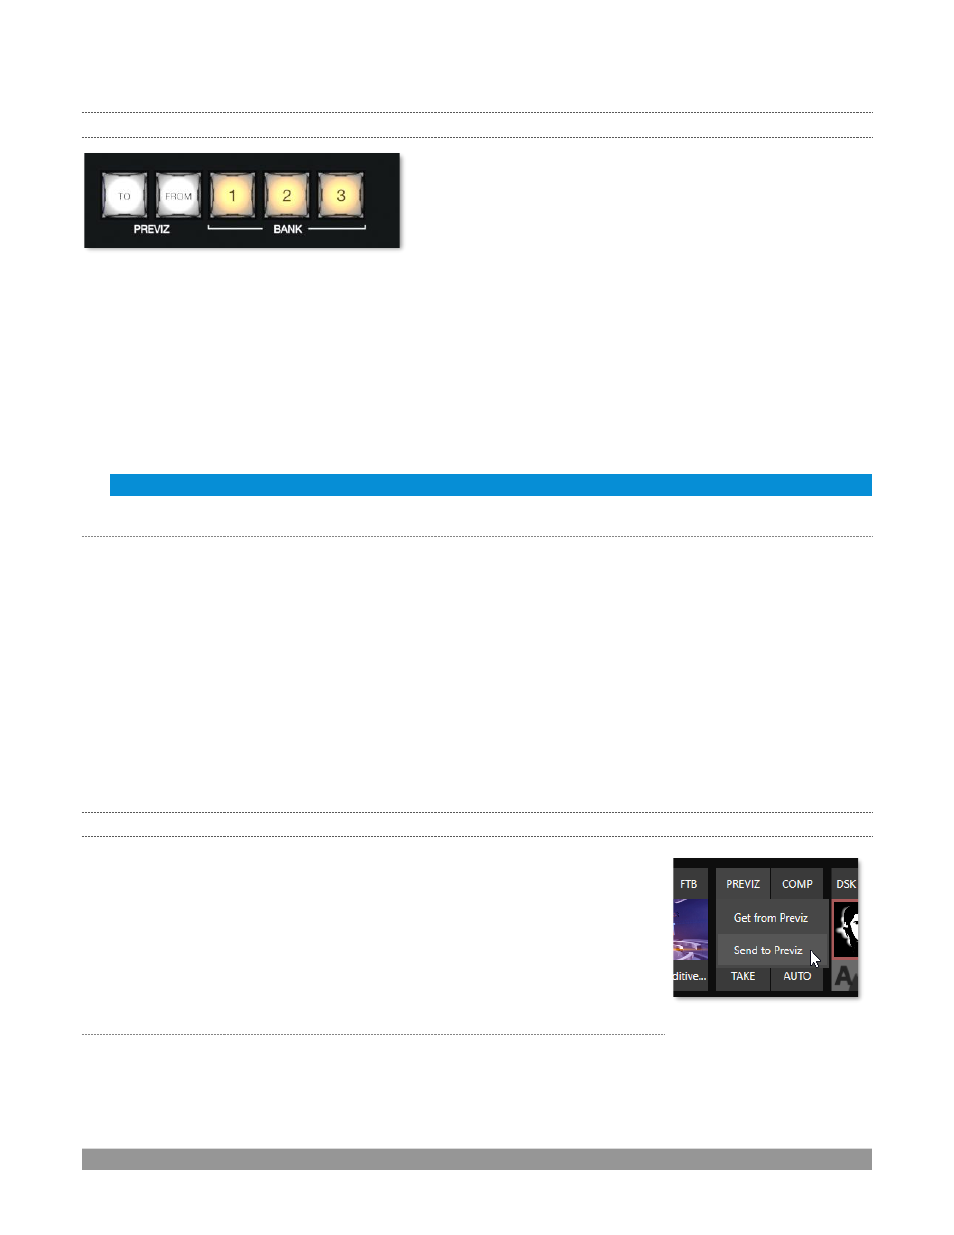
BANK
FIGURE 261
Another set of delegate buttons sits in the second row (counting from the top) of the
primary Command
group
. This group is labeled
BANK
. As you know by now, the
Switcher
crosspoints are organized in banks
comprising columns.
Similarly,
Switcher
sources are presented in banks on Stripe model control surfaces. (The constituent sources
of Switcher banks on the surface may deviate from the interface because the button count is different.) Press
the desired
BANK
button
–
1, 2 or 3
–
to determine which group of sources is currently delegated to the
Switcher
rows in all stripes. The displays above the selection rows will update accordingly.
Note: For reasons that should be obvious, Bank buttons do not support multi-selection.
S
PLIT
B
ANKS
Ordinarily, the
Switcher
and
M/E
row bank assignments for all stripes on the surface match. So, for example,
if the
Main Switcher
is showing
Bank 1
, all other stripes likewise display
Bank 1
. It possible, however, to lock
individual stripes to specified
Banks
.
To do so, hold down the
ALT
and
CTRL
buttons on the surface together, which will cause the LCD displays to
list
Banks 1, 2,
and
3
in the first three
Switcher
columns. Press the
KEY
row button above the display for the
desired stripe to select the Bank it will present thereafter.
Stripes delegated to a particular
Bank
in this manner do not update when you press the
Bank (1-3)
buttons
in the
Primary Command Group
. To restore normal behavior, hold down
ALT
and
CTRL
again, and notice that
the
KEY
row button for the currently assigned bank lights. Press this button again to extinguish it, and the
stripe will once again follow the primary
Bank
button assignment.
22.3.4
PREVIZ
There are more deleg
ate buttons, but before moving on to consider them, let’s
complete our consideration of the second row of the
primary Command group
.
This brings us to the
PREVIZ
group.
TriCaster’s powerful
Previz
feature was described earlier in this Guide (Section
). We’ve also seen, in Section
22.3.2, that we can delegate a stripe to control
the various features
Previz
provides.
TO
AND
FROM
Two buttons labeled
TO
and
FROM
in the
PREVIZ
group on the 2 or 4-Stripe control surfaces complete the
support for this feature by providing access to the “Send to Previz” and “Copy from Previz” functions
FIGURE 262
