Section 22.4, Secondary command group, Numberpad – NewTek TriCaster 2 Elite (3 RU) User Manual
Page 233

P a g e | 215
SECTION 22.4
SECONDARY COMMAND GROUP
The
Command
control group in the second stripe (counting from the stripe nearest the operator) also has
unique functions, which is why we will refer to it as the s
econdary Command group
.
While discussing the
Primary Command Group in Section 22.3
, we reviewed the functions of the
KEY
delegates,
PREVIZ
buttons, and the
LAYER SELECT
(A/C, B/D) buttons. Let’s now consider the remaining items in this
section.
22.4.1
NUMBERPAD
Unlike the
primary
Command group
, the
secondary
Command
group
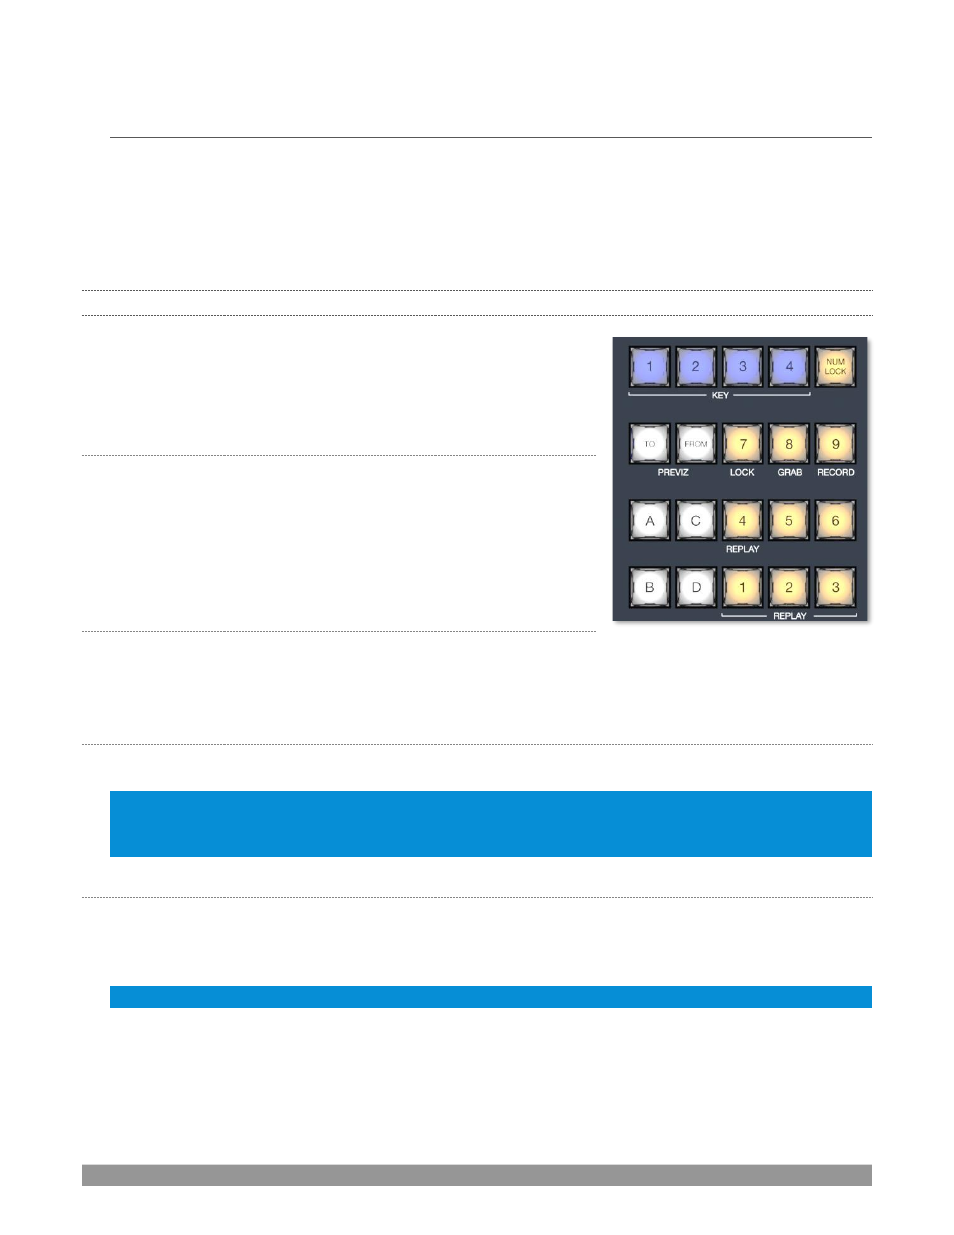
includes a numberpad
. We’ll discuss basic number input functions
soon but, first, observe that certain buttons in the numberpads have
labels below them identifying alternate functions.
NUM
LOCK
This is why (in contrast to additional numberpads provided on the 4-
Stripe surface in particular), the 0 button in this numberpad is
replaced by
NUM LOCK
. Not surprisingly, when
NUM LOCK
is lit all
numberpad buttons perform simple numeric input. When
NUM LOCK
is off however (as it is by default) number buttons with alternate labels
perform their secondary operation. Let’s discuss these now.
LOCK
(7)
With
NUM LOCK
off, this button lets you lock or unlock other control
surface buttons. Pressing
LOCK
lights all currently locked buttons. While the
LOCK
button is lit, pressing any
other control surface button toggles its locked/unlocked state, preventing unintentional changes.
GRAB
(8)
Pressing this button (with
NUM LOCK
off) triggers the software’s main Dashboard
GRAB
button.
Hint: The main GRAB feature grabs stills from selected primary (MIX) outputs, as configured in the interface.
To grab other Switcher sources (excluding M/Es), hold down the CTRL button on the control surface while
punching any KEY row button for the desired source.
RECORD
(9)
Pressing this button (with
NUM LOCK
off) triggers the main Dashboard
RECORD
function. You should be
aware that, to prevent unintended interruptions in recordings, you must hold
SHIFT
while punching
RECORD
on the control surface to stop recording.
Hint: To alert you to this safety measure, SHIFT flashes if you press RECORD alone during capture.
FIGURE 265
