NewTek TriCaster 2 Elite (3 RU) User Manual
Page 167
P a g e | 149
7. In the
M/E 1
tab, select
DDR 1
on the input
A
row.
8. Select
DDR 2
as input
B
.
9. Select
DDR 3
as input
C
.
10. Double-click the monitor for
DDR 1
to open its
Input Configuration
panel.
11. Continue to configure both
LiveMatte
and the
Tracker
for the video clip in
DDR 1
:
12. In the
LiveMatte
tab, click
Reset
to update the keyer settings to their defaults, and enable the
LiveMatte
switch at upper-left.
13. Use the
Scrub
bar under the playlist in
DDR 1
to advance through the clip until the colored card is
visible in the frame.
14. Switch to the
Tracker
tab, click the
Color
picker (eyedropper) keep the mouse button held down, and
drag the pointer over the color card and release to assign that color to the
Tracker
for
DDR 1
.
15. Boost the
Tolerance
setting to 34%.
16. Press
Play
for both
DDRs
.
Let’s take a moment to review our pro
gress, before completing setup steps:
On the
Program
monitor, you should see the talent clip overlaid on the image from
DDR 3
(
LiveMatte
is
turning the green pixels in the
DDR 1
clip transparent). You’ll also see imagery from
DDR 2
displayed
wherever the (originally) orange card appears in the frame.
What’s happening is that the
Advanced Tracking
effect is applying the values from the (DDR 1)
Tracker
for a secondary iteration of
LiveMatte.
Our
LiveMatte
settings cut away the green, revealing the
C
layer
behind. Afterward, the orange color range is also keyed out, revealing the
B
source through the
transparent region.
Up to this point, the effect takes advantage of the
Tracker
color values, applying them as a secondary keyer
–
but we haven’t yet done a
nything with the actual
motion data
the
Tracker
is supplying. Let’s do so now.
17. Click the
Position
button for input
B
to open the
Position Panel
for that layer
.
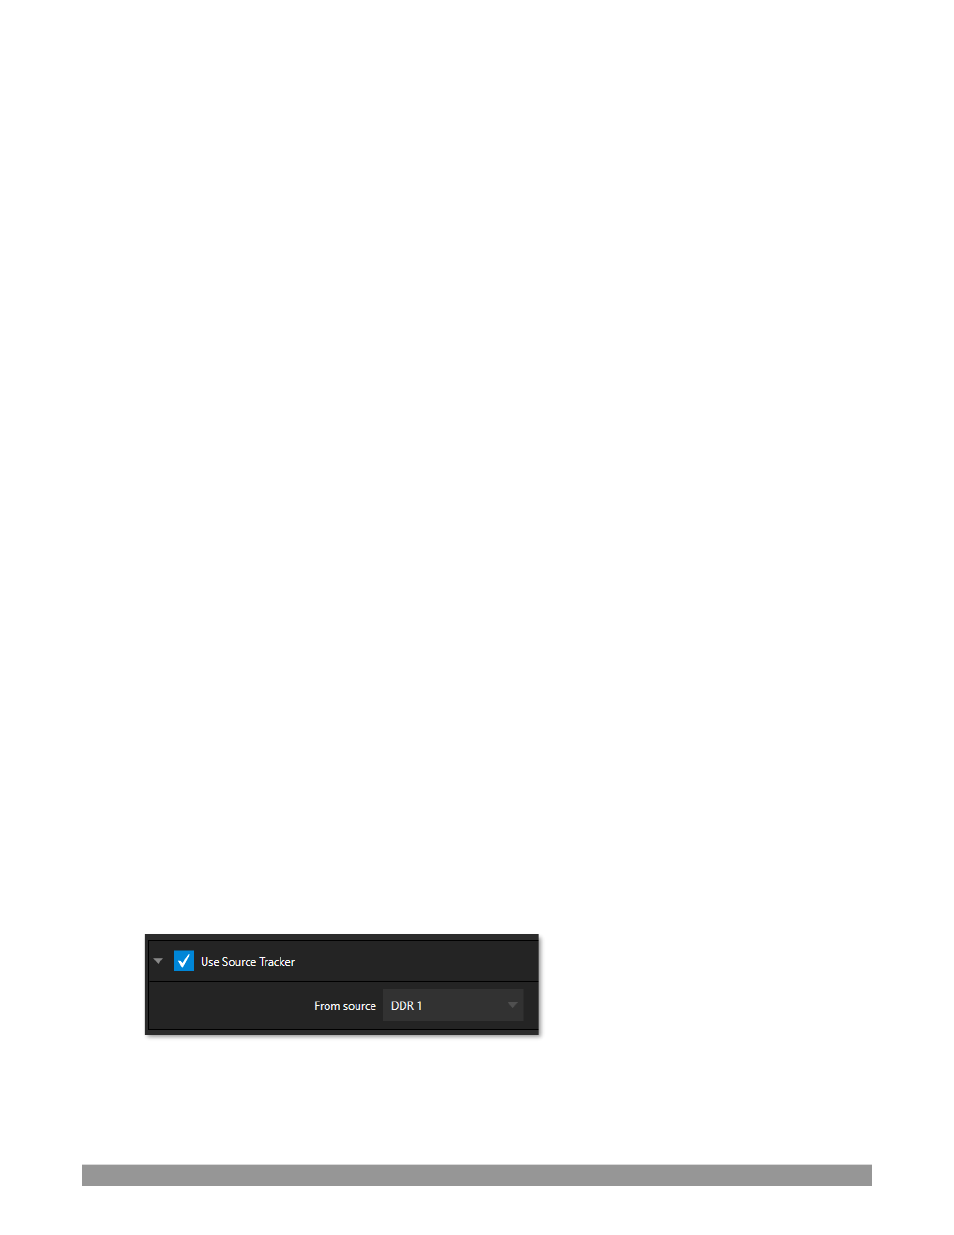
18. Select
DDR 1
in the
Use source
Tracker
menu.
FIGURE 186
19. Enable
Follow Tracker