NewTek TriCaster 2 Elite (3 RU) User Manual
Page 115
P a g e | 97
DSK
C
ONTROLS
FIGURE 107
Each
DSK
layer has a live video viewport showing the current source assigned to it
(using the menu at right above the viewport) and its own transition effect.
Click the transition icon at lower left below the viewport (Figure 107) to reveal a
palette of different transition presets provided for quick selection (Figure 109).
Click an entry in the palette to select it, or move the mouse pointer to the “
+
”
sign
that pops up for each icon and click to open the
Custom Media Browser.
Hint: The frequently-used Cut and Fade effects always available in the transition palette. As these cannot be
replaced, no + sign appears for these icons.
In the
Media Browser
, you can choose from the hundreds of transition effects, or even
Animation Store
effects
that you prepared yourself with the supplied
Animation Store Creator
application. The selected effect will
replace the current one in the palette. To display or hide the
DSK
video layer over the
BKGD
layer on
Program
output using the currently selected effect, click (or tap) the viewport or the effect name label just below.
Hint: You can halt an unfinished effect in progress by clicking again during the transition. Then click it once
more to continue performing the effect.
T
RANSITION
D
ELEGATES
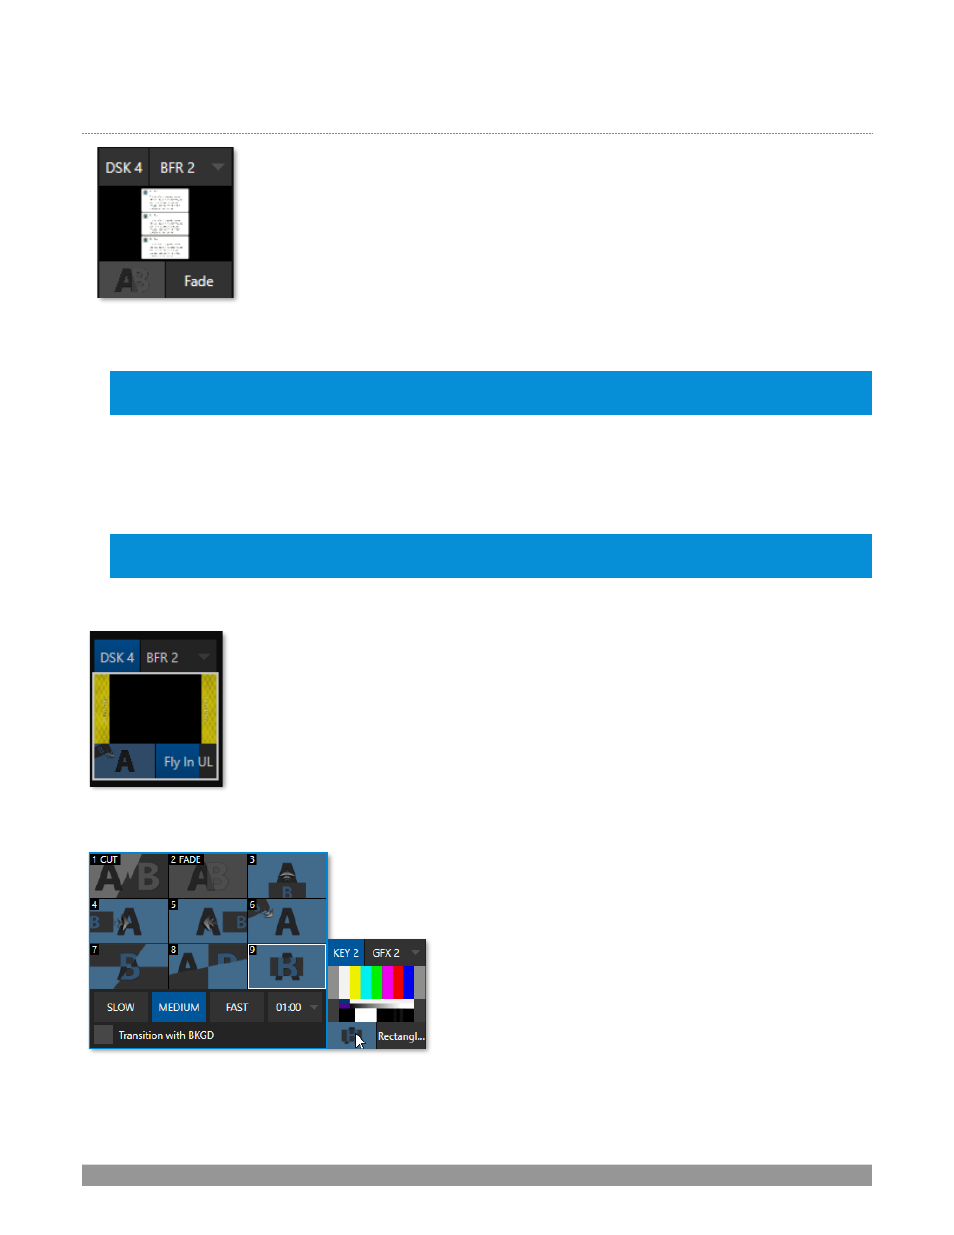
You can also control transition progress using the Switcher’s
T-Bar
control, at left. The
T-Bar
operates on all
delegated
video layers. To delegate a
DSK
, click its label at upper
left (Figure 108) to turn it blue. Clicking it a second time will un-delegate the layer.
The
T-Bar
acts on all delegated layers, including the
Background
video layer. For
example, if
DSK 1
is visible, but
DSK 2
is not, when both
DSKs
and
BKGD
are delegated
performing a T-Bar (or BKGD AUTO) operation reverses the visibility of the two
DSK
s
on
Program
output when the
BKGD
transition occurs.
T
RANSITION
T
IMING
Per transition timing is set and stored in the effect palette, using the
numeric duration control beside the effect icon.
Select transition speeds using the menu below the
Transition
Palette
. You can also drag the mouse pointer over the
numeric display to set a custom time, or click it to enable
keyboard entry of the effect duration.
FIGURE 108
FIGURE 109