Ricoh PJ WU6181N 6200-Lumen WUXGA LCD Projector (No Lens) User Manual
Page 161

146
5. Using On-Screen Menu
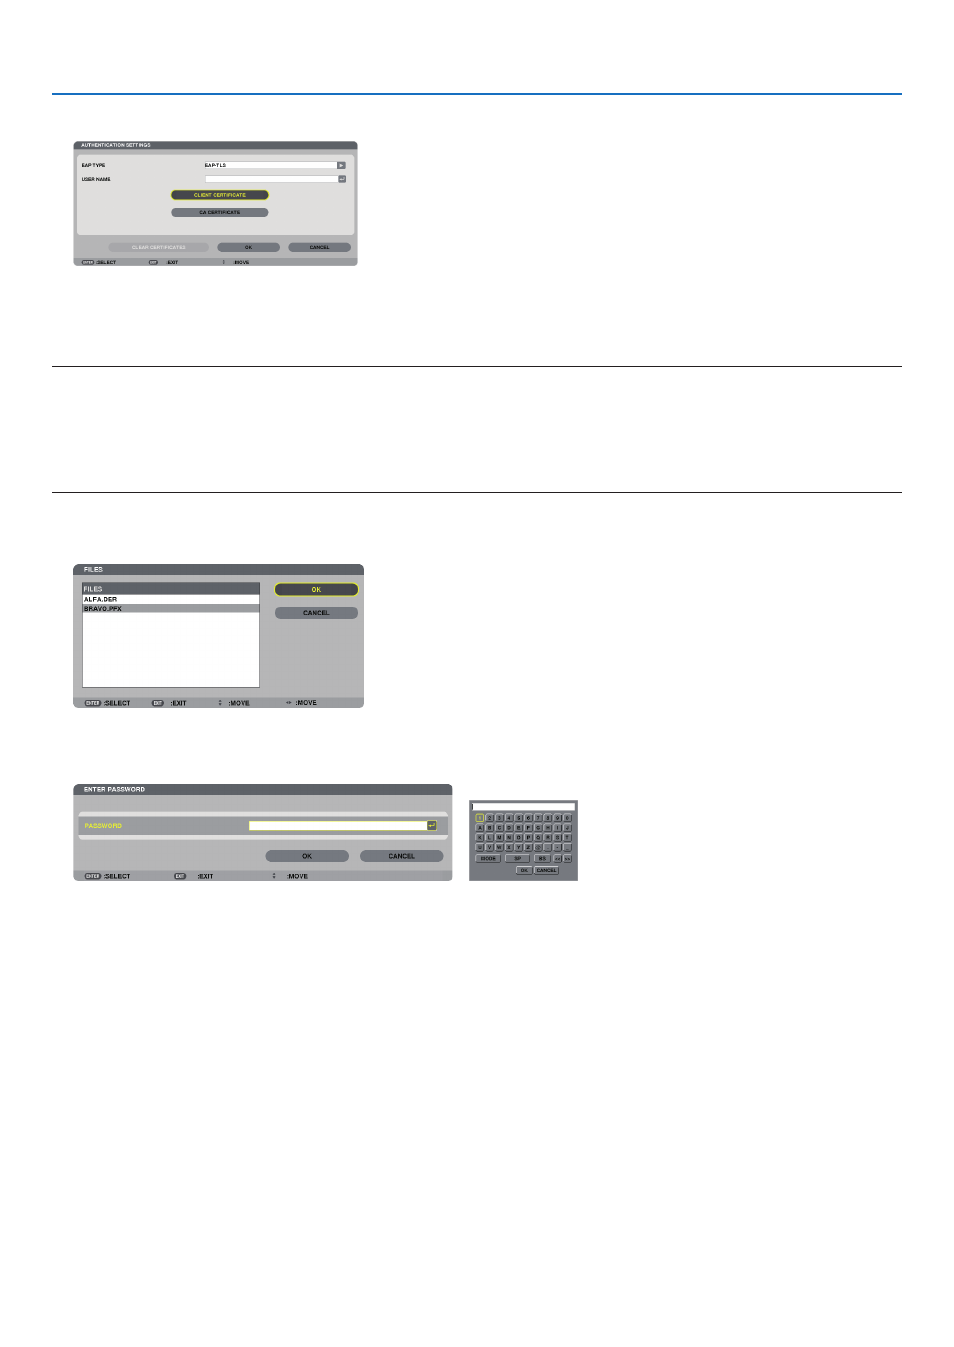
13. Select [CLIENT CERTIFICATE] and press the ENTER button.
A list of files (
[FILES]
screen) will be displayed.
• For operating the
[FILES]
screen.
• To return to the [AUTHENTICATION] page, press the EXIT button.
NOTE:
Installing a digital certificate
You can install each digital certificate (client certificate and CA certificate) for [PROFILE 1 (or 2)] on a file-by-file basis.
• Install a root CA certificate for a CA certificate.
• If you install a digital certificate over your existing digital certificate, the existing digital certificate will be overwritten with the new digital certificate.
• Once a digital certificate has been installed, its information cannot be deleted even if you stop setting WPA-EAP or WPA2-EAP.
14. On the [FILES]
screen, select a digital certificate (PKCS#12 format file) saved in your USB memory device and press
the ENTER button.
The password screen will be displayed.
15. Select [PASSWORD] field and press the ENTER button.
The character entry screen (software keyboard) will be displayed. Set the password of the private key. A password must be 1
character or more and 32 characters or less.
The selected digital certificate file will be installed on the projector.
• When the root CA certificate is not included in the file that was selected in Step 14, proceed to Step 16. When the root
certification authority certificate is included, proceed to Step 18.
16. Select [CA CERTIFICATE] and press the ENTER button.
The drive list screen will be displayed.
