Replacing tape drives – Grass Valley PLS200 User Manual
Page 82
Chapter 5 Maintaining the Library
60
PLS200 Library Installation and Operation
Replacing Tape Drives
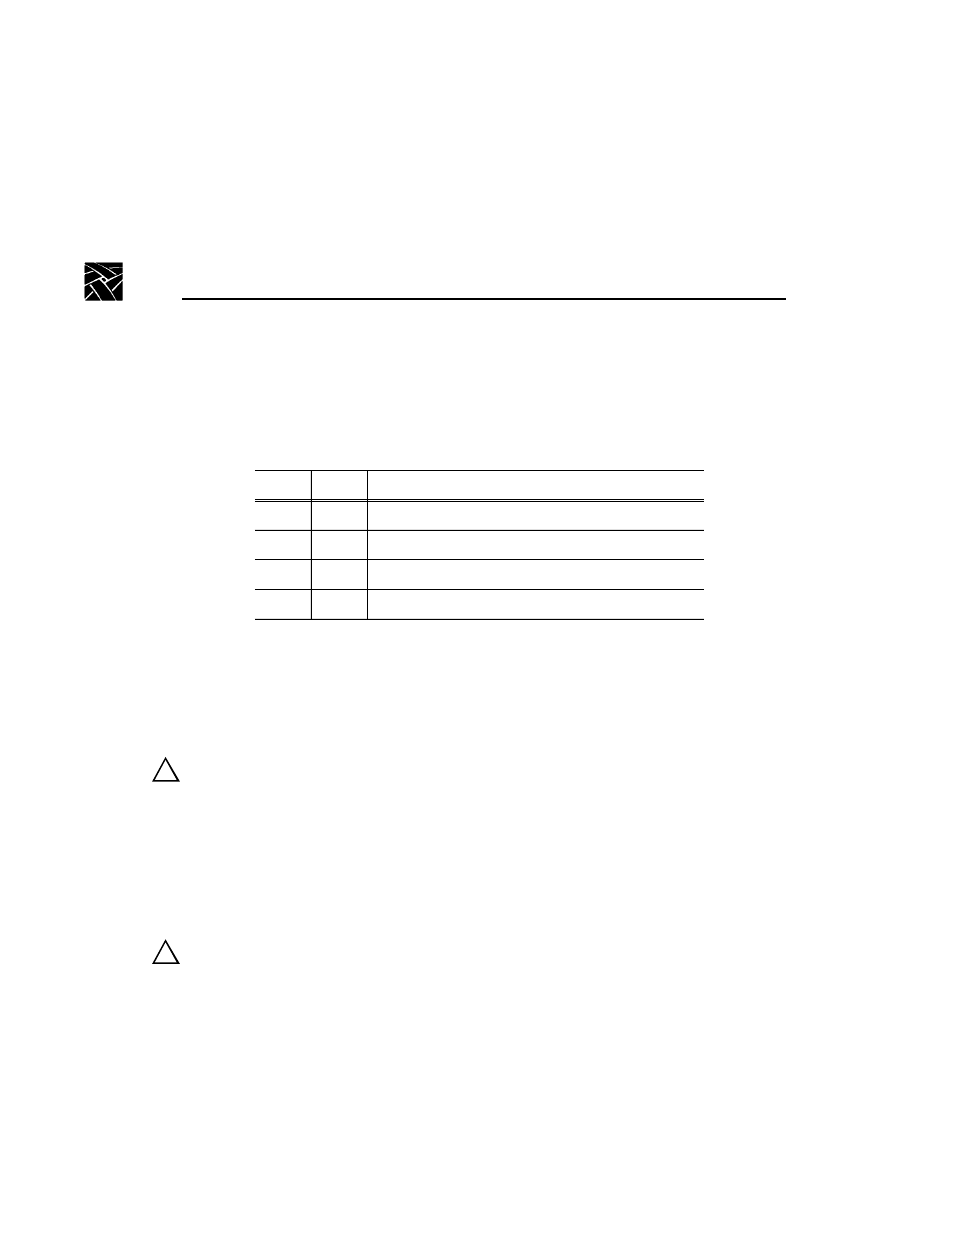
To replace a tape drive, complete the steps listed in the table below. Each step
is described on the following pages.
Preparing for Replacement
1. Obtain a flat-blade screwdriver.
2. To avoid damaging the library, be sure that the work area is free of
conditions that could cause electrostatic discharge (ESD). See page 2.
CAUTION: Do not force the door open. The interlock mechanism may be
prevented from releasing by Media Manager (or similar software).
3. Turn the door latch handle.
4. When the door's interlock mechanism releases, open the door.
5. Turn the library's power switch to off.
6. Disconnect the power cord.
WARNING: Before performing any installation or maintenance procedures,
be sure that the library power switch is in the off position and that the power
cord is disconnected from the library and the outlet.
7. If necessary, reach in and push firmly against the base of the CHM to move
it to the top or bottom of the long axis so it is not blocking access to the tape
drives.
✓
Step
Description
1
Prepare for replacement.
2
Remove the tape drive from the library.
3
Install a drive blank or tape drive in the library.
4
Resume library operations.
!
!