Grass Valley PLS200 User Manual
Page 118

Chapter 7
Performing Diagnostics
96
PLS200 Library Installation and Operation
2. From the Interface Menu, press
and
to select Config 25/9 Pin Menu
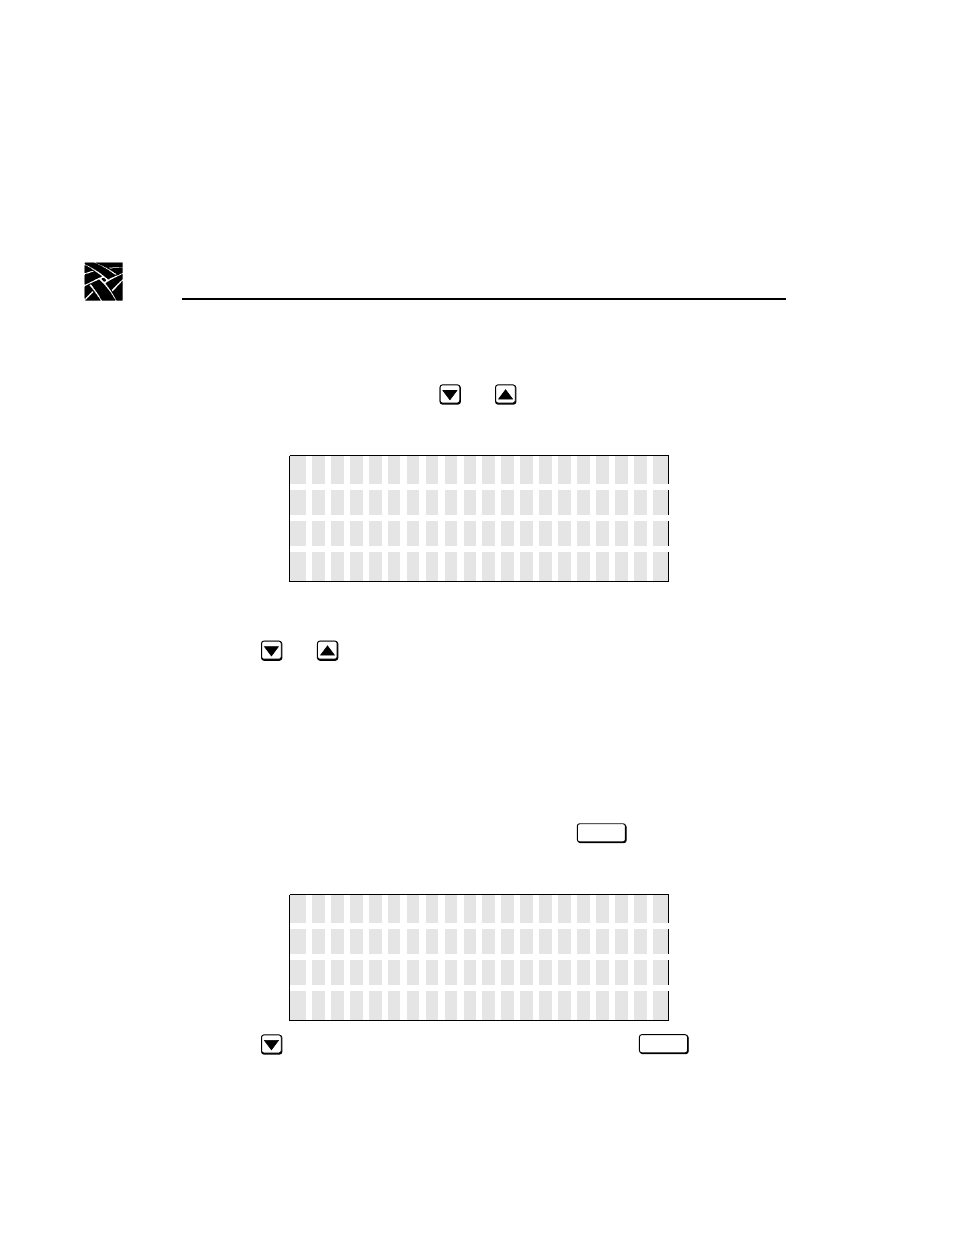
(for wide SCSI libraries). The library displays a screen similar to the
following:
NOTE: An asterisk (*) indicates the current connection.
3. Press
and
to select one of the following options:
- Connect Drive 1 (the top tape drive)
- Connect Drive 2
- Connect Drive 3
- Connect Drive 4 (the bottom tape drive)
- Diag Console (connect to the library's resident diagnostic program)
4. When you have selected the option you want, press
. The library
assigns the port and displays a screen similar to the following (the ports and
assigned devices may differ):
5. Press
to select the 19200 baud rate for the port and press
. An
asterisk (*) indicates the current connection.
The library assigns the baud rate and displays a confirmation message.
C o n n e c
t
D r
i
v e
1 *
C o n n e c
t
D r
i
v e
2
C o n n e c
t
D r
i
v e
3
C o n n e c
t
D r
i
v e
4
↓
Enter
C h a n g e
p o r
t
m o d e
:
P o r
t
:
2 5 - P i
n
N e w
M o d e
:
D r
i
v e
1
S t
a
t
u s
:
C h a n g e d
Enter
