Reznor RPBL Unit Installation Manual User Manual
Page 37
Form I-SSCBL/RPBL, P/N 149159 R7, Page 37
c) Run the wires attached to the damper motor 1) out through the hole in the
discharge plenum leg into the cooling coil cabinet,
2) through the blockoff plate,
across the coil cabinet,
3) out through the hole in the cooling coil cabinet leg, and
4) into the furnace section.
d) On the bottom of the electrical box in the furnace section, remove the hole plug
that is below the terminal blocks. Route the damper motor wires up through the
hole and into the electrical box. Attach according to the connections on the wiring
diagram. Refer to sample in
FIGURE 40G.
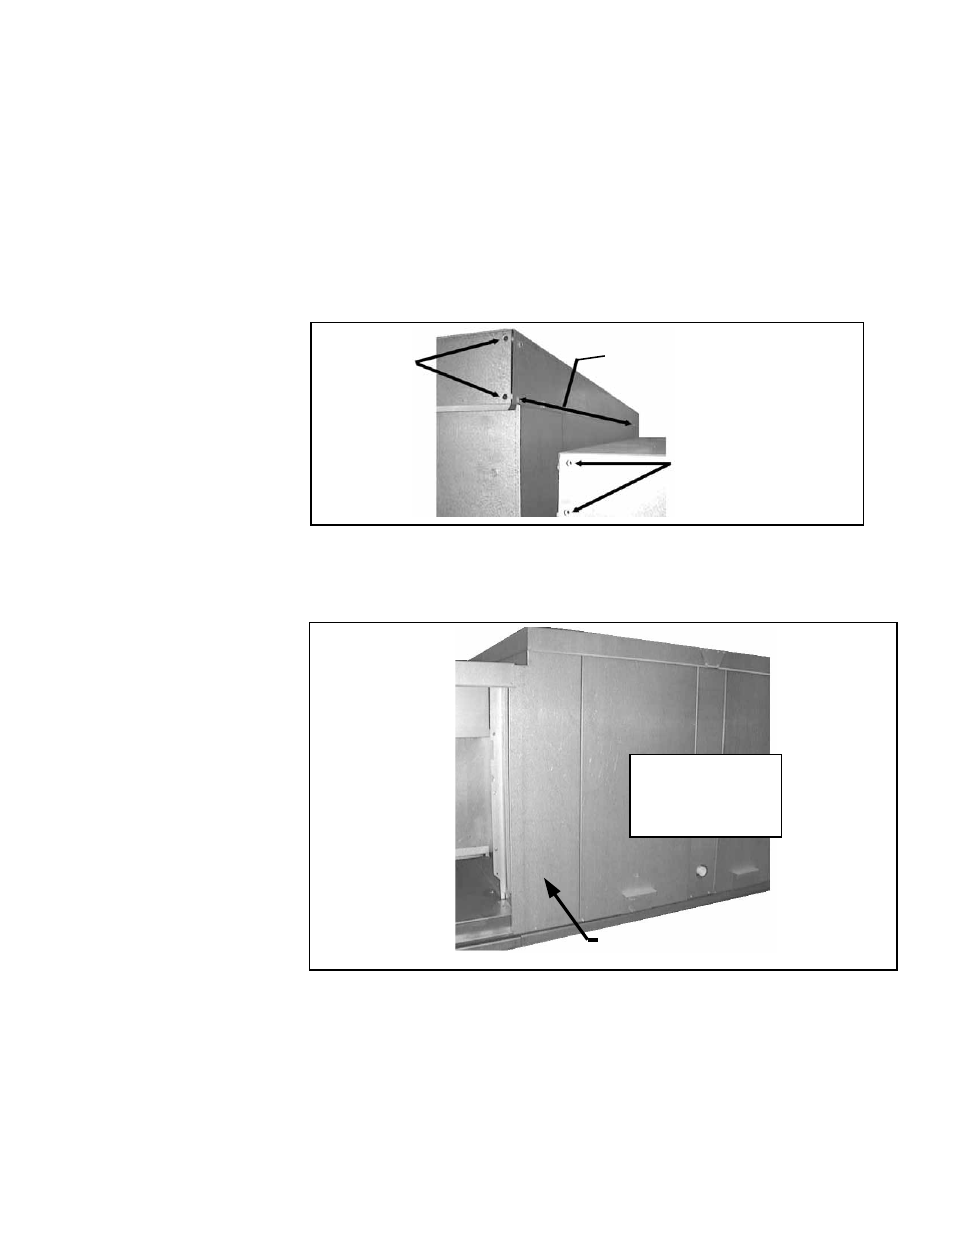
6. Prepare Cabinets to Install Filler Panels (See FIGURE 40H.)
a) At the side corners of both the cooling coil cabinet and the furnace, remove the
factory-installed screws that attach the cabinet tops.
b) Across the edge of the cooling coil cabinet, remove the row of screws that
attach the top.
FIGURE 40J - Side Filler
Panel Installed
Attach side filler panel with
sheetmetal screws.
Cooling Coil
Cabinet with
Downturn
Plenum
Furnace
Section with
Door Panel
Removed
FIGURE 40H - To install
side and top filler
panels, remove screws
from top corners of
both cabinets and the
entire row across the
cooling coil cabinet.
b) Remove row of screws on
the cooling coil cabinet
a)
Remove
corner
screws
on the
cooling
coil
cabinet
a) Remove
corner screws
on furnace
6.3.6 Optional Cooling
Coil Cabinet, Option
AU (cont'd)
7. Install the Cabinet Side Filler Panels (See FIGURE 40J.)
Place a piece of the supplied insulation against the inner panel of the cooling coil
cabinet. Slide the filler panel into place and attach with 1/2" sheetmetal screws.
Repeat on the other side. NOTE: It may be easier to slide the filler panels in place
with the door panels removed.
8. Install the Cabinet Top Filler Panel (See FIGURE 40K)
a) Remove the backing from the gasket strip, and adhere it along the edge of the bottom of the top filler panel.
b) Slide the filler panel underneath the edge of the cooling coil cabinet top (NOTE: The edge of the top panel may
have to be pulled out slightly to slide the panel underneath.) The
filler panel must be between the cooling coil
cabinet top and end panel to prevent water from leaking into the cabinet. Attach with 1/2" screws.
9. Reinsert Screws and Apply Caulking
a) Reinsert any remaining screws removed in Step 6. Check for gaps between the top and side filler panels; apply
caulking as needed.
b) Apply silicone caulking where the cooling cabinet curb cap meets the furnace curb cap.