AERCO SmartPlate User Manual
Page 73
SmartPlate Installation, Operation & Maintenance Manual
CHAPTER 8 – CORRECTIVE MAINTENANCE
OMM-0069_0E
AERCO International, Inc.
100 Oritani Dr. Blauvelt, NY 10913
Page 73 of 138
SP-100
Phone: 800-526-0288
PRI: 11/26/2013
13. Perform the following final checks:
a) Inspect the washers.
b) When fully tightened. The bolts should all be equally tensioned
c) The difference between the plate pack lengths measured at adjacent bolts should not
exceed: 0.079 inches.
d) The plate pack length at all bolts must not differ more than 1%.
e) If the unit does not seal fully, it can be tightened to give dimension "A" - 1%. However,
the maximum tightening torque must not be exceeded.
14. Install the protective splash guard.
8.8 DOUBLE-WALL HEAT EXCHANGER GASKET REPLACEMENT
All sizes of the Double-Wall Heat Exchanger utilize "Clip-Type" glueless gaskets. The following
paragraphs provide the instructions to replace gaskets on channel plates and on the end plate
(first plate against frame plate)
Refer to the appropriate procedures in paragraphs 8.7.1 and 8.7.2 to open the Heat Exchanger
and remove the required plates. Following gasket replacement, close the Heat Exchanger using
the procedures in paragraph 8.7.3.
8.8.1 Replacing Gaskets on Channel Plates
1. Peel old gasket off of plate making sure all parts of gasket are removed.
2. Wipe gasket groove clean making certain that no foreign material remains that would
cause gasket to seat unevenly.
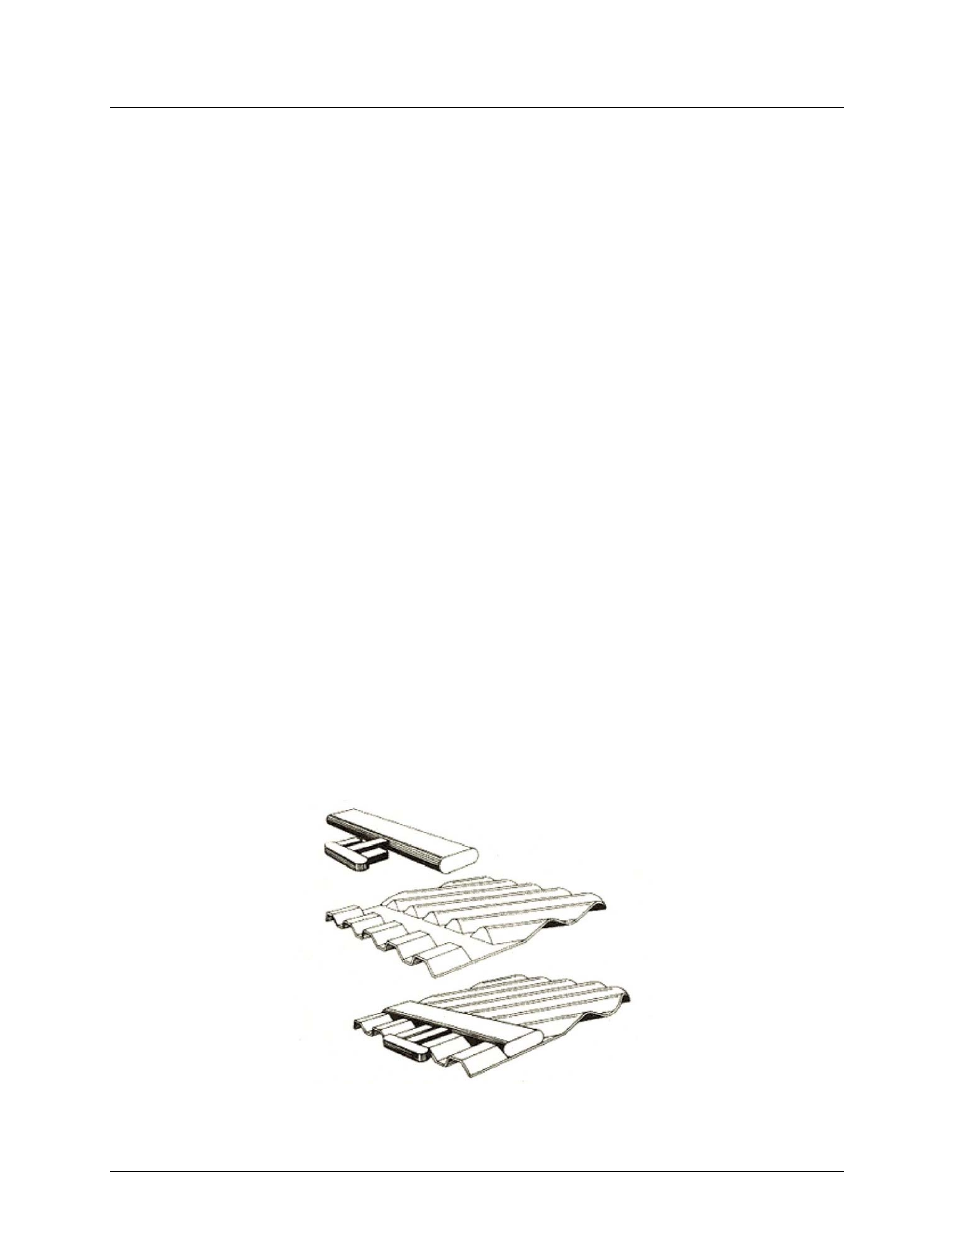
3. Clip-type glueless gaskets (Figure 8-14) are attached to the plate using the prongs which
slip under the edge of the plate to hold the gasket securely in the gasket groove. The
prongs are situated at regular intervals around the perimeter of the plate.
Figure 8-14. Clip-Type Glueless Gasket Installation