Caution before repair, 1 before repair or inspection, 2 assembly and disassembly – Cub Cadet 8454 User Manual
Page 17: 3 parts to be replaced, 4 parts
GENERAL INFORMATION
1-9
D569-W02 May-2003
5. CAUTION BEFORE REPAIR
569W106A
569W107A
227W105A
5.1 BEFORE REPAIR OR INSPECTION
1. In case of repair or inspection, locate the tractor
on the flat ground and pull the parking brake on.
2. Except for the items to be checked while the en-
gine is running, be sure to stop the engine prior to
the work.
3. When washing parts, use parts washing solvent
for industrial use (avoid using gasoline so to pre-
vent environmental pollution). For the hydraulic
parts, apply designated hydraulic oil in washing.
4. When disassembling and assembling of the hy-
draulic apparatus, pay special attention not to al-
low dust or foreign substance to be attached or
intermixed.
5.2 ASSEMBLY AND DISASSEMBLY
To check a failure, try to find out its underlying cause. If
assembly or disassembly is needed, perform the work
in regular sequence as specified in this repair manual.
1. Disassembled parts shall be arranged orderly.
2. Sort out the parts to be replaced from the ones to
be reused.
3. Be sure to use standard bolts and nuts that are
designated.
4. When assembling snap rings or spring pin types,
take care of assembling direction.
5. Split pin shall be spread surely not to escape when
installed.
6. When using sealant (such as gasket bond) on the
assembled surfaces, apply it evenly and consis-
tently in a height of 3 ~ 5 mm (0.12 ~ 0.2 in.) on the
contact surface after removing the old bond and
cleaning the sealing surface with solvent. Apply
sealant on the center of the contact surface for the
space between the bolt holes of the contact
surface, and on the more inner side than the bolt
hole for the bolt area.
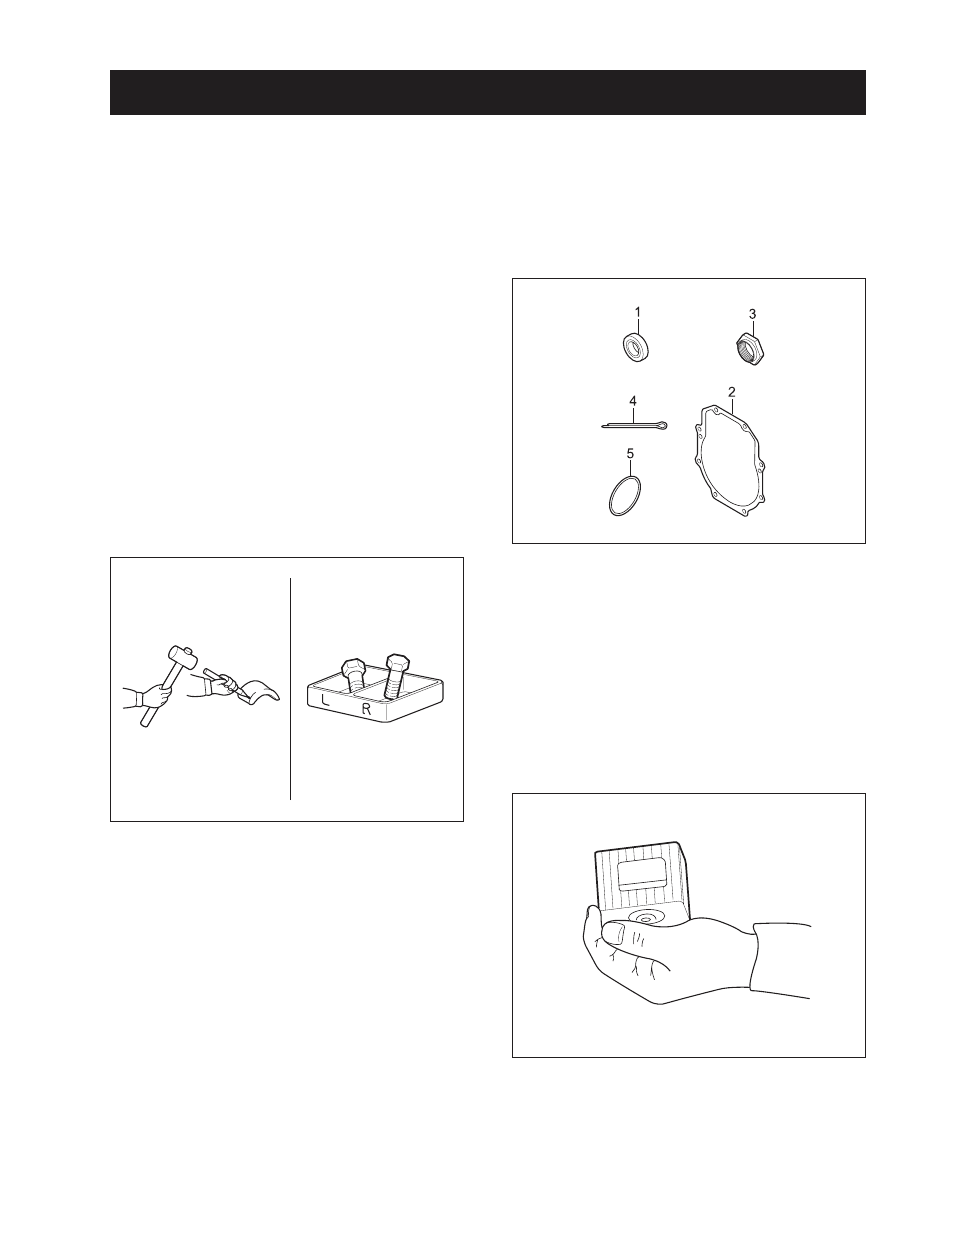
5.3 PARTS TO BE REPLACED
The following parts should be replaced with new ones
when removed.
(1) Oil Seal
(2) Gasket
(3) Lock Nut
(4) Split Pin
(5) O-Ring
When replacing part only genuine Cub Cadet parts.
5.4 PARTS
7. Finish assembly within 20 minutes after applying
sealant, after that, wait approx. 30 minutes later
before filling with oil.
C C