Chapter 8, Troubleshooting, Fault descriptions – Rockwell Automation 1336Z SPIDER - FRN 2.xxx-5.xxx User Manual
Page 137: Fault descriptions –1
Chapter
8
Troubleshooting
Chapter 8 provides information to guide the user in troubleshooting
the 1336 SPIDER. Included is a listing and description of the various
drive faults (with possible solutions, when applicable) and alarms.
Fault Descriptions
Fault Display
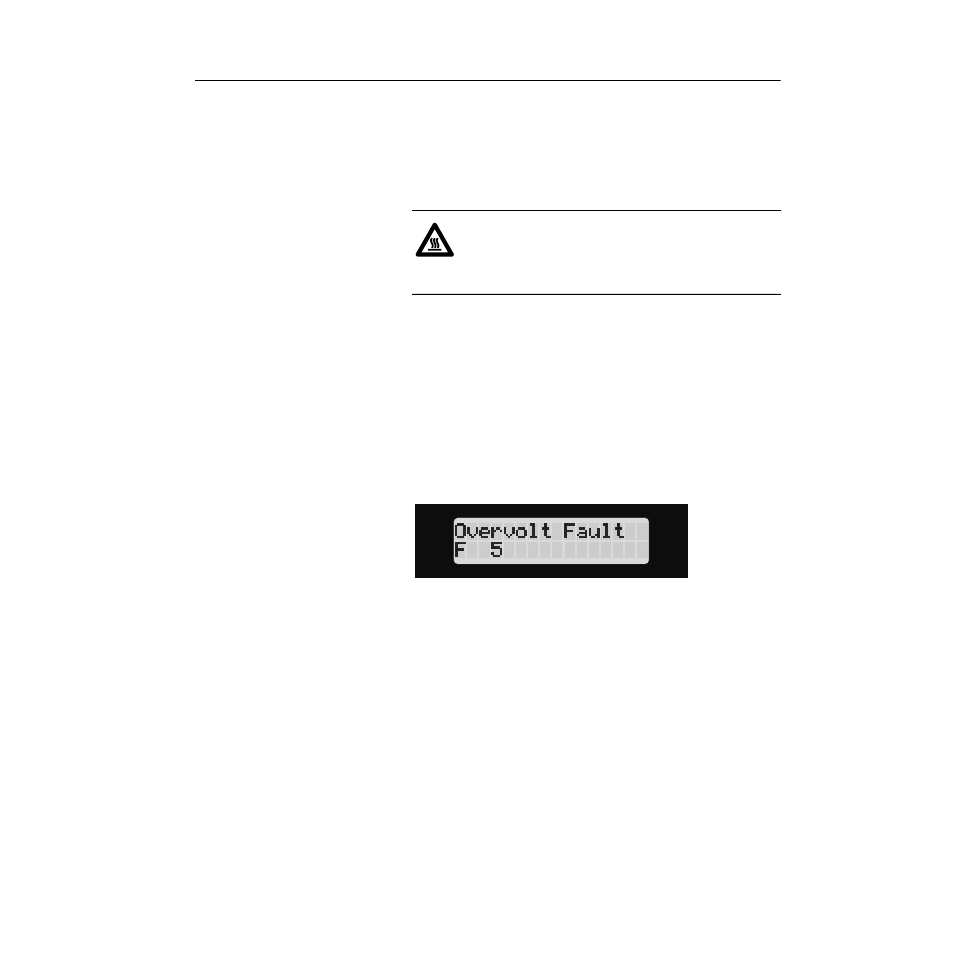
The LCD display is used to indicate a fault by showing a brief text
statement relating to the fault (see figure below). The fault will be
displayed until “Clear Faults” is initiated or drive power is cycled. A
Series A (version 3.0) or Series B & up HIM will display a fault when
it occurs, no matter what state the display is in. In addition, a listing
of past faults can be displayed by selecting “Fault queue” from the
Control Status menu (see Chapter 5 for more information). Refer to
Table 8.A for a listing and description of the various faults. Table 8.C
provides a listing of faults by number.
Clearing a Fault
When a fault occurs, the cause must be corrected before the fault can
be cleared. After corrective action has been taken, simply cycling
drive power will clear the fault. Issuing a valid Stop command from
the HIM or Control Interface option (TB5) will also clear a fault if the
[Flt Clear Mode] parameter is set to “Enabled.” In addition, a “Clear
Faults” command can be issued anytime from a serial device (if
connected).
Contact Description
Refer to Figure 3.3 for a schematic representation of contacts CR1-
CR4 (Stand-alone version only). Contacts in Figure 3.3 are shown in
an unpowered state. When powered, the contacts will change state.
For Example: During normal operating conditions (no faults present,
drive running), the CR3 contacts (default firmware setting) at TB3-13
& 14 are closed, and the contacts at TB3-14 & 15 are open. When a
fault occurs, the state of these contacts will change.
After the drive has been operational for a period of time, a
burn hazard exists. Do Not touch the heatsink surface during
drive operation. After removing drive power, allow suffi-
cient time for cooling.