Installing the adapter, Chapter 9, Chapter – Rockwell Automation 20-COMM-ER 20-COMM-ER Dual-Port EtherNet/IP Communication Adapter User Manual User Manual
Page 167
Rockwell Automation Publication 20COMM-UM015B-EN-P - July 2013
167
Chapter
9
Using the Adapter in a DPI External Comms
Kit (20-XCOMM-DC-BASE)
This chapter provides information and examples that explain how to use the
adapter in a DPI External Comms Kit (20-XCOMM-DC-BASE).
The adapter is typically installed in the internal communication slot on the
PowerFlex 7-Class drive. However, an externally-mounted adapter may be desired
when:
• The PowerFlex drive is already connected to an existing network, such as
Remote I/O, and a second network is desired for a DriveExplorer or
DriveExecutive software tool, data collection, and so forth.
• The PowerFlex drive is remotely located next to some I/O devices that also
need to be networked. The DPI External Comms Kit has an option slot
for general-purpose network I/O that a controller can use. Both the drive
and I/O devices are handled as one node on the network to reduce the
network node count.
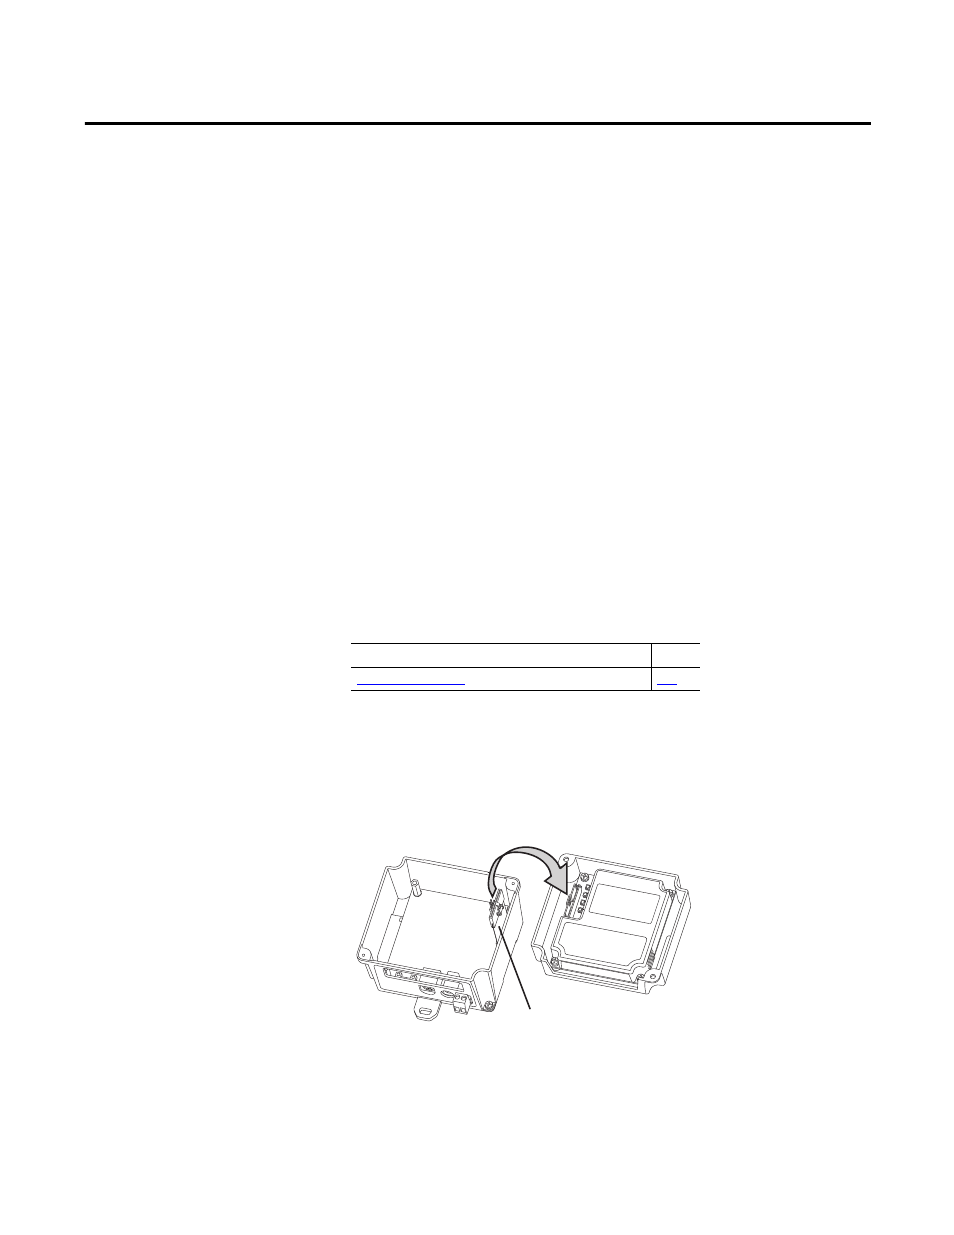
Installing the Adapter
The adapter can be installed in a DPI External Comms Kit.
Figure 96 - Mounting and Connecting the Adapter
For more information, see the DPI External Communications Kit Installation
Instructions, publication 20COMM-IN001.
Topic
Page
Comms Kit
Enclosure Base
Comms Kit Enclosure Cover
(with adapter mounted inside)
15.24 cm (6 in.) Internal Interface Cable
(connects power supply board