Apple Compressor (4.0) User Manual
Page 61
Chapter 4
Assign settings and preview media
61
•
Split-screen slider: Drag the split-screen slider any distance across the top of the preview area
to get a comparison view between the source media file (left side) and output media file (right
side). In addition to the location of the slider at the top, the screen division is indicated by a
vertical white line bisecting the image.
•
Cropping boundary: The cropping boundary is available only in Source view. Use the handles to
drag the red boundary edges and corners in the direction you want to crop your output media
file. Use the center handle to drag the entire frame in any direction while still maintaining its
dimensions. The new values (for left, top, right, and bottom) appear dynamically in the preview
area as you crop the frame. If you also have the Inspector window open with the batch’s target
selected, you can see the same values changing in the cropping fields of the Geometry pane.
To show the results of the crop boundary settings, select the Setting view.
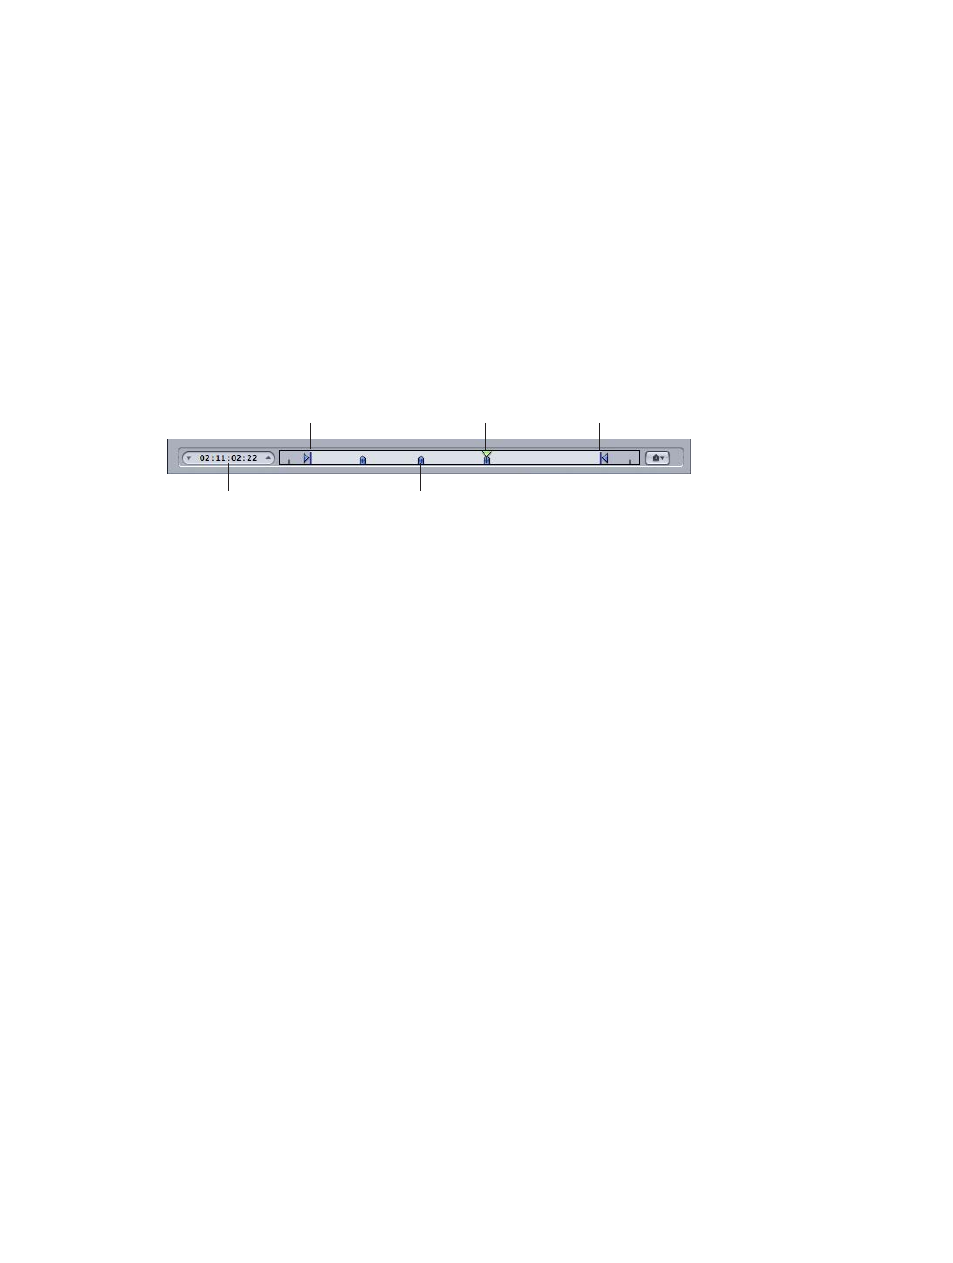
Timeline controls
The timeline controls provide information about the clip, including any markers it has and the
current In and Out point settings. You can also use the timeline to position the playhead at a
specific frame and set the In and Out points.
Playhead
Marker
Playhead timecode
In point
Out point
•
Playhead timecode: Shows the playhead’s position in the timeline using the standard timecode
format of hh:mm:ss:ff. You can enter a new value to precisely position the playhead in
the timeline.
Note: If your source media file has a timecode track, the clip timecode appears in the playhead
timecode field. For everything else, the timecode starts with 00:00:00:00.
•
In and Out points: You can set new In and Out points by dragging the In or Out point to a
different location. As you change the In and Out points, the In and Out timecode fields at the
bottom of the Preview window update. (You can also set new In and Out points using the Set
In Point and Set Out Points buttons. See the “In and Out controls section” above.
Important:
In and Out points are not preserved after a transcode has been completed, so if
you want to resubmit a batch from the History window, you need to reapply these points to
your clip. For more information, see
View batch information in the History window
on page 151.
In and Out points are assigned to the source media file rather than the setting, so whatever In
and Out points you create will be the same for all other settings related to that source media
file in the current batch.
•
Playhead: Shows where the displayed frame is located within the clip. You can drag the
playhead to navigate quickly to a specific location within the clip.
•
Marker: Shows where a marker has been placed in the clip. The color of the marker
indicates its type:
•
Blue: Compression markers that you add manually
•
Purple: Chapter markers (named markers that are intended to be navigational chapter stops
or visual artwork in the output media file)