Apple Compressor (4.0) User Manual
Page 21
Chapter 3
Import source media
21
•
Control-click an empty area of the batch and choose New Job With File from the shortcut
menu. You can then navigate to the folder that contains your source media, select one or more
source media files, and click Open.
•
Open your source media file folder and drag one or more source media files into the batch.
Note: You can combine the above steps by selecting all the source media files you want to
transcode before opening Compressor and then dragging them to the Compressor application icon.
This opens Compressor and adds the media files to the default untitled batch at the same time.
3
To save the batch, choose File > Save As (or press Command-Shift-S).
4
In the dialog that appears, enter a name for the batch and choose the location where you want
to save it.
5
Click Save.
The tab in the Batch window changes to match the name of the file.
Note: If your Finder preferences are set to show file extensions, the extension .compressor
appears in the tab along with the name.
You’re not required to name and save your batches, and for quick jobs you might decide not to.
However, naming and saving a batch makes it easy to go back and resubmit it later if you find
that the output files were not as expected or if your needs change. It also makes it easier to
figure out what’s in the History window and in Share Monitor if you submit multiple batches in a
short period of time.
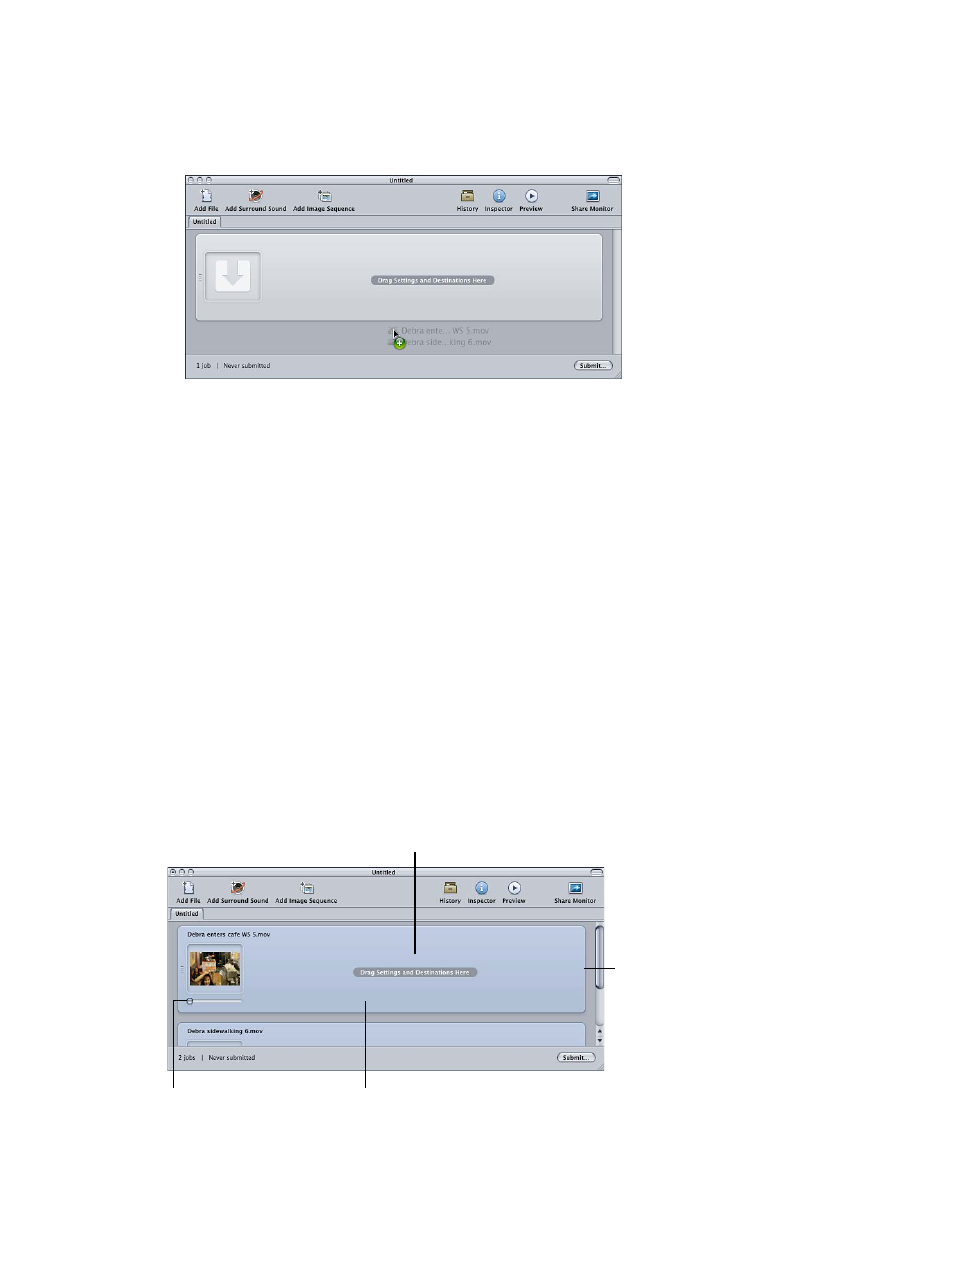
The batch now contains your selected media files, each in its own job. Source media files with video
content also include a thumbnail image and a scroller that you can use to scroll through the video.
Click anywhere in the job
to see this file’s attributes
in the Inspector window.
Drag the slider to scroll
through video files.
Each source
media file
creates a job.
The targets for this job
will appear in this area.