Apple Compressor (4.0) User Manual
Page 206
Chapter 7
Advanced functions
206
Final Cut Pro and Motion contain a Share menu with many commonly used transcoding options
already configured. However, if you need a transcoding option not covered by the preconfigured
Share items, or you need to customize one of the options, you can use the Send to Compressor
options to open the project in Compressor, where you can configure the output options
as needed.
Important:
Compressor 4 must be installed on the same computer as Final Cut Pro X and Motion
5 for these options to work.
Transcode a Final Cut Pro or Motion project
You can send a Final Cut Pro X or Motion 5 project to Compressor either with a setting already
in place or with no setting applied. In either case, the project appears in a batch that you can
configure as you would any other Compressor batch.
1
Open Final Cut Pro or Motion and select the project that you want to transcode.
2
Do one of the following:
•
Choose File > Send to Compressor.
With this option, Compressor opens and the project appears as a job in a new batch with no
settings applied.
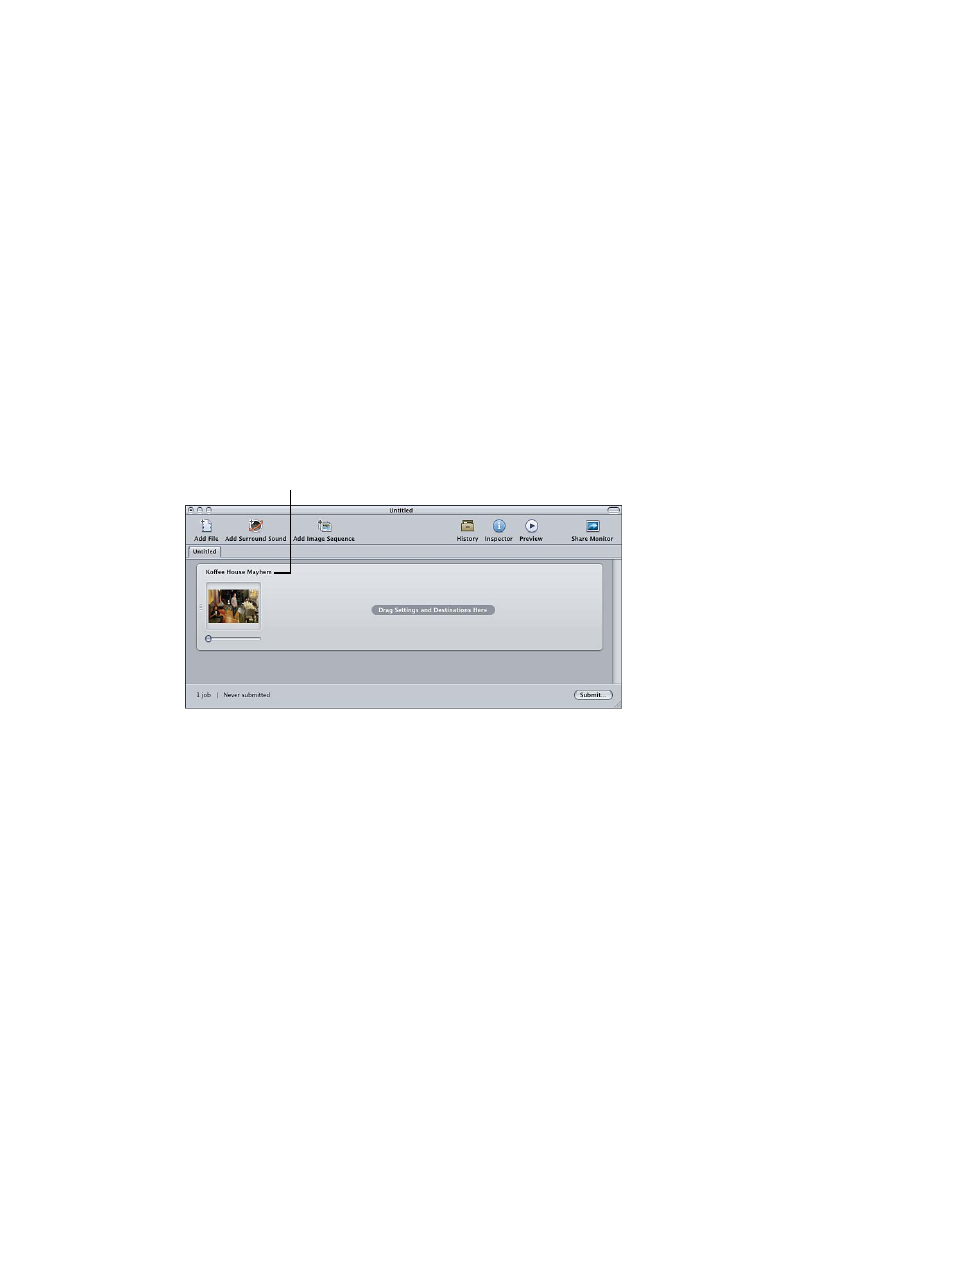
The Final Cut Pro project name
is used as the new job’s name.
•
Choose Share, choose one of the preset output options, make adjustments in the Share dialog,
click Advanced, and then click Send to Compressor.
With this option, Compressor opens, and the project appears as a job in a new batch
configured with the Share dialog options you chose.
3
Assign settings and destinations to the job as necessary.
For more information, see
Assign settings to source media
on page 32 and
on page 138.
4
Click the Submit button in the Batch window.
Compressor transcodes the project according to your specified settings and destination.
Note: After the Final Cut Pro or Motion project opens in Compressor, you can continue working
in Final Cut Pro or Motion on that project or a different project.