Add and adjust filters – Apple Compressor (4.0) User Manual
Page 154
Chapter 7
Advanced functions
154
Add and adjust filters
Use the Filters pane in the Inspector to add video and audio filters to your settings. If you want
to modify only a single media file, you can add filters to a setting already applied in the Batch
window. If you want to modify a custom setting permanently, you can add filters to the custom
setting in the Settings tab. That way, all future jobs you apply the setting to will be modified by
your chosen filters.
Note: In the Settings tab, filters can be applied only to custom settings. If you want to apply filters
to any of the Apple-supplied settings in the Settings tab, first you must duplicate and save that
setting to the Custom folder. For more information, see
on page 35.
Apply and adjust filters
1
Do one of the following:
•
To apply a filter to a single media file: Select the media file’s setting in the target area of the
Batch window.
•
To apply a filter to a custom setting in the Settings tab: Select the setting in the Custom folder.
2
Click the Filters button in the Inspector.
The Filters pane opens, displaying the Video, Audio, and Color tabs.
3
Depending on the type of filter you want to apply, click the Video tab or Audio tab.
A list of available filters appears.
4
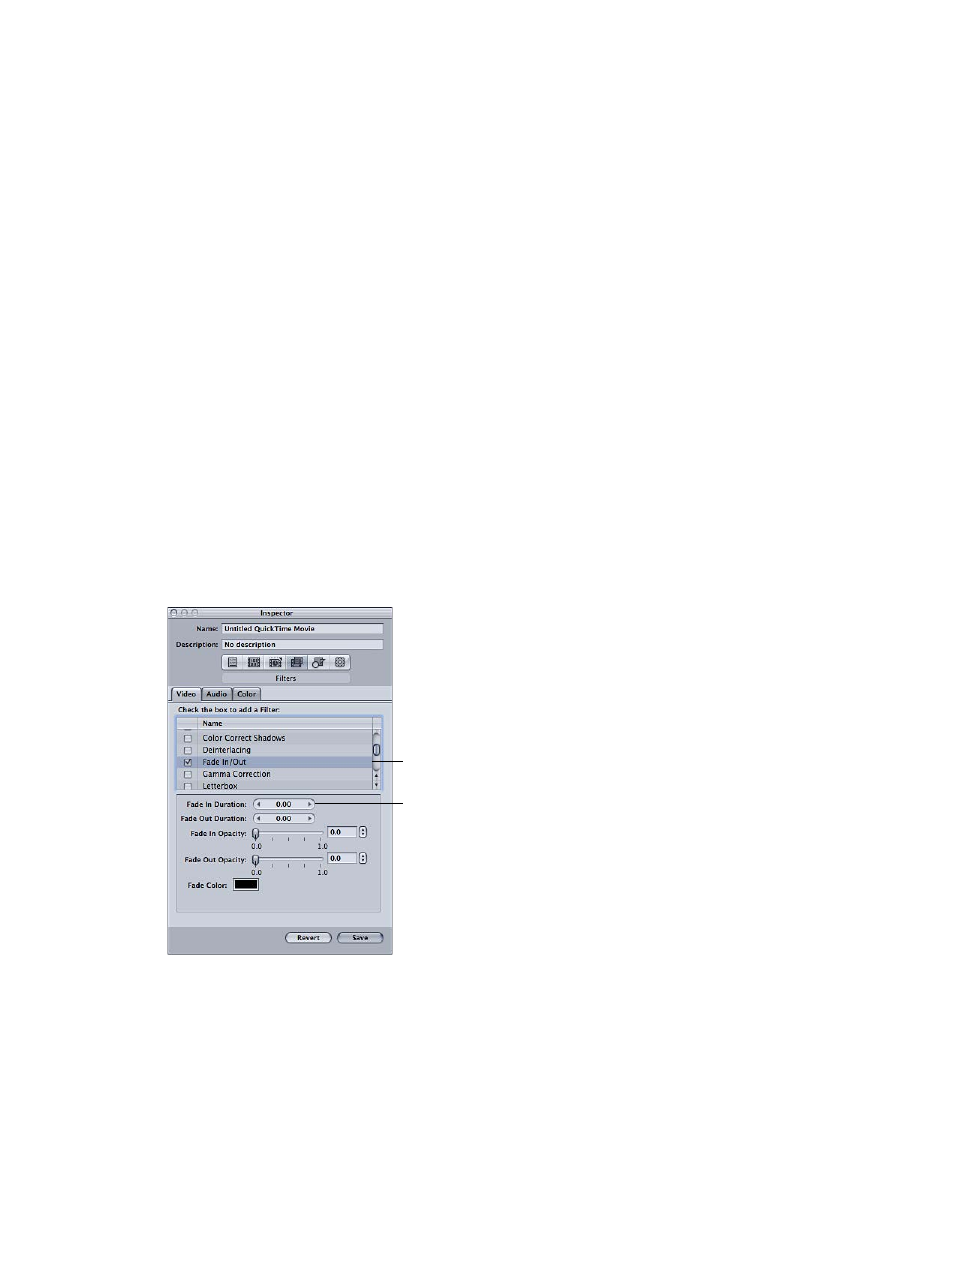
Select a filter in the list, and make adjustments to the controls in the lower part of the Inspector.
When you make adjustments to a filter, a checkmark appears beside the filter name in the filter
list, indicating that the filter has been applied to the setting.
Any changes you make
to a filter’s settings
apply to the currently
selected filter.
The filter is automatically
selected if you make any
adjustments to it.