Dv stream files, Dv overview, 132 dv stream files 132 – Apple Compressor (4.0) User Manual
Page 132
Chapter 5
Custom settings and output formats
132
The Settings window for that particular output file format opens.
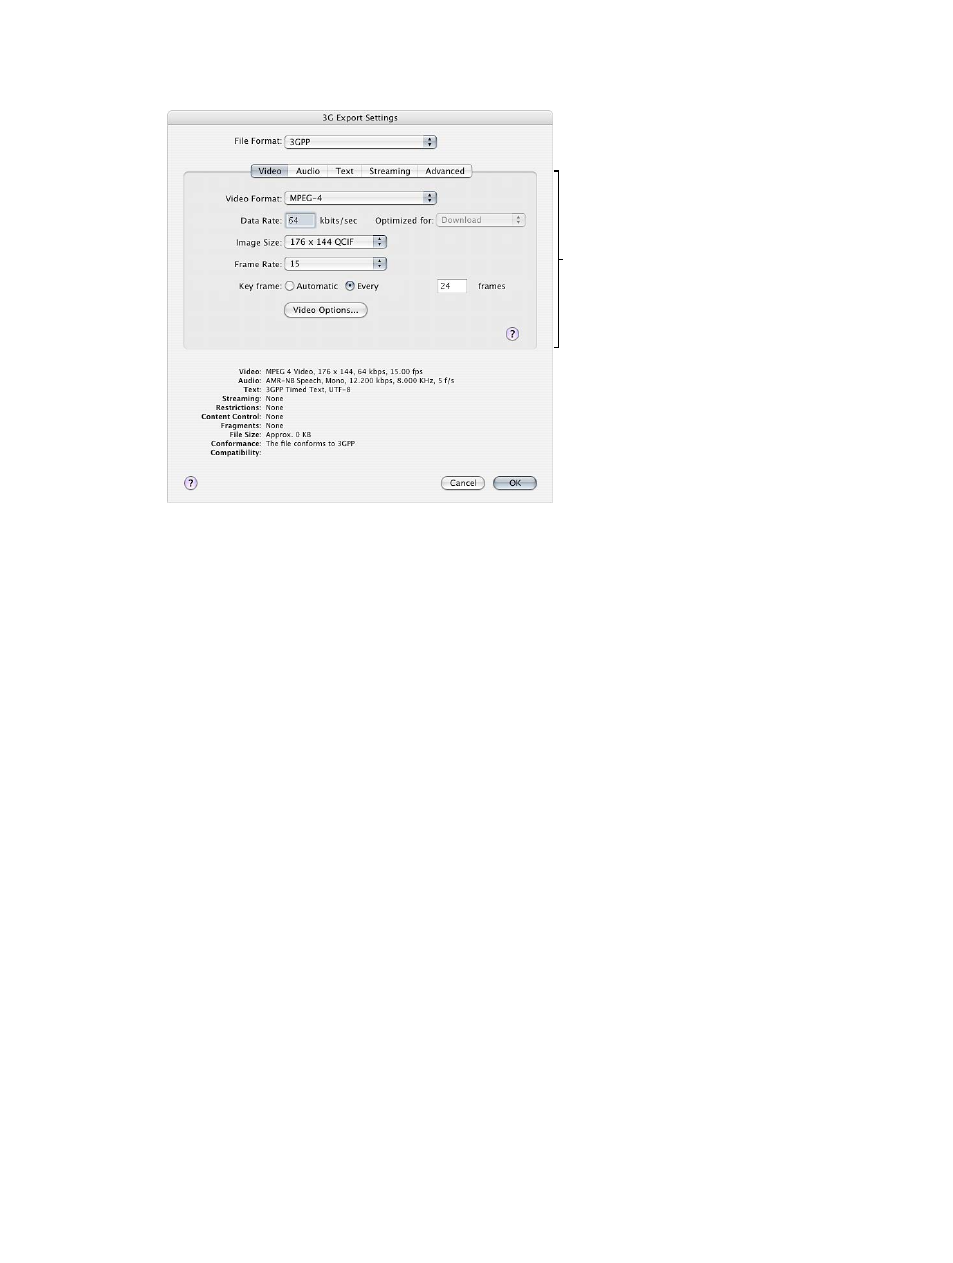
Configure settings
for the QuickTime
export component.
Important:
Use the third-party export module user interface to explicitly enter the image size
and frame rate for the output file. Do not leave the Image Size and Frame Rate settings in the
third-party user interface at their default values.
4
To save your settings, click OK.
Note: The Compressor Frame Controls feature is not available when using the QuickTime Export
Components feature.
5
In the QuickTime Export Components Encoder pane of the Inspector, click Save.
DV Stream files
DV overview
Because of its low cost and wide availability, the DV video format is extremely popular for
standard-definition (SD) video capture and delivery.
How you use Compressor to transcode your video into DV Stream format files depends on how
you intend the output file to be used. The basic steps are listed below.
•
Create a batch: As with any transcode, you need to start by creating a batch. For more
information, see
on page 18.
•
Create jobs with the source video files: Import the source video files either by dragging them
from the Finder to the Batch window or by choosing Job > New Job With File.
•
Add targets with a DV setting to each job: Each of the jobs requires at least one target—in this
case the jobs need targets with a DV Stream setting. If there is more than one job, it’s easiest
to select all the jobs by choosing Edit > Select All and then choose Target > New Target With
Setting to apply the same setting to all the jobs.
•
Submit the batch for transcoding: Click the Submit button to start the transcoding process. See
on page 147.