Figure 15: pc200w main window, Table 3. pc200w ezsetup wizard example selections – Campbell Scientific CR3000 Micrologger User Manual
Page 46
Section 4. Quickstart Tutorial
46
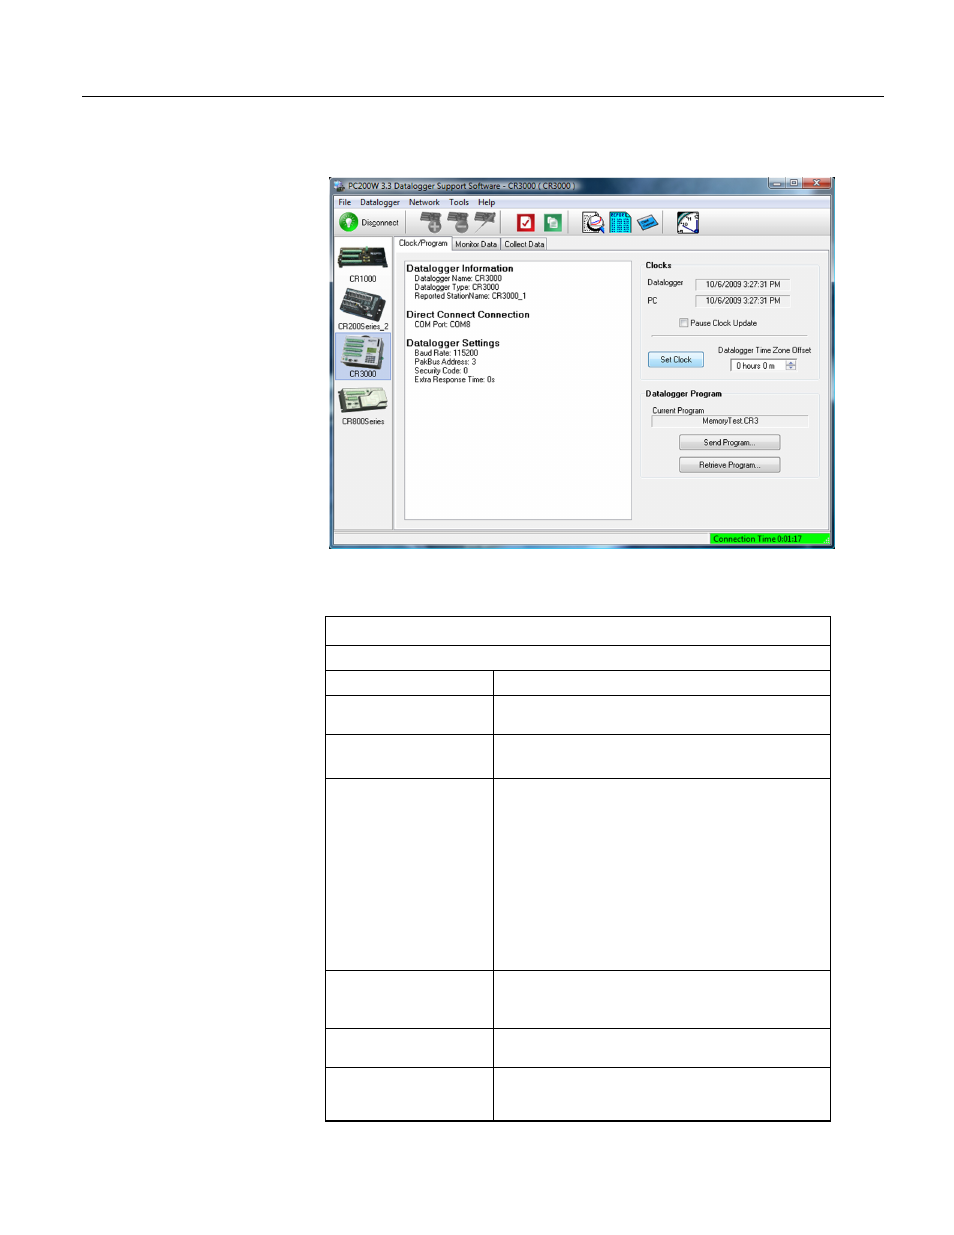
Figure 15: PC200W main window
Table 3. PC200W EZSetup Wizard Example Selections
Start the wizard to follow table entries.
Screen Name
Information Needed
Introduction
Provides and introduction to the EZSetup Wizard along with
instructions on how to navigate through the wizard.
Datalogger Type and Name
Select the CR3000 from the scroll window.
Accept the default name of "CR3000."
PC COM Port Selection
Select the correct PC COM port for the RS-232 connection.
Typically, this will be COM1. Other COM numbers are
possible, especially when using a USB-to-serial cable.
Leave COM Port Communication Delay at 00 seconds.
Note When using a USB-to-serial cable, the COM number may
change if the cable is moved to a different USB port. This will
prevent data transfer between the software and CR3000. Should
this occur, simply move the USB cable back to the original port.
If this is not possible, it will be necessary to close the PC200W
software and open it a second time to refresh the available COM
ports. Click on Edit Datalogger Setup and change the COM
port to the new port number.
Datalogger Settings
Used to configure how the CR3000 communicates through the
PC COM port.
For this tutorial, accept the default settings.
Communication Setup
Summary
Provides a summary of settings in previous screens.
Communications Test
A communications test between the CR3000 and PC can be
performed in this screen.
For this tutorial, the test is not required. Press Finish to exit the