Device numbering conventions, Initial configuration steps – HP Command View for Tape Libraries Software User Manual
Page 26
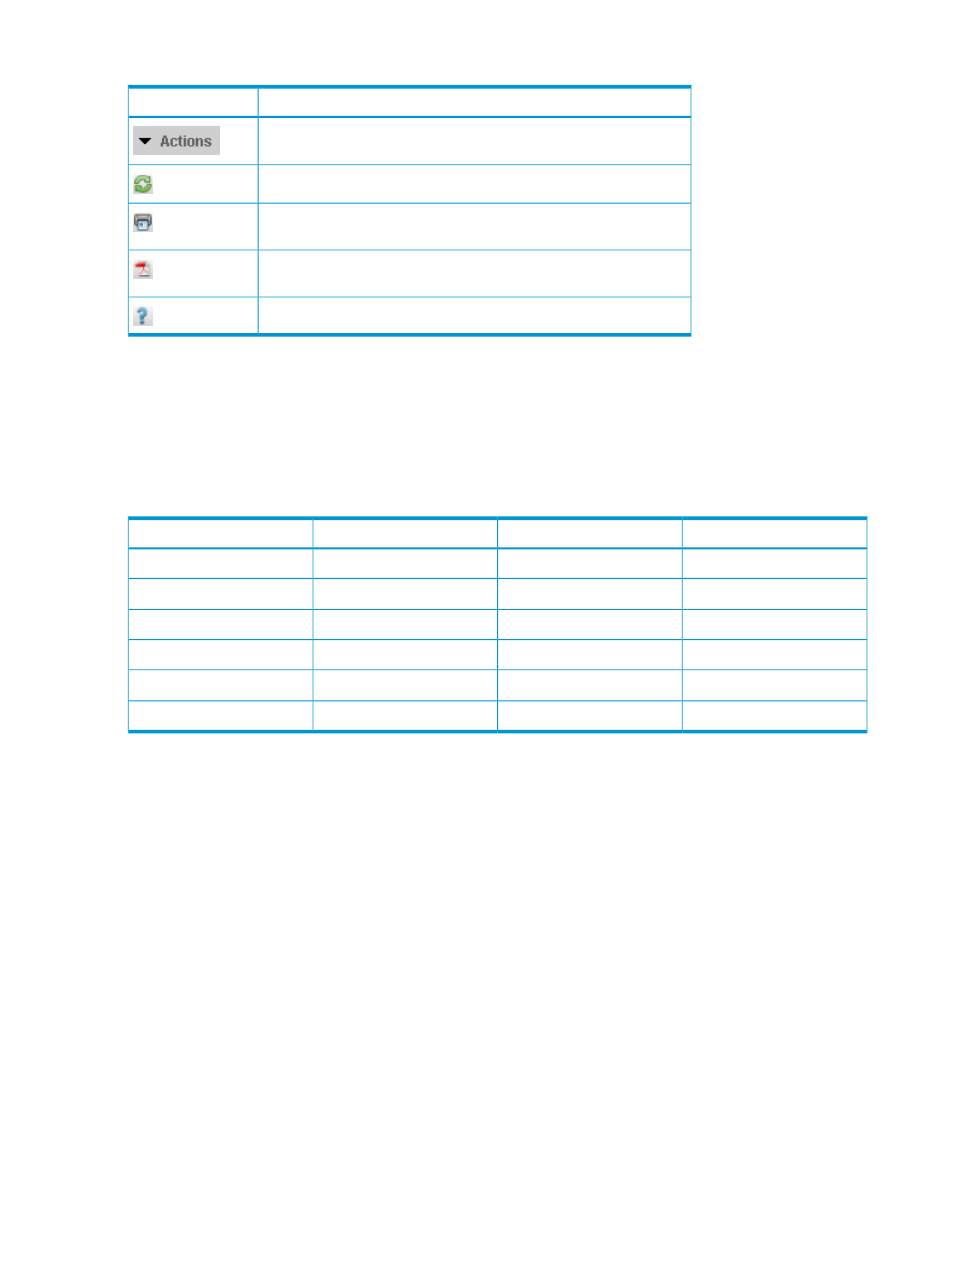
Table 12 Toolbar buttons
Description
Button
Actions—Displays a menu of available actions for the current window
or selected items.
Refresh—Refreshes the data on the current window.
Print—Opens the Print dialog box to print the data on the current
window to the selected printer.
Export—Exports the data or report on the current window to a PDF
file that you can save and print.
Help—Opens a help topic associated with the current window.
Device numbering conventions
In some instances, Command View TL numbers devices differently from how they are numbered
on the library front panel.
shows the device numbering conventions used by Command View TL and by the library
front panel (when applicable).
Table 13 Device numbering conventions, GUI
EML E-Series front panel
ESL E-Series front panel
Command View TL
Device
One-based
One-based
One-based
Drives
n/a
Zero-based
1
n/a
Drive clusters
One-based
n/a
One-based
Slots
One-based
n/a
One-based
FC interface controllers
n/a
n/a
Zero-based
2
FC host port numbers
n/a
n/a
Zero-based
2
SCSI bus numbers
1
Drive clusters in the ESL E-Series libraries are zero-based, although they are not referred to from the front panel of the
library.
2
The zero-based numbering of the FC host ports and SCSI busses corresponds to the numbers that are printed on the
actual hardware.
Initial configuration steps
After you have successfully installed the Interface Manager card and started Command View TL:
1.
Verify that the proxy settings for the management station are correct. See
settings of the management station (page 33)
2.
Add all libraries that will be monitored to Command View TL. See
.
3.
Add the license key for Command View TL and any additional features that you have
purchased. See
Managing license keys (page 31)
4.
Change the management station passwords. See
Changing library passwords (page 34)
.
5.
Configure the library name, system date and time, and contact information for each library.
See
Changing the library settings (page 35)
6.
Edit the network settings of the Interface Manager card. See
of the Interface Manager card (page 36)
7.
(Optional) Configure library partitions. Use Secure Manager (license required) to configure
library partitions. Partitioning the library erases all host access configuration settings. See
Partitioning a library (page 153)
26
Command View TL GUI