Canon PIXMA MX395 User Manual
Page 61
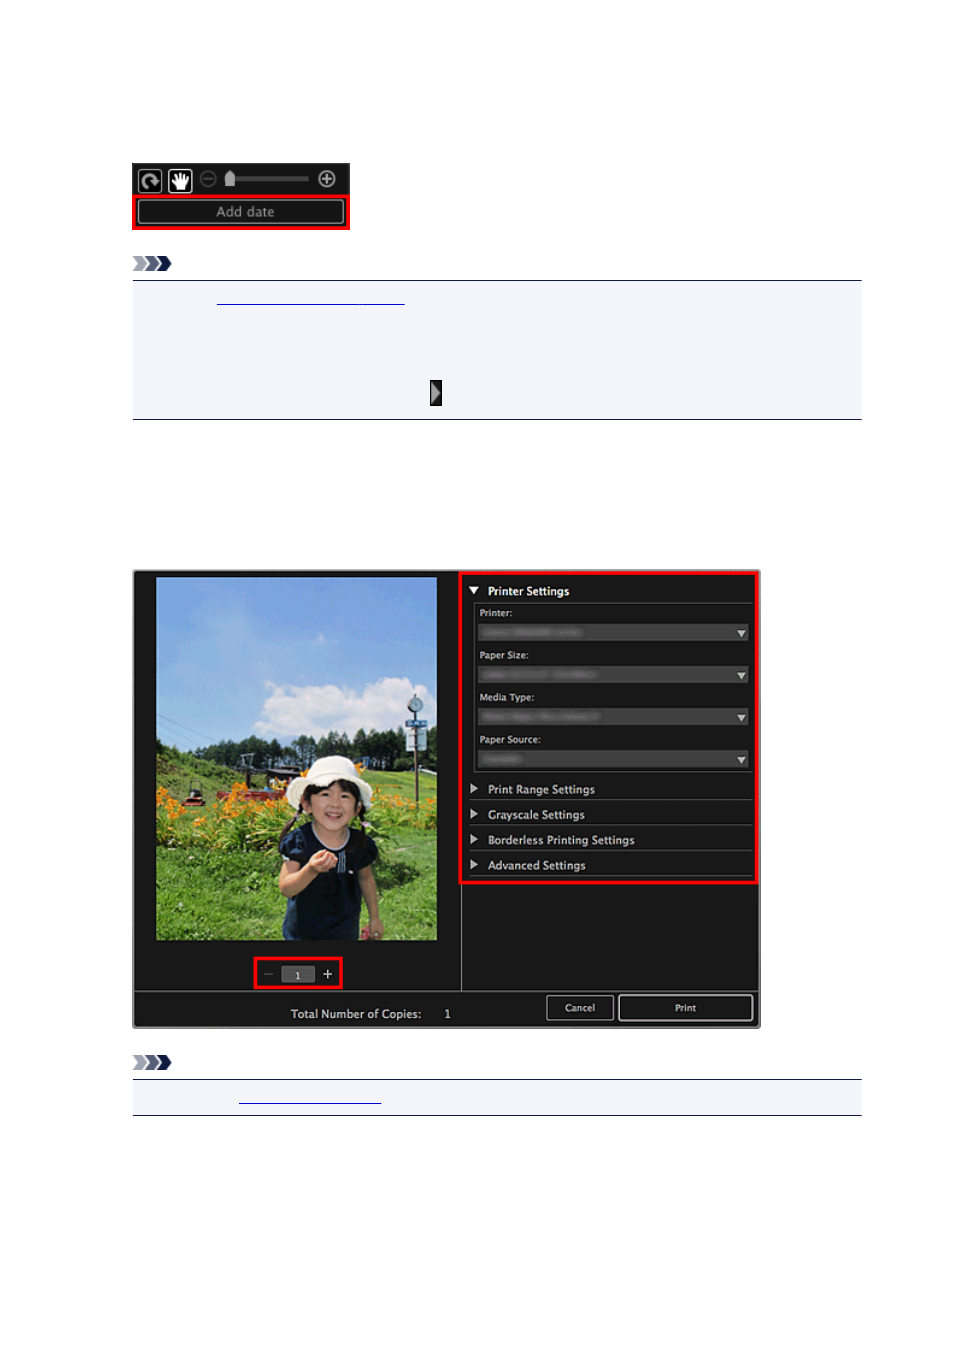
6. Add the date according to your preference.
Select the image to which you want to add the date to display the image editing tool. Click Add date to
place a checkmark; the date is added to the image.
Note
• In the
displayed by clicking Advanced... at the bottom of the screen,
you can make advanced settings to the text of the date to be printed or set to print dates on all
images. When using an ID photo theme, you can also add the same image to all frames within the
page or apply the angle and size set to an image to all copies of the same image within the page.
If Advanced... is not displayed, click (Right Scroll).
7. Click Print at the bottom right of the screen.
The Print Settings dialog appears.
8. Set the number of copies to print, the printer and paper to use, etc.
Note
" for details on the Print Settings dialog.
9. Click Print.
A message appears.
10. Click OK.
61
- PIXMA PRO-1 PIXMA MG7150 CanoScan 9000F Mk II PIXMA MX725 PIXMA iP2850 PIXMA iP8750 PIXMA MX525 PIXMA MG4250 PIXMA MG2550 PIXMA MX455 PIXMA MG6450 PIXMA iP100 PIXMA iX6550 PIXMA MG5550 PIXMA MX925 PIXMA iP7250 PIXMA IP2700 PIXMA MX535 PIXMA iX6850 PIXMA MG3550 PIXMA PRO-100 PIXMA MG2450 PIXMA PRO-10 PIXMA iP100 with battery PIXMA Pro9000 Mark II PIXMA iX6520 PIXMA Pro9500 Mark II PIXMA iP2702